make your gift wrap a gift in itself
July 29, 2011 in diy craft projects, homemade

This is a lovely way of wrapping up gifts which involves using very simple and accessible brown paper with string and ribbon. These are actually copies of my book that were sent as gifts when it was first published and I took time to personalise each one.
Add bits and bobs you have around the house to these staple ingredients and the result is unique. The wrapping turns a potentially simple gift-wrap into a very special one and once unwrapped, the tags and pictures can be kept by the recipient.
To begin, I wrap the parcel up as neatly as I can using double-sided tape to stick down the flaps either end and in the centre. I then tie the string, ribbon or sequins around the package and add the rest piece by piece.
The keys were left over from another project, where I had sprayed them with an off white matt-finish paint. These are old keys but they’re not vintage or antiques, just cheap everyday keys. A lick of paint makes all the difference.
The postage stamps were from a big bag of stamps I bought at a flea market and are always great to add interest to projects. I always keep little off-cuts of ribbon too, which are perfect for tying tags or little bows and knots with but add a splash of colour and interest. The sequins add some glamour and are a contrast to the utilitarian brown paper.
I embroidered the flowers on water colour paper with a sewing machine using the embroidery foot and stitched them freehand without a pattern. If you’re not confident with that you could pencil draw or trace a flower onto paper and follow it with the sewing machine. If you want to learn this technique there is an illustrated step-by-step project using it called ‘Stitched Portraits’ on page 110 of The Homemade Home.
Adding tags to write your gift message, writing a poem or scribbling some words makes it personal and fun!
Comments: 9 Leave a comment

woof!
July 27, 2011 in news
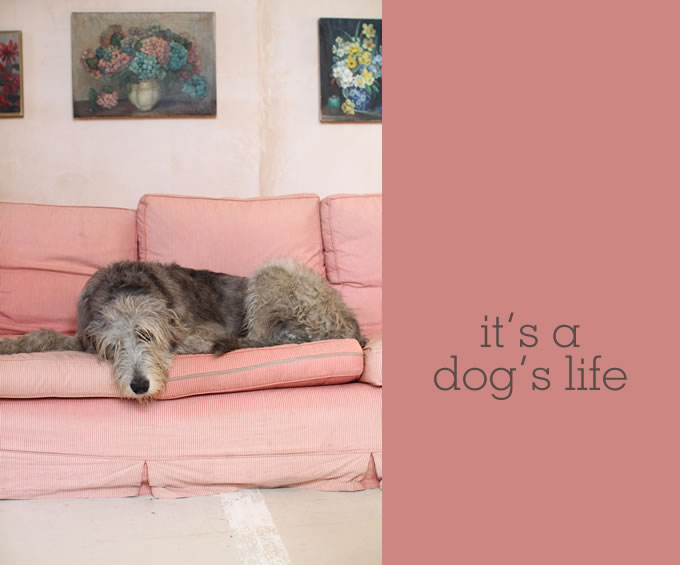
It’s a dog’s life on photo shoots. Well, it is if you are one of these doggies! By coincidence, each of the three location houses we have shot in for my next book have had canine companions. I couldn’t help snapping them while they relaxed and we did all the work.
Say hello to Tiggy, Dolly and Hespah.
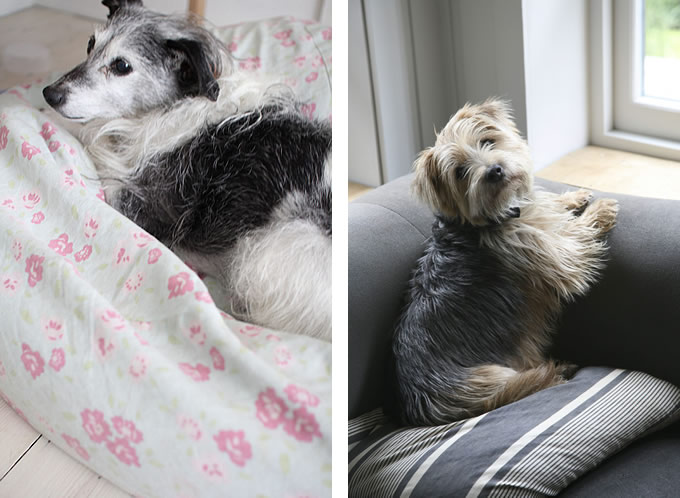
We have another three photo shoots to go but don’t worry, my next book isn’t about dogs!
Comments: 5 Leave a comment

handmade jewellery love
July 25, 2011 in handmade goodness
I definitely have a love for sparkles, sequins and a bit of decorative adornement, it must be the magpie in me. A beautiful piece of jewellery can lift an outfit and make you feel special. They can also be displayed in a corner of your room when you are not wearing them and make it feel special too. I put my favourite brooches and necklaces on display in my bedroom so I can enjoy them when I’m not wearing them and they give me a glimpse of joy as I walk past them.
They have been collected over the years, some as gifts and others as treats to myself. They’re all precious to me but not in an obvious way. There is no gold or diamonds involved, the value comes from the fond memories of parties and places and friends and the makers that I bought them from originally, and the love and attention that went into their making in the first place.
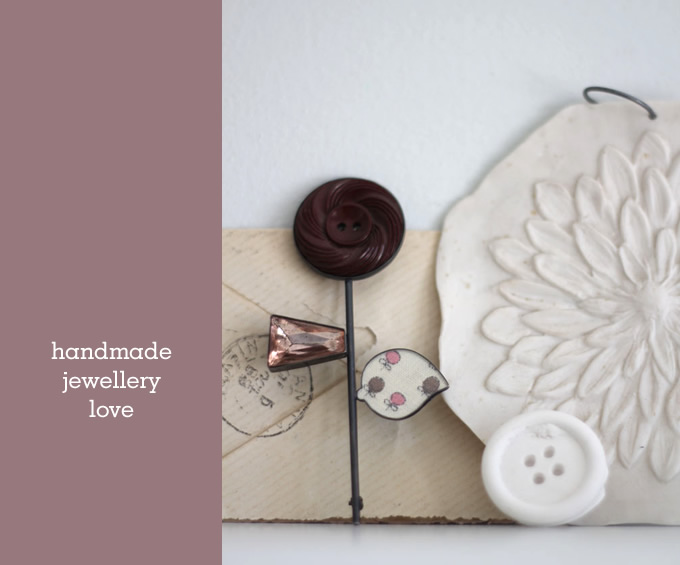
The button flower brooch above is by Grainne Morton, a friend from my college days in Edinburgh, who specialises in making amazing, unique pieces from found objects. I bought it at Origin where Grainne had a stall as a gift to myself for completing The Homemade Home , so it has a special place in my heart and sits on my bedroom shelf. I love the sparkle , the pattern and the shape.
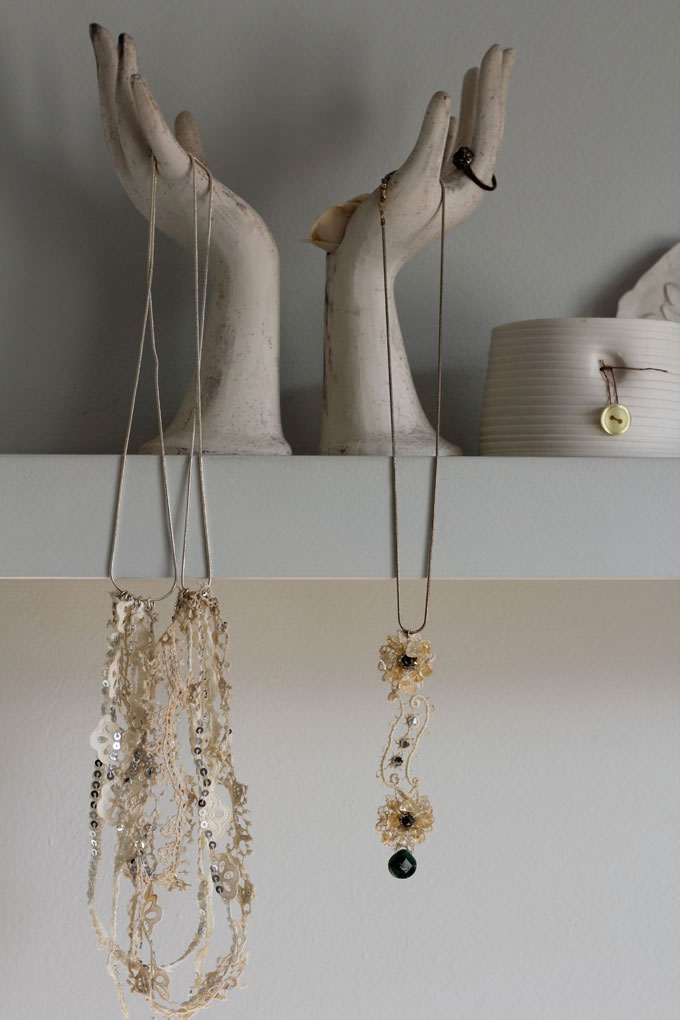
The two lace necklaces above are by another of my friends, Emma Cassi who makes the most lovely jewellery from vintage lace, beads and sequins. Beautiful to wear, they add a delicate little shimmer in just the right way.
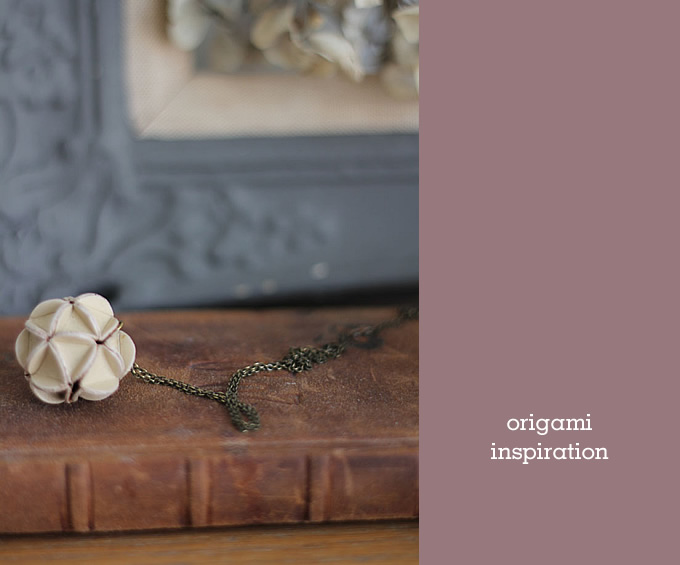
The necklace below is by Aiko Machida and is an origami ball made of leather. I bought it from her at Origin several years ago (I’ve been going to the Origin craft show every year since I left college) and I always receive lovely comments every time I wear it.
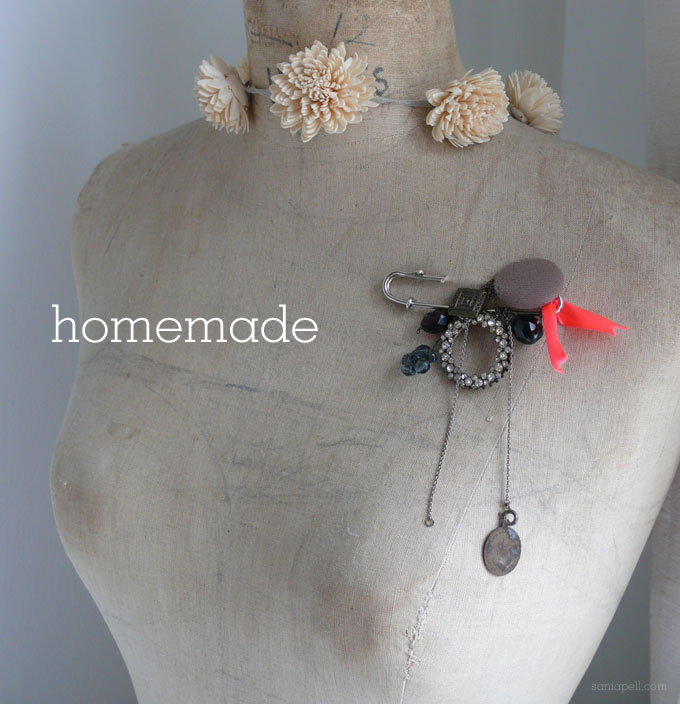
You can always make your own jewellery too with a bit of creativity. The brooch above is one that I made as a project in my book The Homemade Home. It’s a simple collection of pieces of broken, vintage jewellery, buttons and ribbon threaded onto a kilt pin to create a quirky, unique brooch.
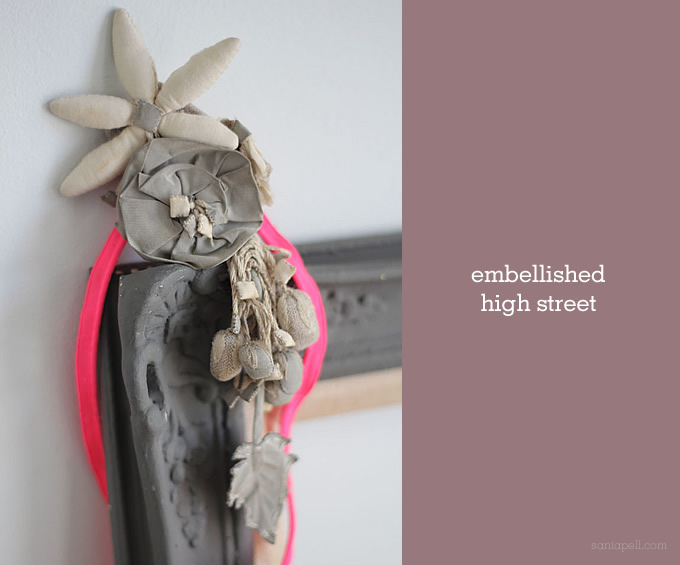
Jewellery with a handmade, feel can also be bought on the high street at reasonable prices too. These brooches are all from a favourite shop of mine – Hoss Intropia – but shops like Accessorize and Anthropologie have a good selection too. I added my own touch to the brooch above, a little fluro pink ribbon to the neutral brooch just brightens up an outfit with the right amout of embellishment. The black beaded branch was given as a gift by a dear friend and looks wonderful on a coat.
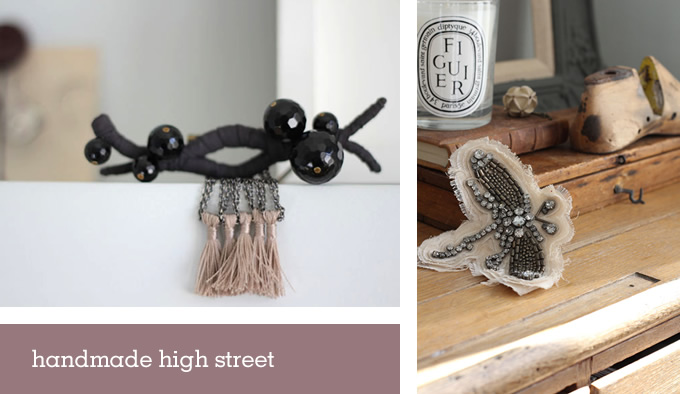
So whether handmade, homemade or high street, lovely jewellery can decorate your outfit or your bedroom and give you a lift whenever you see it.
Do you have a favourite piece of jewellery?
Comments: 26 Leave a comment

my next book: behind the scenes
July 21, 2011 in news
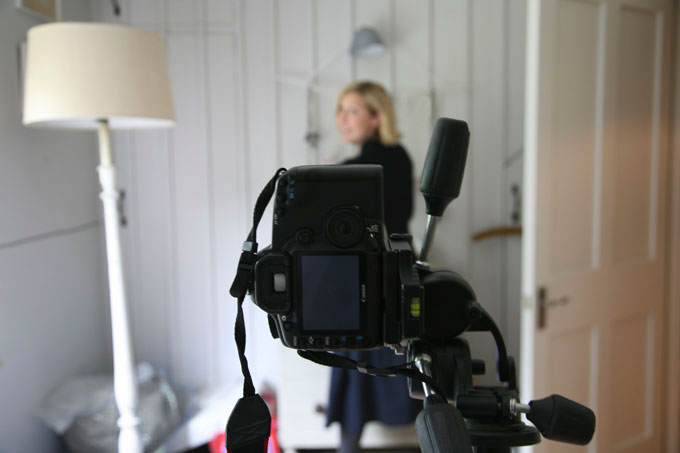
Well, I’m about half way through writing and shooting my next book so thought I would give you a little update!
I had forgotten just how all-consuming writing a book is and it has been a hectic few weeks so far – conceiving ideas, making, writing, propping, styling and shooting the book plus juggling being a mum of two little ones who want my attention. It’s exciting, creative and fun but also a lot of hard work!
We have completed three shoots so far in three amazing locations and the look and feel of the new book is really starting to take shape. I can’t wait to show you more and tell you all about it.
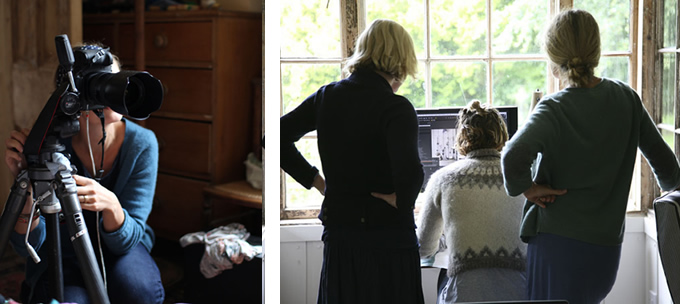
I can’t give any details away yet but as soon as I can I will share them here first so do check back soon or follow things on Twitter or Facebook.
But judging by the photos we’ve taken so far it’s going to be lovely!
Comments: 4 Leave a comment

fabric wrapped vases
July 19, 2011 in diy craft projects, flowers
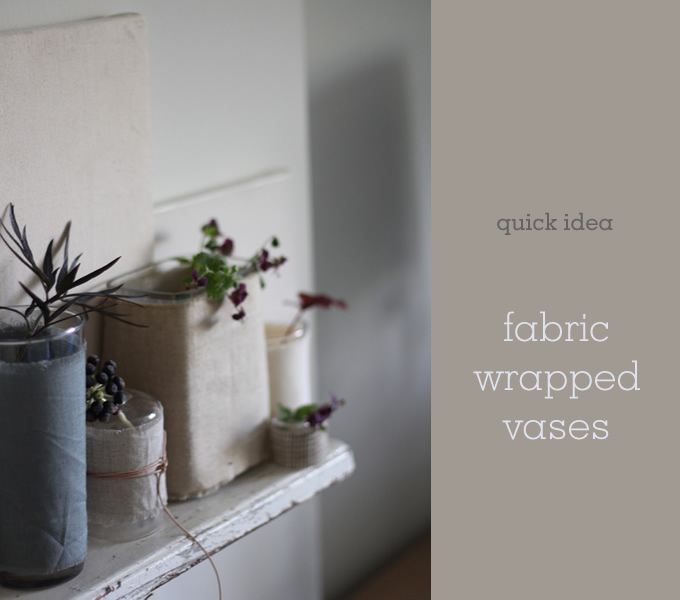
This is a very simple idea that can transform a simple vase into something unique and individual to you and your home. The great thing is it isn’t permanent and you can change it to suit your room and decor as you wish.
First step is to raid your fabric box. You could choose similar tones as I have here, or mix them up and go a little bonkers with your fabric choices with patterns and bright colours to match your flower arrangements. If you have any fabric leftovers from other projects then that can work well, matching your vase to a cushion in your lounge or a throw on your bed for instance. All the fabrics I used here are leftovers from other projects so match things I have all around the house which makes the vases versatile.
I then raided my kitchen cupboards and chose a variety of sizes of vase and I also used ordinary column drinking glasses which are perfect too. It works best if they have an even column or rectangular shape as they are easier to wrap (shaped or conical vases are trickier). They are all simple, classic glass vases that I have bought over the years from places like Ikea, Habitat and Sainsbury’s.
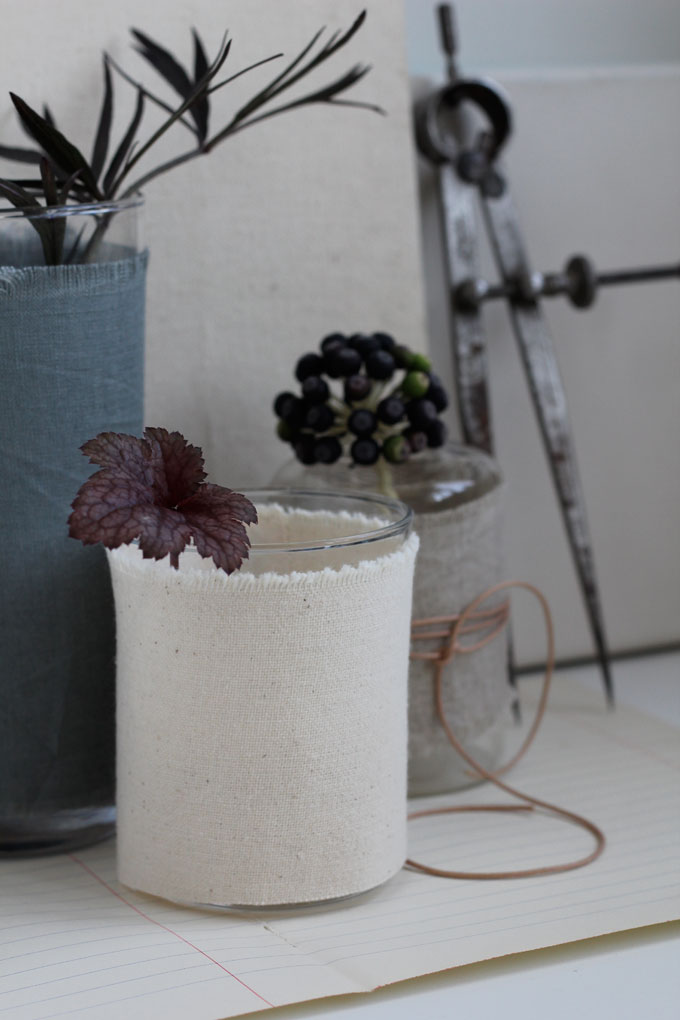
To wrap them, measure the height and circumference of your vase. I use a fabric tape measure for this, wrapping it around the vase or glass and adding 10mm – 20mm for the overlap. This will give you the dimensions you need to cut out a rectangular piece of fabric that will wrap around with a little bit of an overlap to help fix it on.
Place some double-sided sticky tape along each short edge of the fabric. Peel off the backing of one strip and stick this to the glass, then wrap the fabric around and stick the other end down back on to the fabric where it was first fixed.
If you like, wrap some string or ribbon around the middle and your new look vase is complete, just add water and flowers!
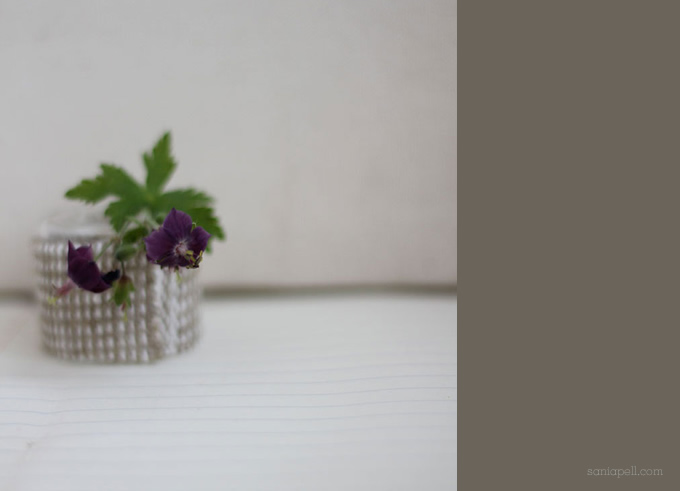
It works for all sizes of vase – as long as you have enough fabric!
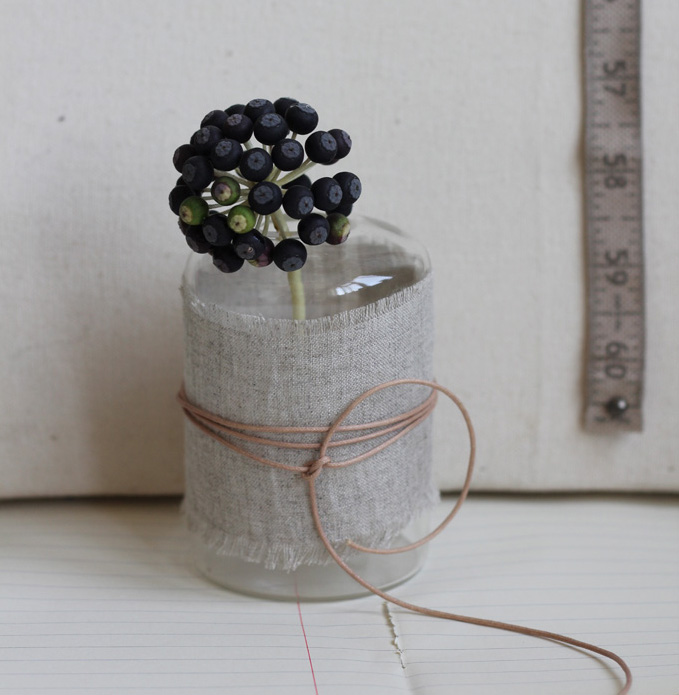
I wrapped string around this one in a similar way to the candle gift idea I posted a couple of months ago.
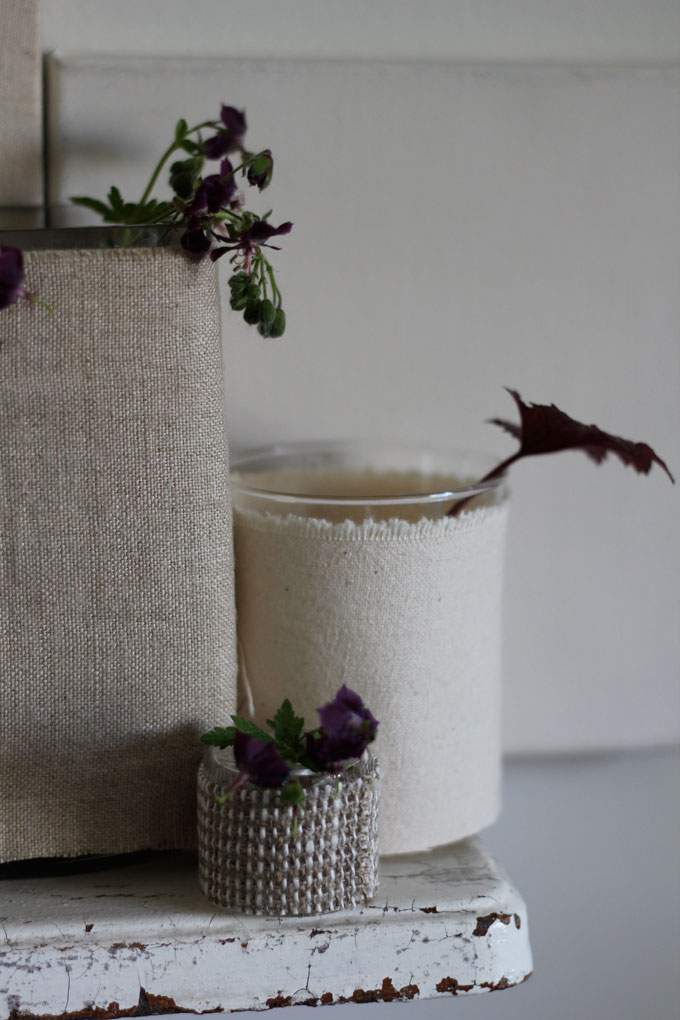
All of the flowers and leaves in the photos above are just picked from my garden but you could easily choose a fabric to go with a wonderful bouquet of fresh flowers.
You have to be a little careful when filling and emptying the vases not to get the fabric too wet or get dirty flower water down them, but mine have remained really quite clean. If this does happen you can easily peel the fabric off and wash it or try a different fabric for a new look. The sticky residue from the tape can usually be scrubbed off with soapy water but if it won’t budge then a turps-based solvent or white spirit can help remove it if you want to return it to its original look.
It works for large vases too and can be a great way to hide unsightly stems.
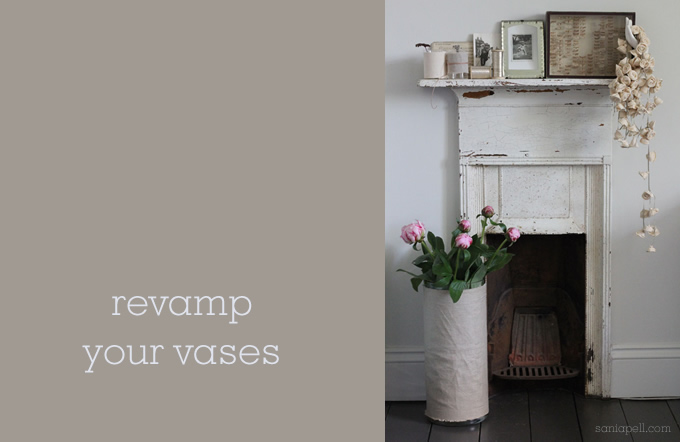
A quick and simple idea that allows you to match your vases to your decor and that costs next to nothing!
Comments: 13 Leave a comment

elle decoration and embroidery
July 12, 2011 in news
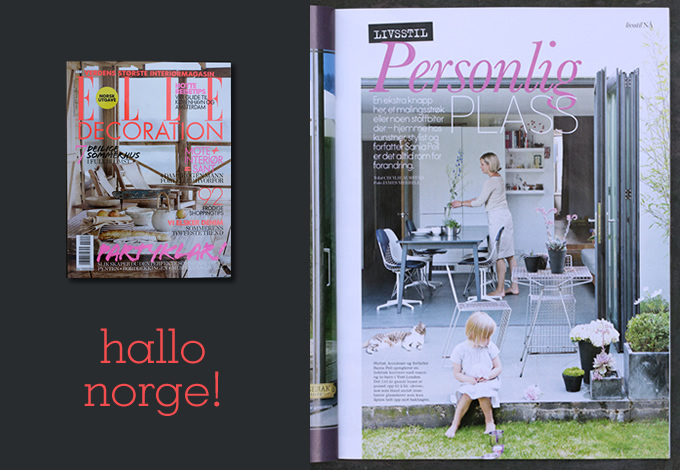
I was honoured to be contacted earlier in the year by the lovely team at Elle Deco Norway for an interview with me and feature on my home. It arrived through the mail this week and looks fab – though I can’t understand any of it unfortunately! It’s a great issue and I always love getting a peak inside the homes of people in other countries. Thank you to everyone there!
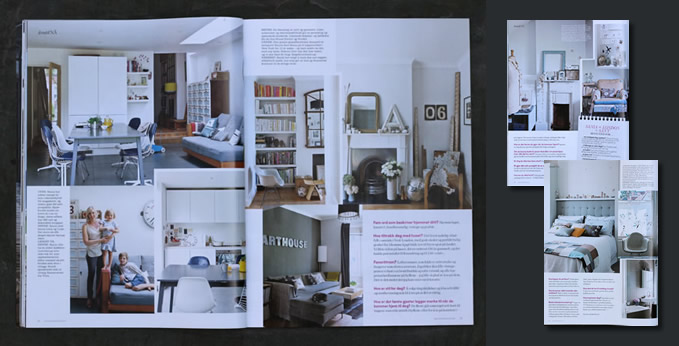
The photos are by the talented team of photographer James Merrell and stylist Melanie Molesworth who I used to assist. Melanie also wrote the book Junk Style which was one of the first books about flea market style.
I would love to visit more of Scandinavia in future, it’s on my ‘must go to’ list. I’ve not made it further than Copenhagen in Denmark (which is beautiful) and my husband has been to Stockholm in Sweden but Norway is a definite must-visit, especially after seeing the lovely things in Elle Deco Norge!
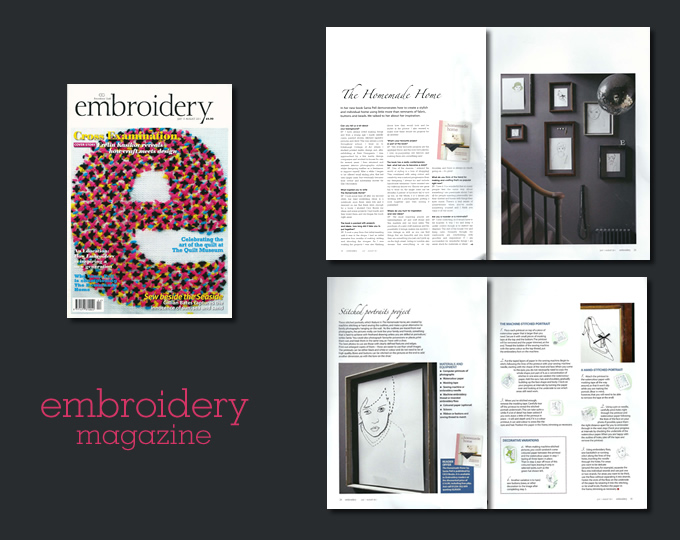
I’m a big fan of embroidery and love stitching so it was great to hear that the UK’s Embroiderers’ Guild liked my book and wanted to feature it in Embroidery magazine. The new July/August issue has an interview with me and features the stitched portraits project from The Homemade Home. I even got a mention on the front cover! A big thank you to Jo and the team.
Comments: 8 Leave a comment


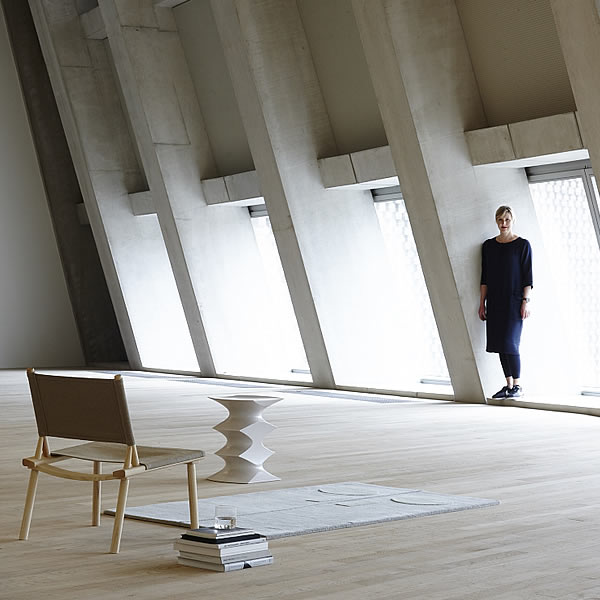


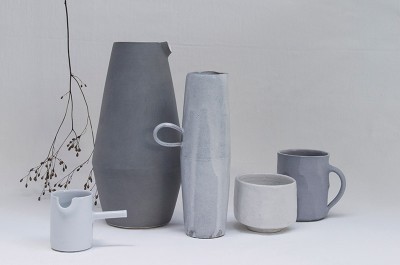 Line Up contemporary craft exhibition, curated by Sania Pell, at Flow Gallery, 1-5 Needham Road
London, W11 2RP.
 View Sania's interiors, food and table top and children's lifestyle photographic styling portfolio.
