christmas with liberty – make a stocking
November 29, 2013 in homemade, interior styling
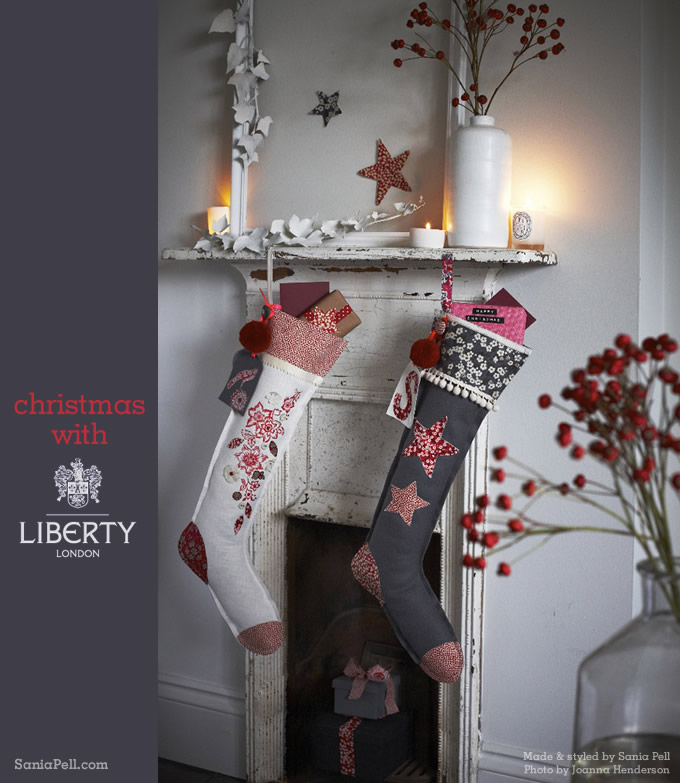
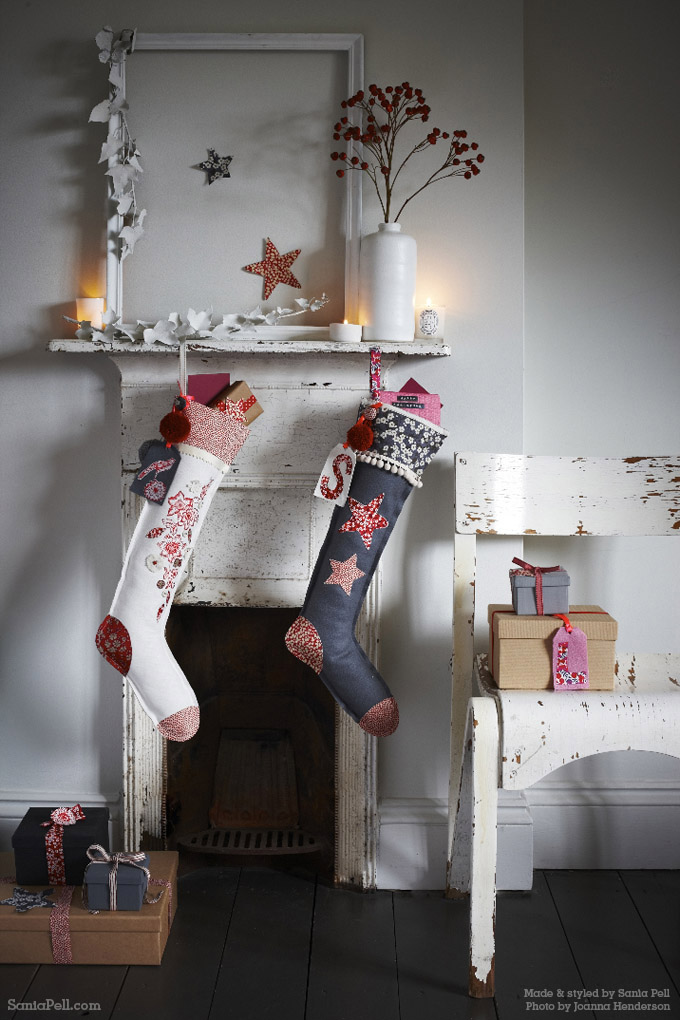
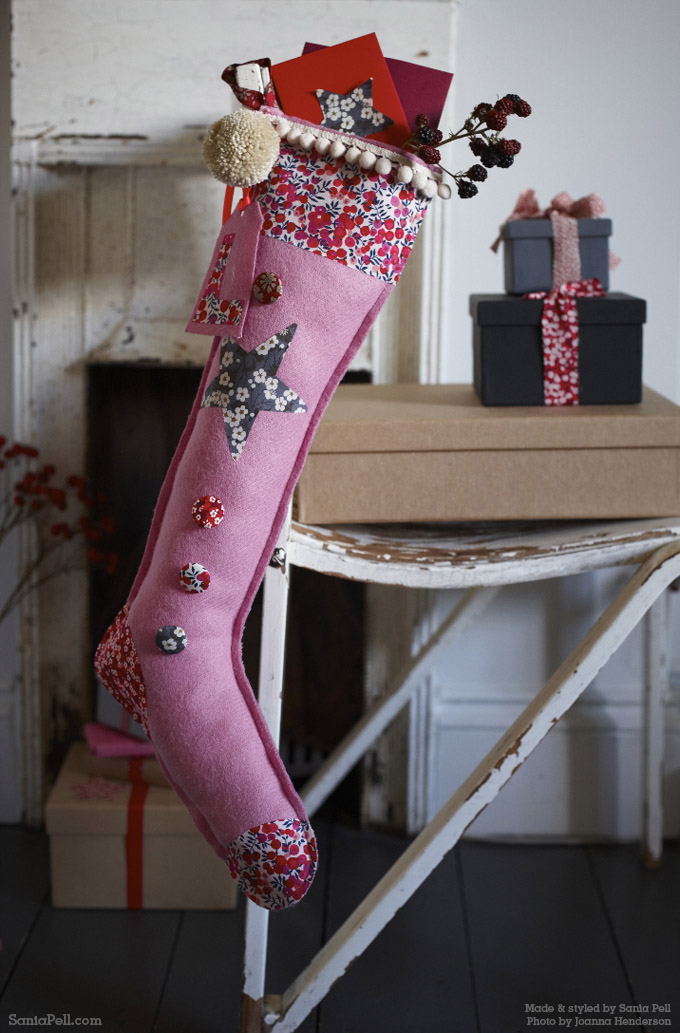
A few weeks ago I was asked by Liberty to make a Liberty Christmas stocking for Sew Liberty and their blog. I came up with and made a few different designs and worked with interiors and still life photographer Joanna Henderson on the photos. We had a fun few hours shooting them up in my loft studio.
These festive stockings are easy to make and add a little Liberty style to Christmas. Mix and match different patterns, buttons, trims and motifs to add visual interest. The memories associated with these hand-made pieces, will be treasured for years to come, they could easily become family heirlooms passed down to future generations of children to hang on Christmas Eve.
Materials and equipment:
Fabric that won’t fray when cut – such as suiting wool, felt, finely woven linen.
A mix of Liberty print fabric in different scales and patterns
Pencil and paper to draw a larger template
Sewing machine
Fabric scissors
Bondaweb/Heat bond
Iron
Ribbons and trimmings
Needle and thread
Buttons for covering, lace flowers and beads (optional)
Wool and cardboard to make pompoms
To make a stocking:
Step 1: Measure your base fabric to make your stocking, either with one piece folded in half or two pieces pinned together. The stockings are 60cm long by 25cm wide from heel to toe with a top opening of 17cm diameter. You can adjust the sizing to suit the size of your fabric or make the stocking wider to accommodate larger gifts.
Step 2: Print out my template for reference and draw out a template on paper to the appropriate size. If you do not feel confident drawing then a photocopy shop can scale it up for you. Then pin the paper shape to your base fabric and cut out, so when you cut you end up with two pieces of stocking shaped fabric.
Step 3: Iron bondaweb onto the reverse of your chosen Liberty print fabrics.
Step 4: Cut out a toe, heal, top band and stars or flower shapes to the appropriate sizes and pin them in place, bondaweb side down.
Step 5: Iron them in place on a medium heat. You only need to do one side of the stocking if being hung, but you could do both sides of the stocking if you prefer.
Step 6: Add Liberty print covered buttons, vintage lace flowers, beading and vintage buttons to add interest.
Step 7: Pin the two sides together and stitch with a small border of 0.5cm using the sewing machine.
Step 8: Stitch a 15-20cm length of ribbon in a loop on to the top band to hang the stocking and embellish with extra trims.
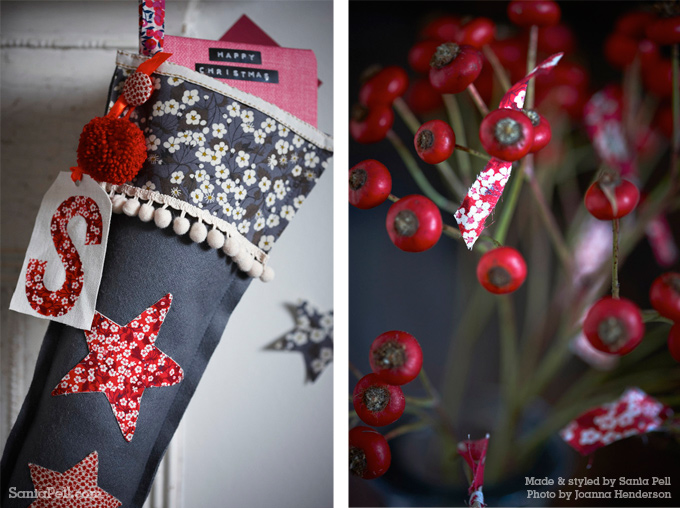
Step 9: Sew on optional pompoms and tags to make the stockings more personal.
To make the pompoms:
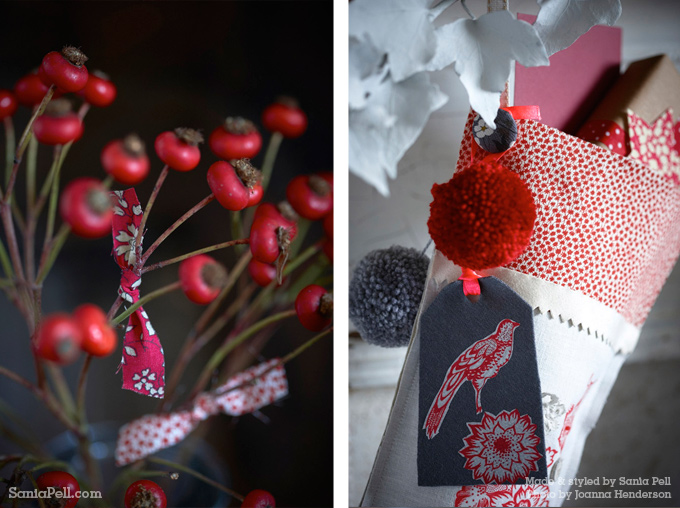
Cut out two circles of card 8cm in diameter with a 3cm hole in the middle. Wind the wool round and round until the hole in the middle becomes small. Cut through the center of the two pieces of card and tie a piece of wool securely around the two and pull. Trim the length of the wool down until a thick pompom is achieved, stitch onto the stocking.
To make the tags:
Cut out a rectangle of fabric, snip off the corners and make a hole for the ribbon. Cut out letters or shapes such as birds from the fabric and iron into place with bondaweb.
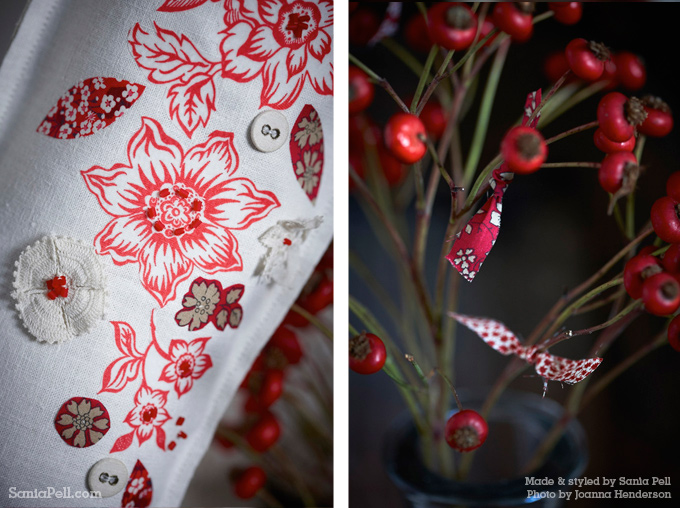
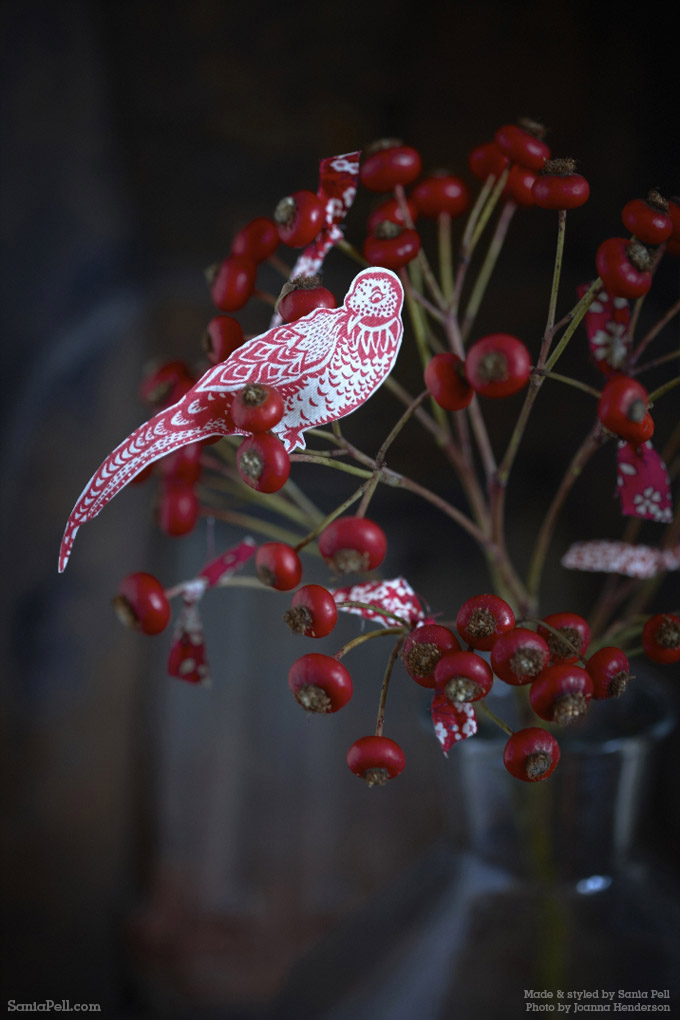
As the fabric I was using had a little bird motif within its design, I cut out the bird shape and used it as a decoration amongst some rosehips.
I first met photographer Jo Henderson on a shoot a long time ago when we were still both assisting and we worked on some test shoots together to start our portfolios. We recently worked together styling and photographing a book for my publisher Cico Books. It was lovely to see Jo again and we have continued to work together on some other projects.
See Jo’s work on her website here.
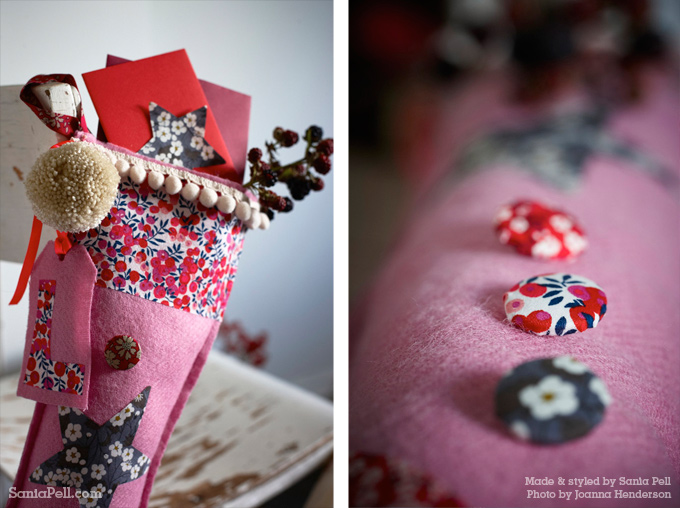
It makes things a little more interesting if all the designs are slightly varied. I made fabric covered buttons for the pink stocking above creating little spots of pattern dotted down its length. You can see the original post over on the Liberty blog.
Liberty print fabrics used:
Joyce A Tana Lawn, Capel F Tana Lawn, Wiltshire S Tana Lawn, Mitsi Valeria C Tana Lawn, Mitsi D Tana Lawn, Marco A Tana Lawn, Glenjade in red Tana Lawn.
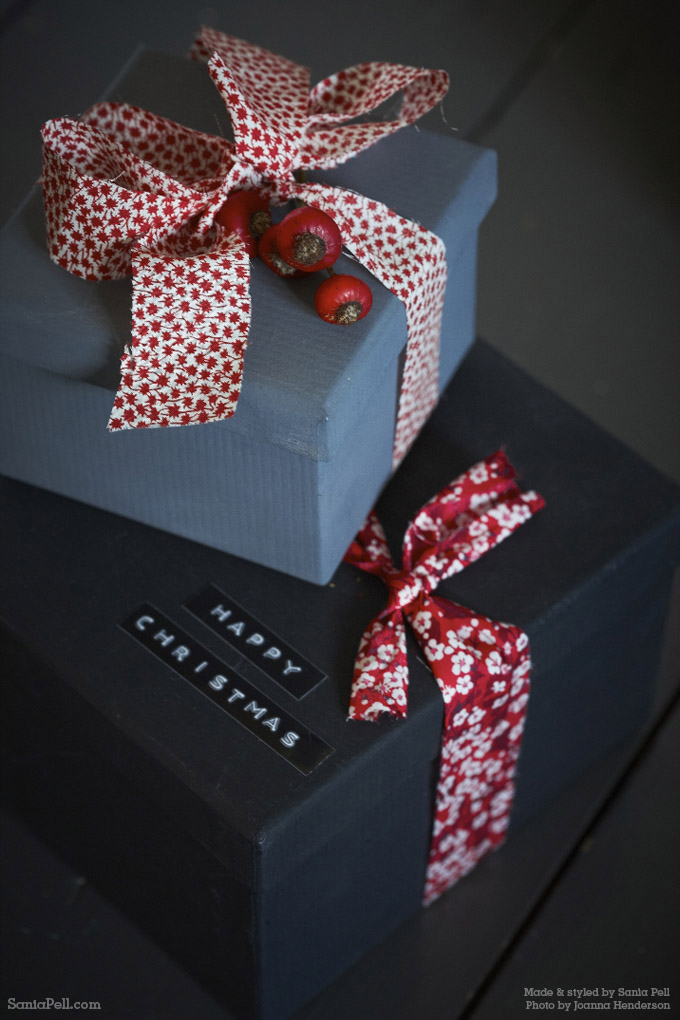
Left over strips of fabric can also be used as ribbon to wrap around gifts and make them look extra special like in the image below.
I made stockings for my own children when they were babies and they still get so excited as they hang them up, imagining what Santa will fill them with while they sleep. I hope they’ll keep the stockings and use them for their own children one day.
Happy making x
This design and project is for non-commercial, personal use only. Design © 2013 Sania Pell.
Comments: 21 Leave a comment

styling for john lewis and the observer
November 22, 2013 in food styling, interior styling
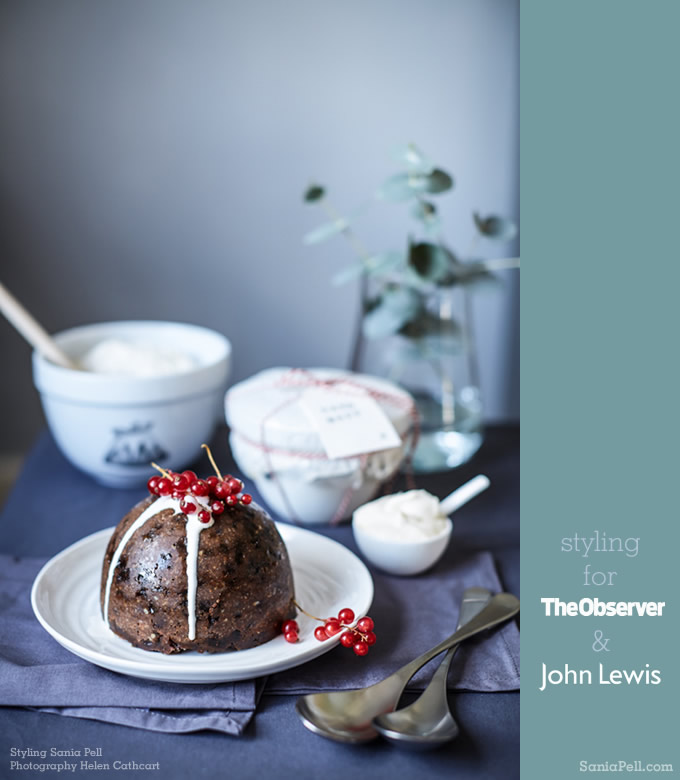
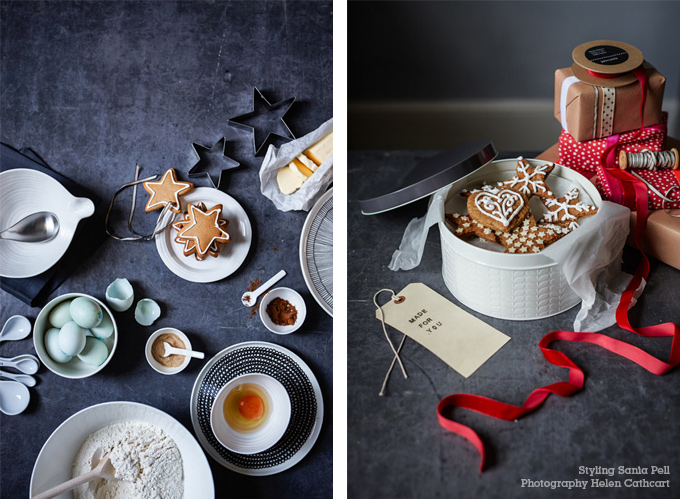
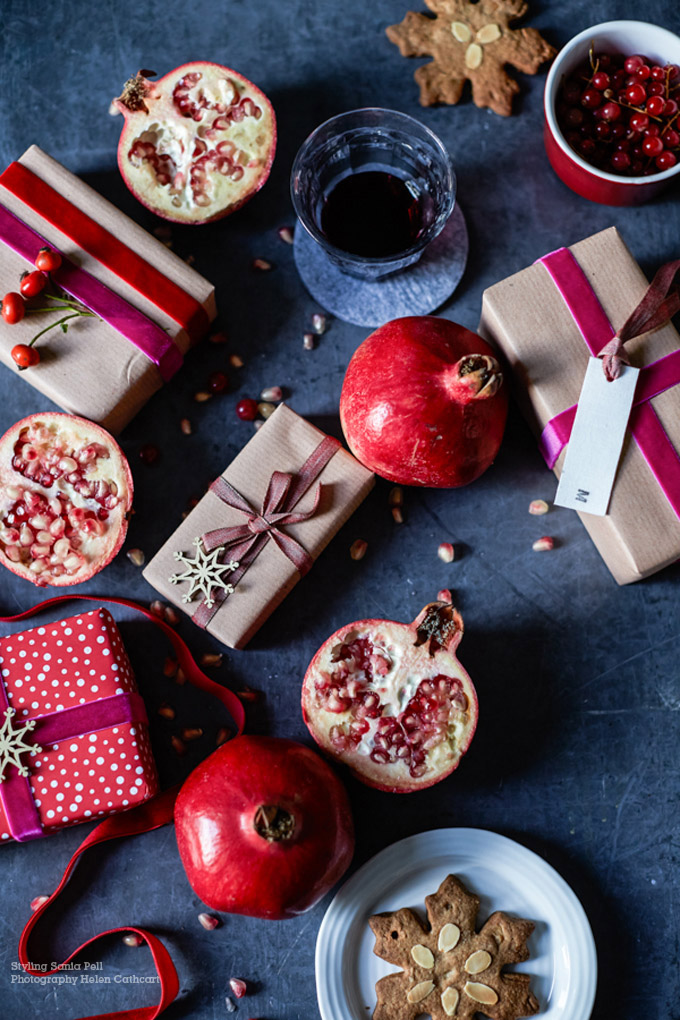
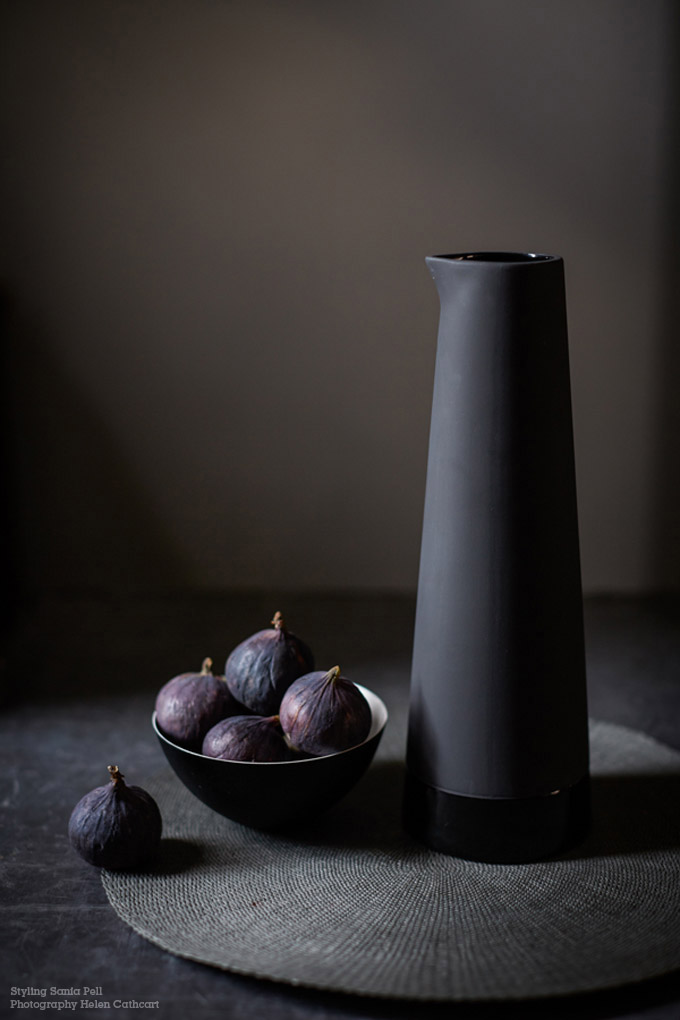
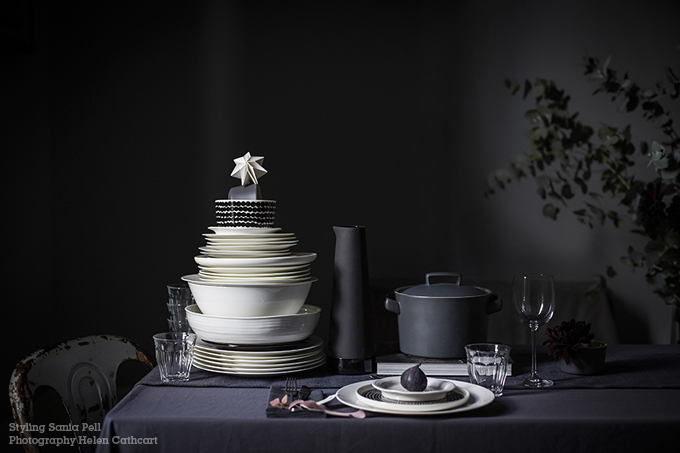
These images are from my recent work for The Observer that appeared in last Sunday’s publication. They are from Part 1 of a Christmas Celebrations feature in The Observer Food Monthly and sponsored by leading UK high street retailer John Lewis. I selected all the products featured in the shots from the John Lewis Oxford Street store and their extensive online shop and mixed them with bespoke touches and wrapped gifts that I had made beforehand. The images were taken by talented photographer Helen Cathcart who I worked with on location to create the shots.
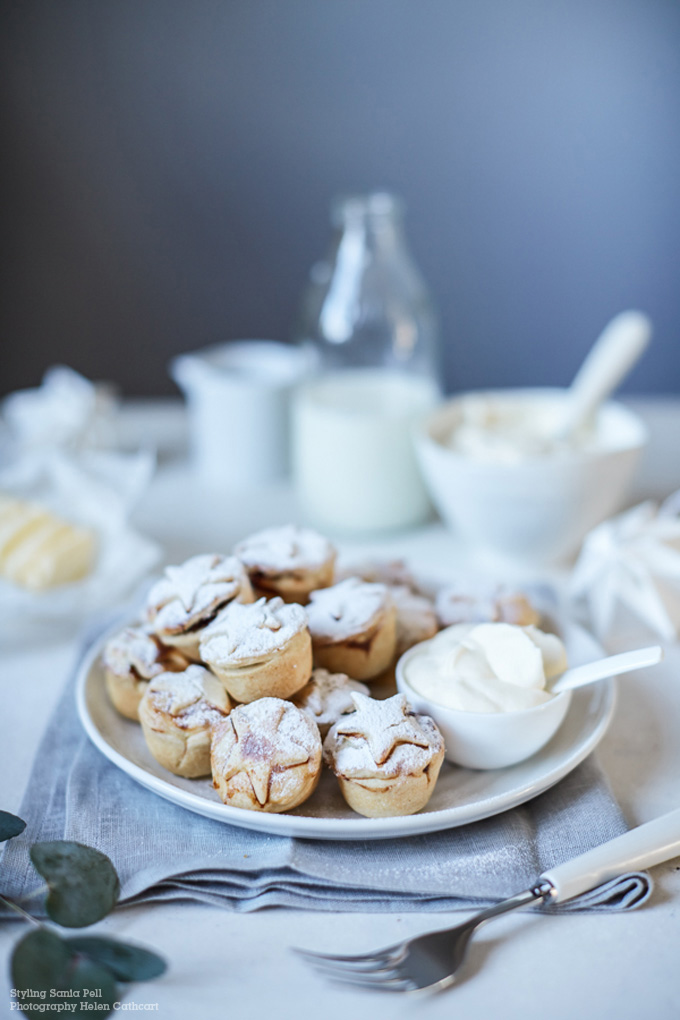
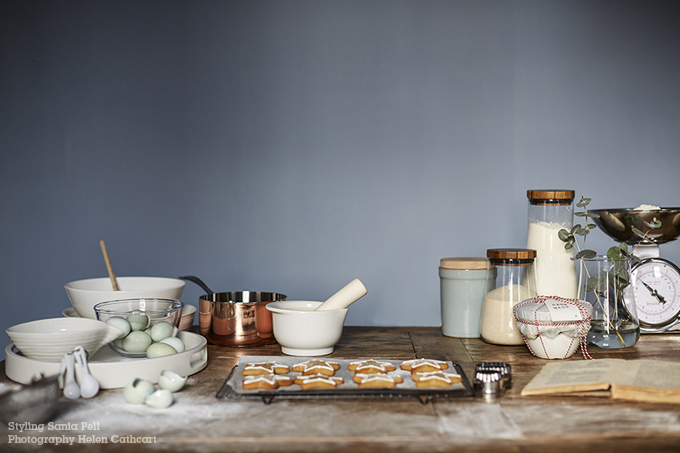
There were two stories within the feature. The first was “Make & Bake” to showcase the great cook and bakeware at John Lewis. Chrissie Holden who assisted me on the shoot made the mince pies and biscuits so beautifully.
You can read the full Make & Bake article and see other images now over on The Guardian Online. If you want to know what any of the products featured are the click on the main image on that page and you can see the product names and prices.
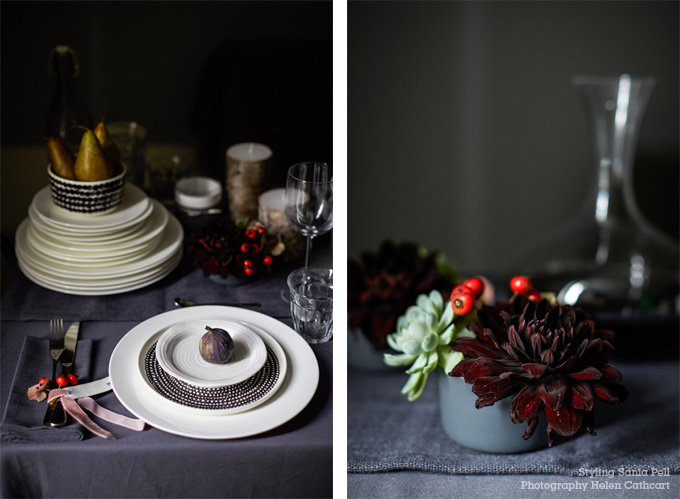
It was followed by “Dressed to Impress” – ideas on how to style your festive table. I embellished mini napkin holders and wrapped glasses with fabric as candle holders and mixed with their own birch church candles. You can also read this full story on The Guardian Online’s website – have a look, I would love to know what you think.
The dark, rich and moody image above is one of may favourites from the shoot. The image below has plates and dishes piled high as if mid-process of setting the table, the one in the magazine was much more elaborate.
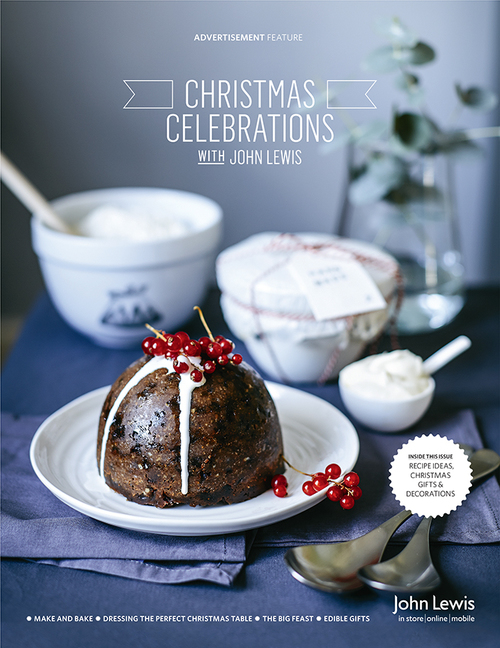 You can read the full John Lewis Cook Christmas feature here – with lots of images, ideas, tips, recipes and a competition to win a cookery class and a set of copper cookware!
Part 2 of this story will be in The Observer on Sunday December 8th so pick up a copy to read more.
I hope you enjoy looking at the images. Have a look at Helen’s fab food, travel and lifetsyle photography in her online portfolio here and Helen also has a food-related blog called Helly Belly.
There is no denying it is the beginning of the festive season and time to start preparing to eat, drink and be merry!
Comments: 7 Leave a comment

behind the scenes
November 19, 2013 in interior styling
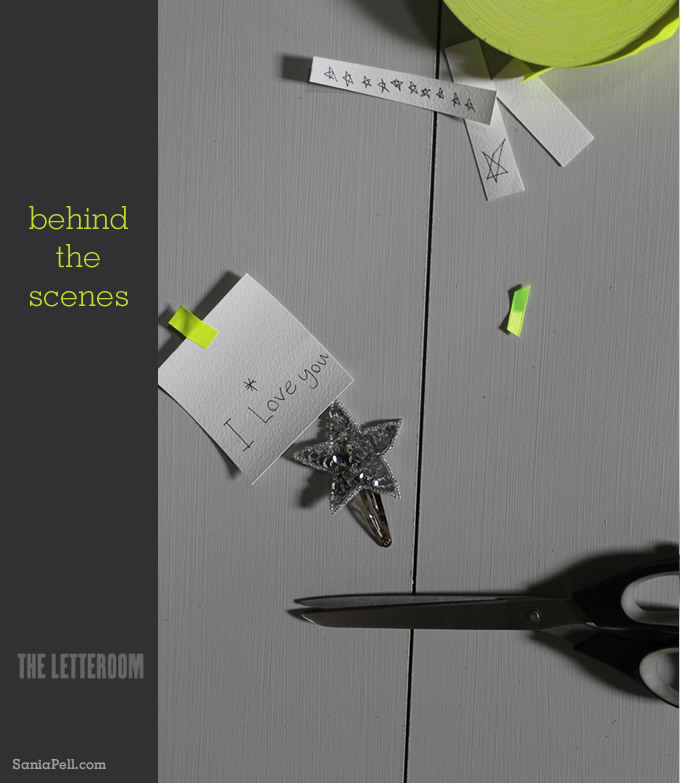
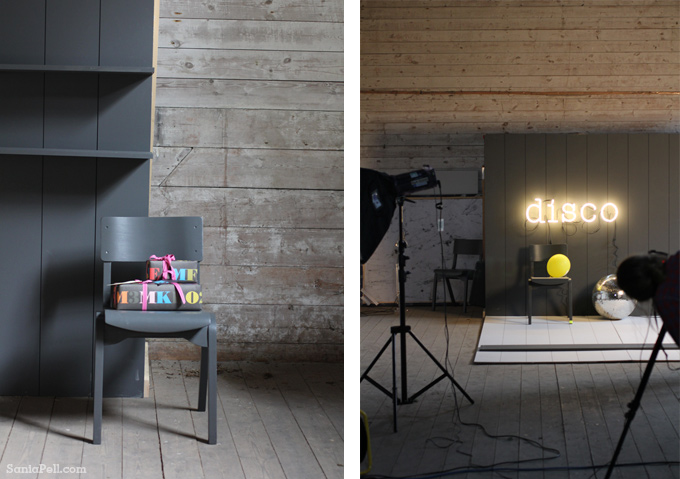
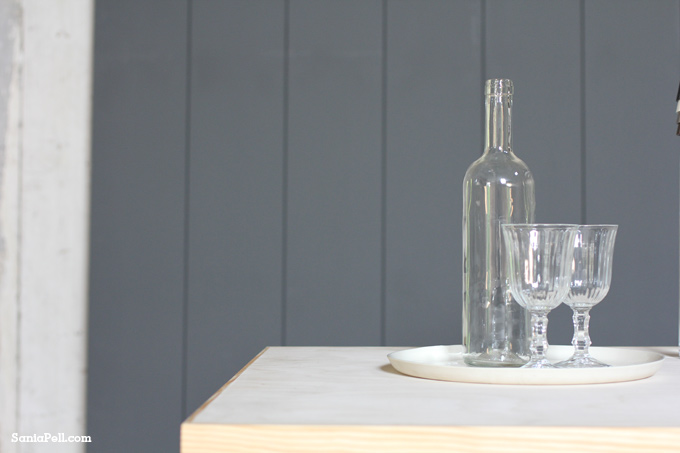
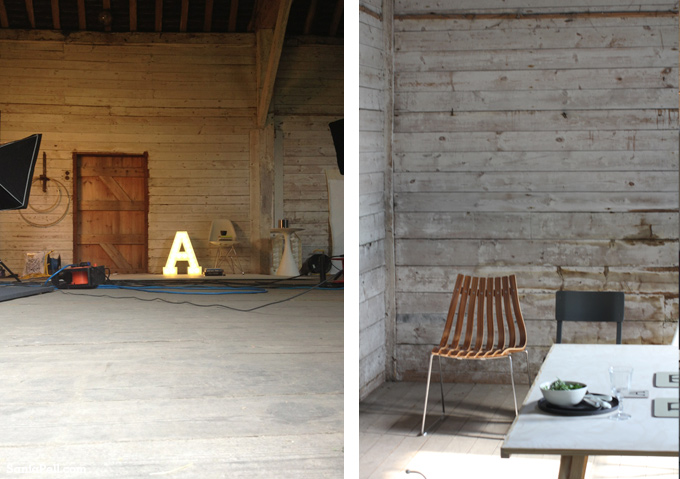
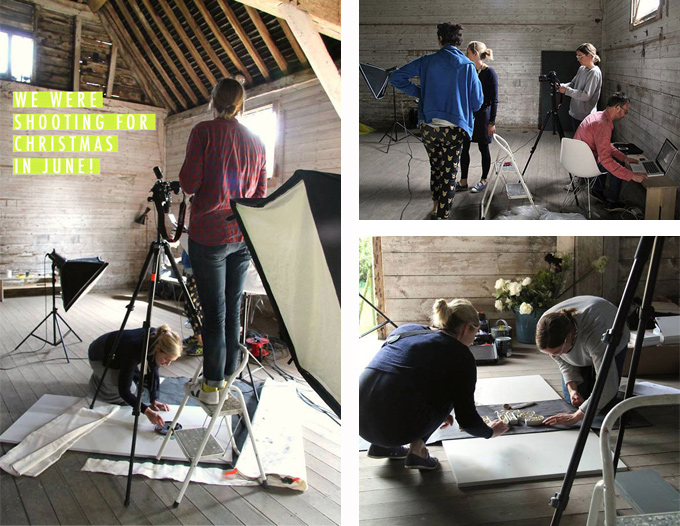
Following my last post, I thought I would post some photos I took on the shoot that I thought may be of interest as a little glimpse behind the scenes. During the heatwave in June this Summer, Uli Schade and I were shooting the Christmas catalogue for The Letteroom. We shot in an idyllic setting in the countryside, working in a beautiful historic barn, using the original distressed walls as our backdrops and creating our own crisp, new sets to contrast within the space.
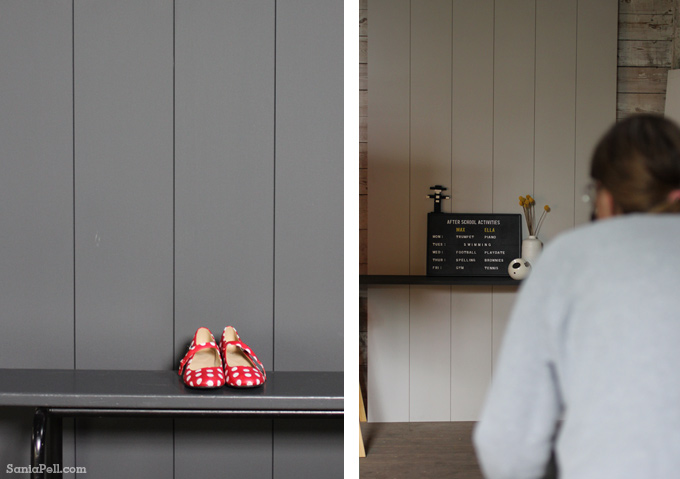
When we had a moment to look out of the doors we saw rabbits hopping and heard birds tweeting, a big difference to the usual London shoots!
The shots above of the team at work are from the The Letteroom’s blog.
Comments: 1 Leave a comment

styling for the letteroom
November 17, 2013 in interior styling
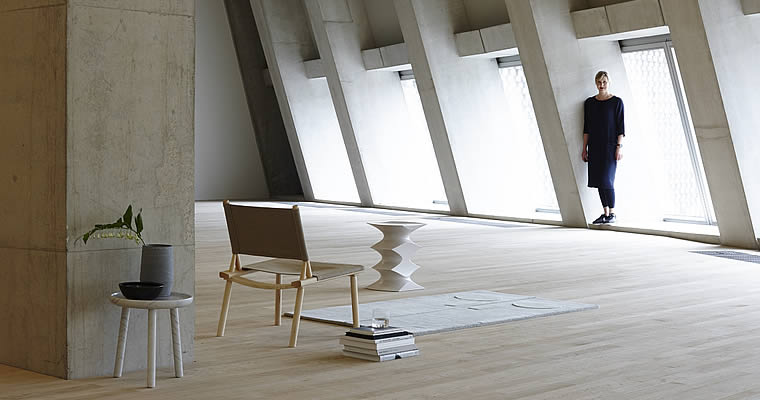
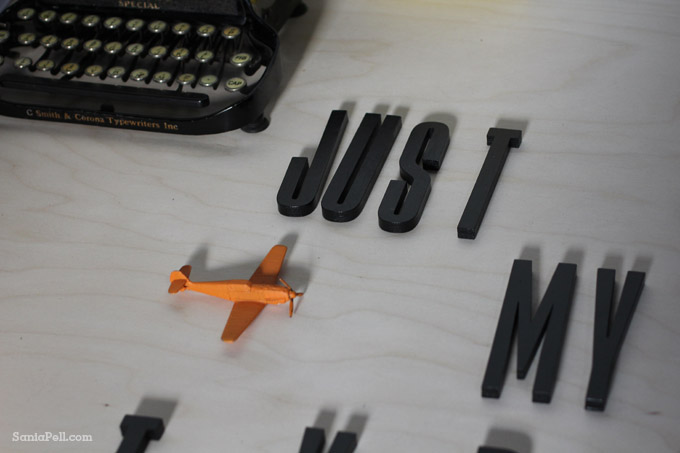
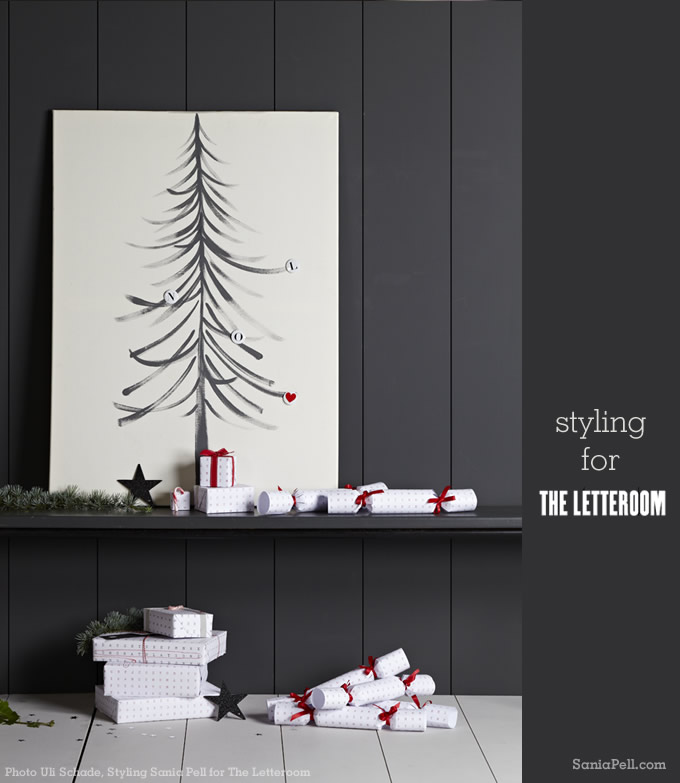
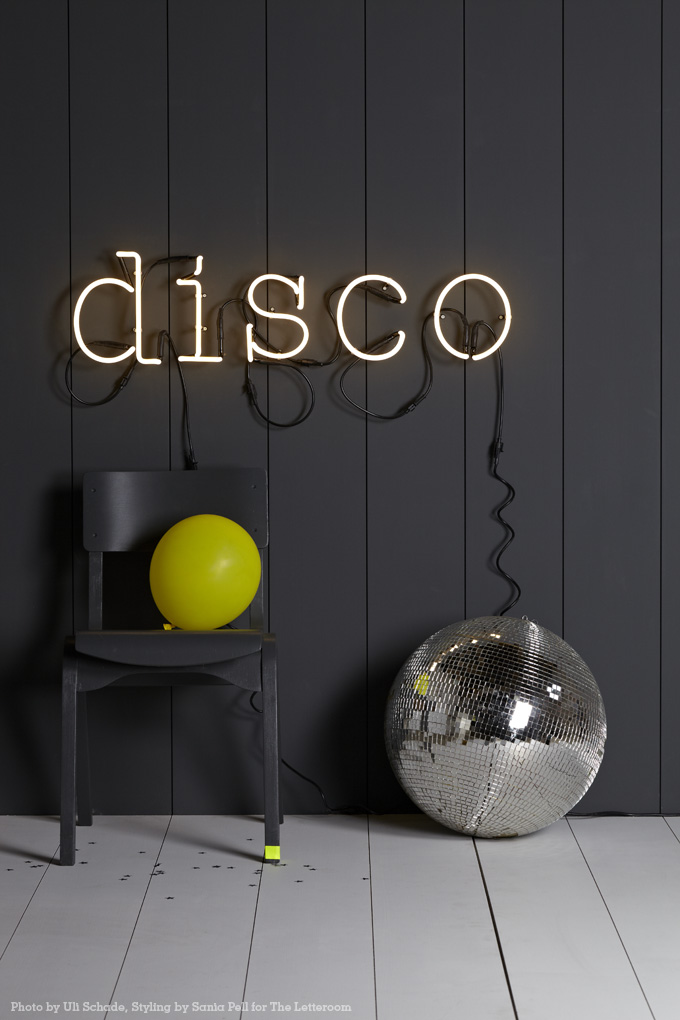
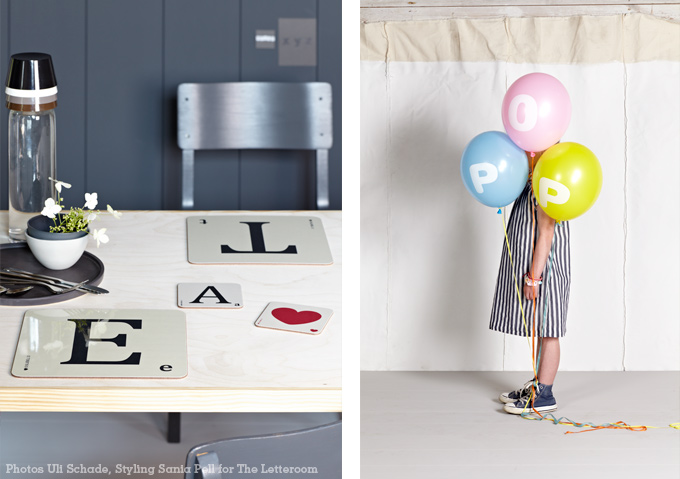
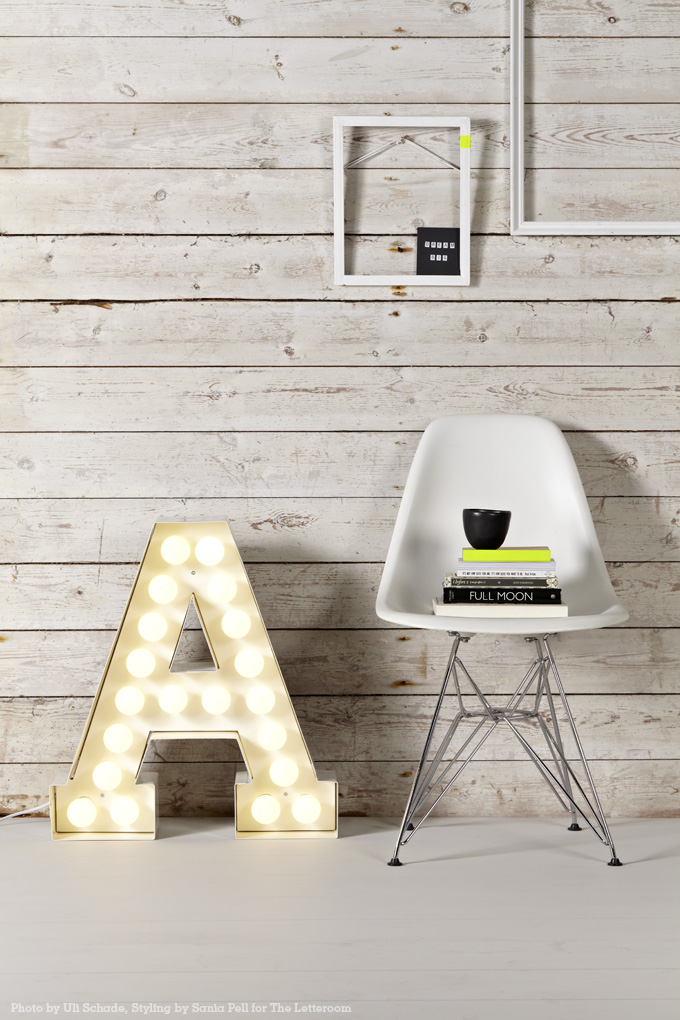
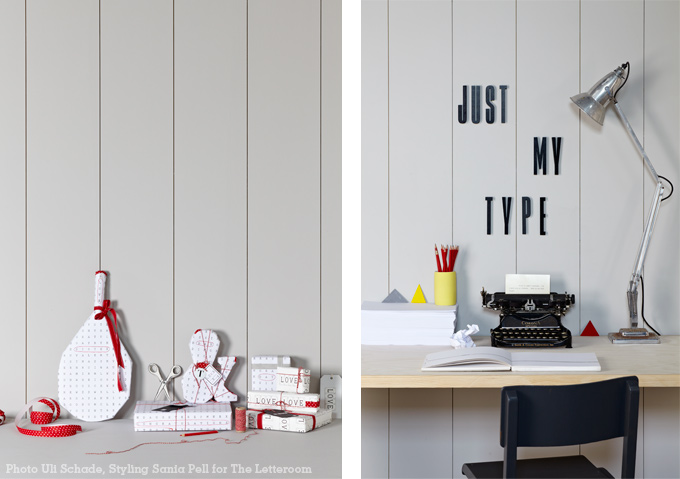
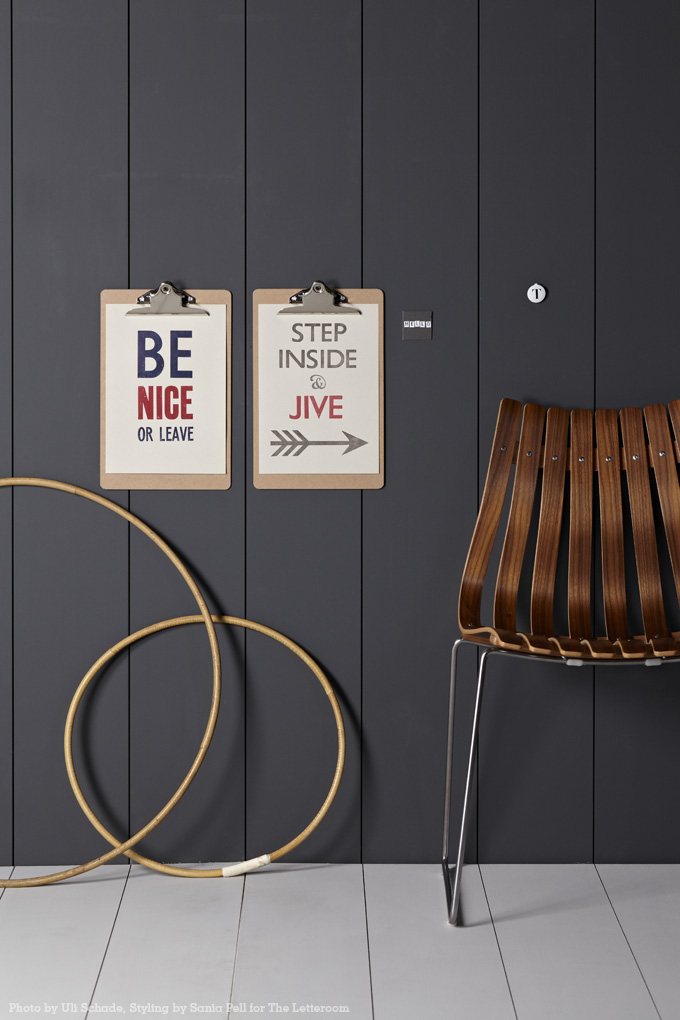
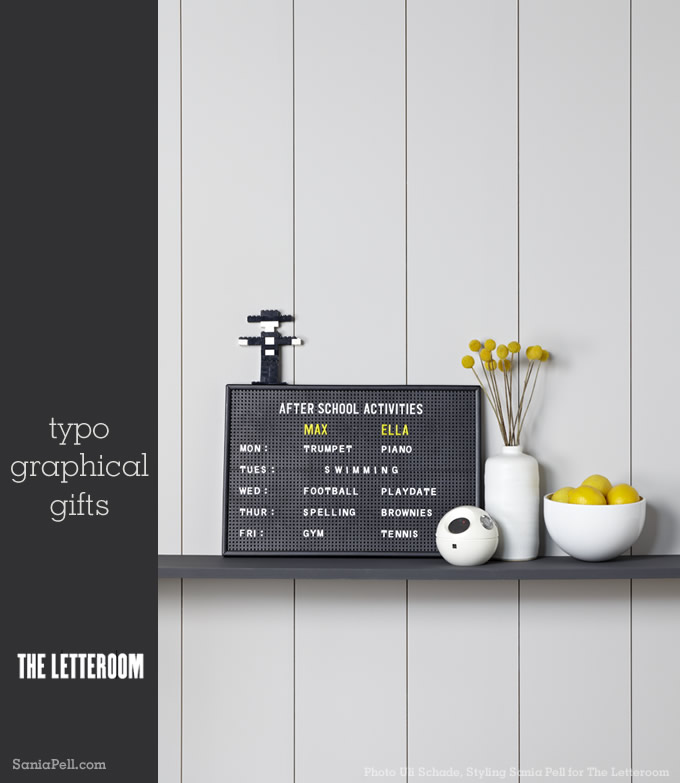
I was approached in early Summer by The Letteroom to put ideas together for a new look and photographic direction for their first ‘grown-up’ catalogue, a taster of their product range for this Christmas season. The Letteroom sells personalised gifts and products of a typographical nature – homewares, accessories, decorations, prints – all with letters on that you can choose and personalise with bespoke messages. As a fan of all things typographic, photographer Uli Schade and I went with a clean and graphic feel for the images in a monochromatic palette. Some of the images we shot are below.
We were very kindly lent furniture by Simon Jones Studio and Julian Chichester for the shoot. Other pieces were flea market bought and painted to complement the sets we designed.
Flick through below to see the images Uli and I created in a sample of The Letteroom’s new catalogue:
If you can’t see it, click here to view on issuu.com
Head over to The Letteroom’s website to order the full catalogue and browse their product range which includes the products in the images shown. There are lots of ideas for great Christmas gifts!
Happy shopping.
Comments: 3 Leave a comment

the breakfast club
November 4, 2013 in food styling, interior styling
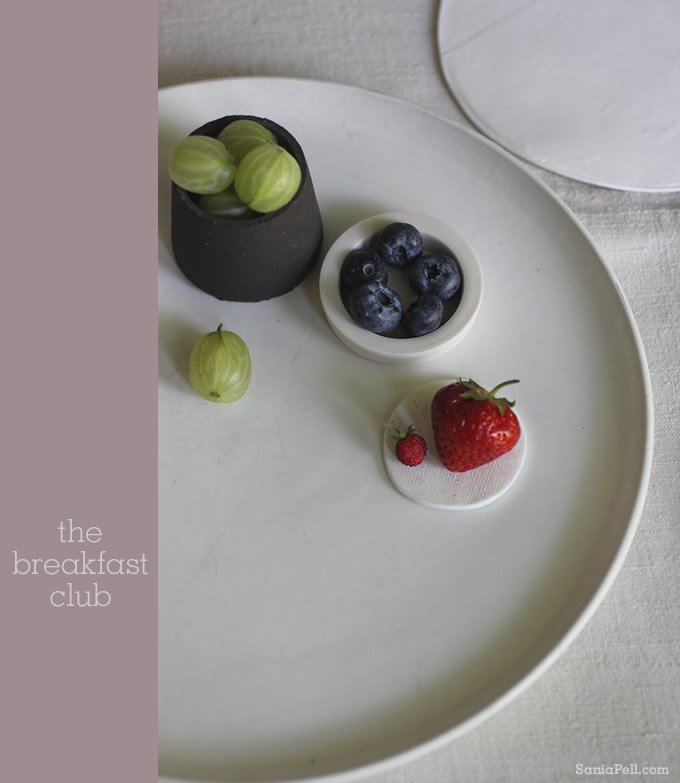
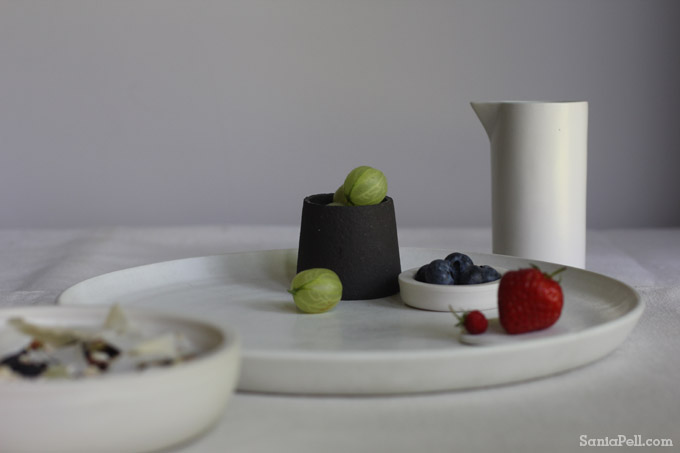
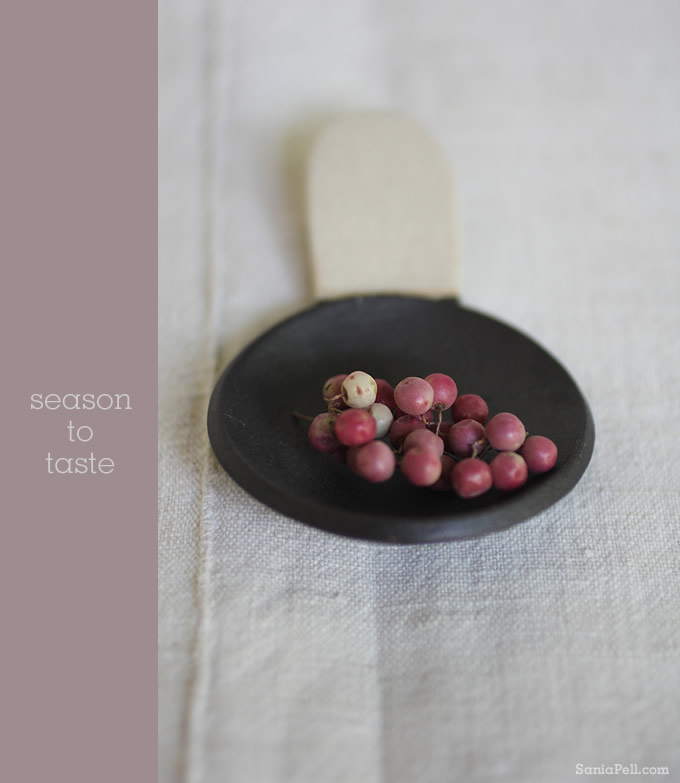
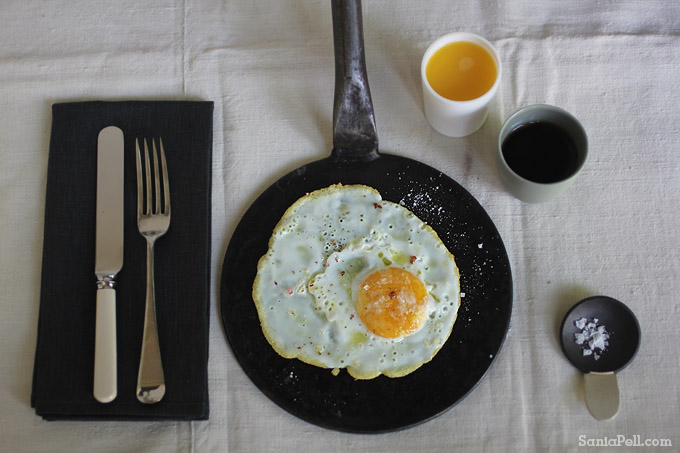
This little shoot was put together by myself and my friend Chrissie Holden. We first met at our children’s school summer fair two and half years ago. I had just finished lunch with my family and was chatting to my husband on a picnic table as the children had run off to play with their friends. A tall, bubbly mum wearing fab sunglasses asked if she could join us on the table with her family. We started chatting about the school and realised that her son and my daughter would both be starting reception together. She pointed to a banner hanging above the tea stall, appliquéd with fabric strawberries and tea cups and saucers on a natural linen and commented how much she loved it and had photographed it. I smiled and said “I made it!” and so our friendship began.
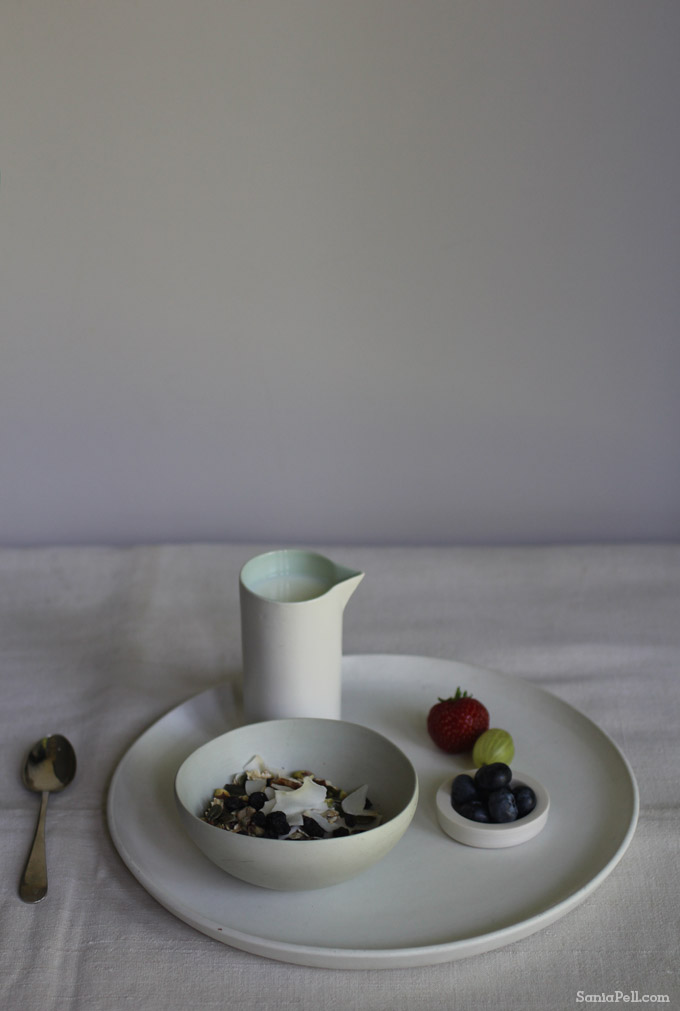
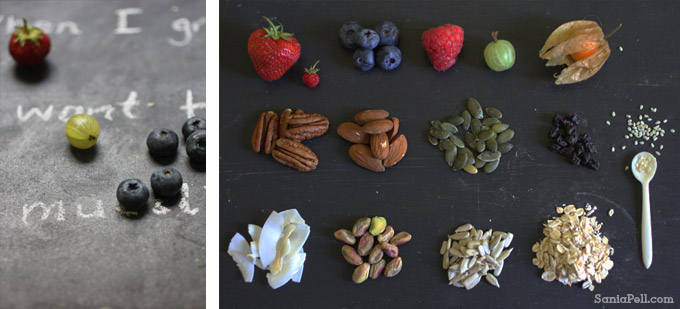
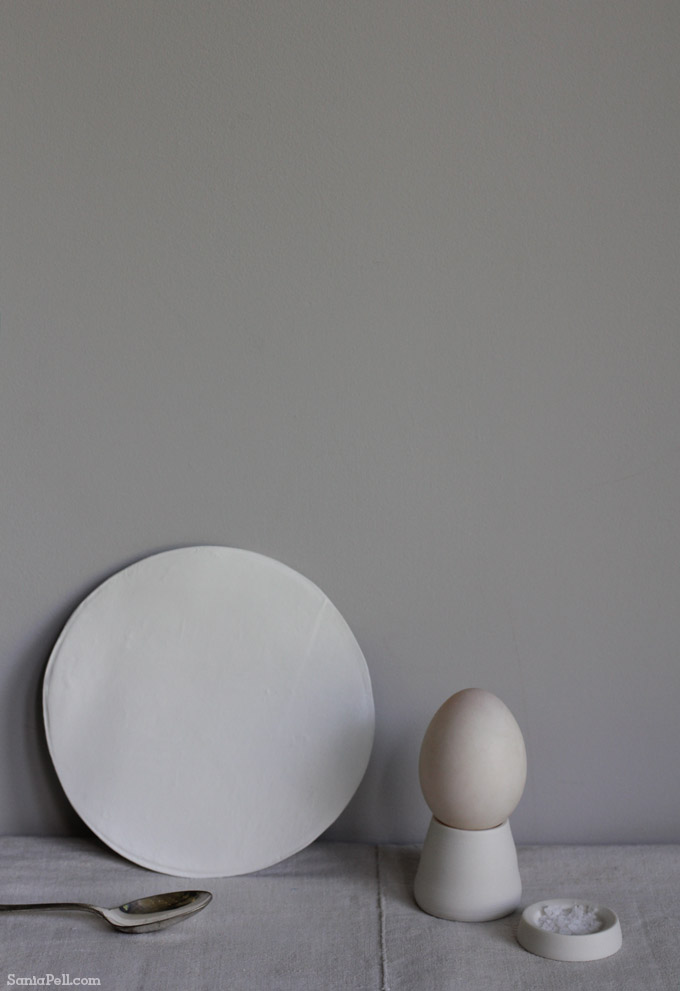
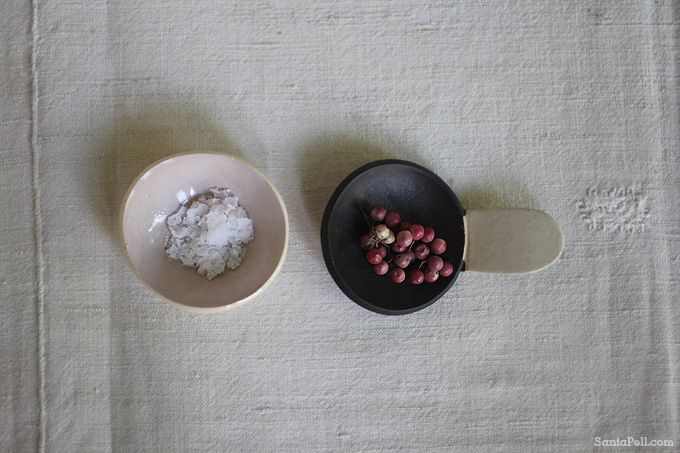
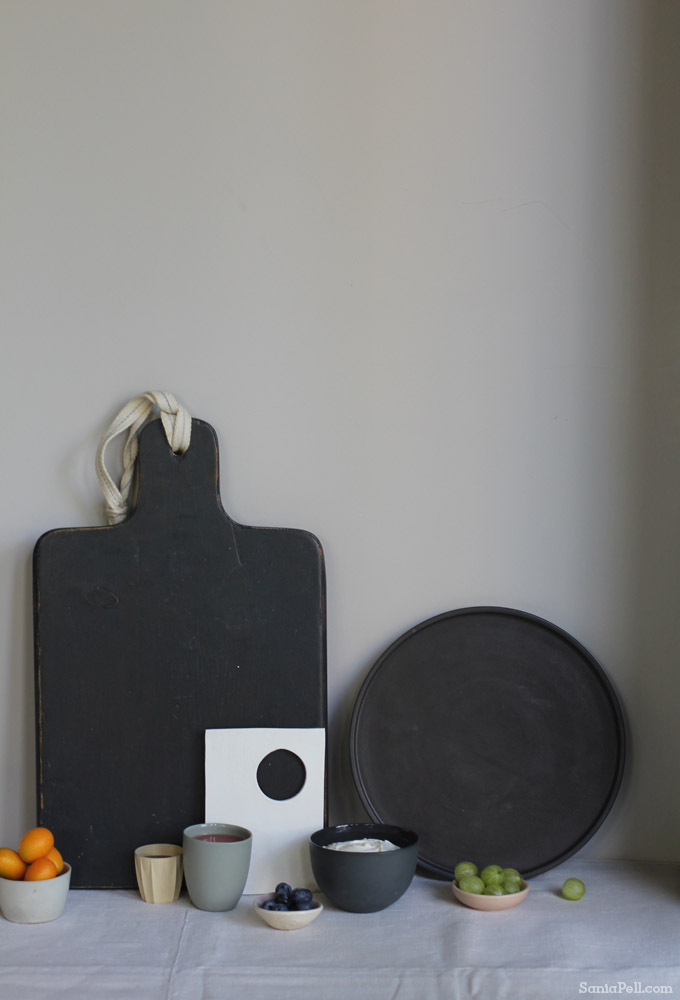
Chrissie assists me on commercial photo shoots when I need an extra pair of hands and having done this for a while , a natural progession was for us to create a little shoot together just for fun and to post on my blog. I took the pictures, made some of the plate props out of Das modeling clay and we styled it together. We visited a local prop house for extra vessels, plates and boards to add to our own personal selection and spent a few hours one day styling and photographing at Chrissie’s lovely home in between school runs.
Chrissie is a foodie, so it seemed natural to work with this talent of hers and create a food-related story. She also wrote the words below (which did make me blush a little!) especially for this post to give a little insight into the thoughts behind the images. And if you want to say hi then you can find Chrissie over on Instagram.
“Contemporary cookbooks have become photographic tomes in their own right. A paragon of styling, lighting, art direction and photography, some of them really are works of art. The wonders of nature and the alchemy of ingredients lovingly prepared then presented with care and attention to detail make for a very beautiful and engaging narrative.
Food styling and photography has since come on in leaps and bounds in the past two decades. There is the seminal work of Donna Hay, whose clean and crisp styling has been hugely influential. The moody and emotive work of Katie Quinn Davies on her ‘What Katie Ate’ blog and cookbook; and the phenomenal catalogue of work by Ditte Isager, whose earthy tones and calming greys make for incredible still lives, as seen in the NOMA cook book and Gwyneth Paltrow’s ‘It’s all good’.”
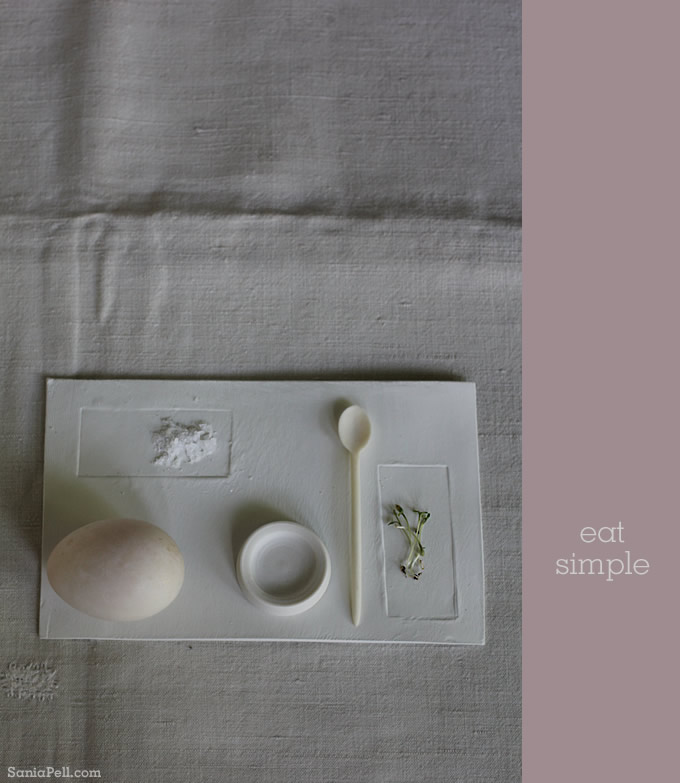
“Lately I’ve been enjoying a very pure food aesthetic. It’s borne out of wanting to eat cleanly and a desire to live a less cluttered life. It also conforms to Sania and my mutual love of all things Scandi-nese. So, when Sania suggested we work on a food shoot together I was delighted. It is incredible to observe her eye in action and the way her brain works never ceases to amaze me. As regular readers of her blog, you will be no strangers to her creativity, flair and general styling wowness, but to see it in action is something special.
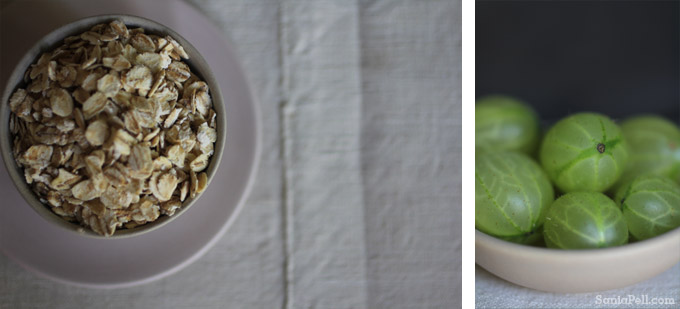
We decided to work with breakfast. It’s the most important meal of the day, after all. We kept things simple, offering the ingredients to you in their purest forms. We kept the colour palette neutral, layering tactile linens and ceramics. This is what we came up with.”
Chrissie
Now… what’s for breakfast tomorrow?
Comments: 7 Leave a comment


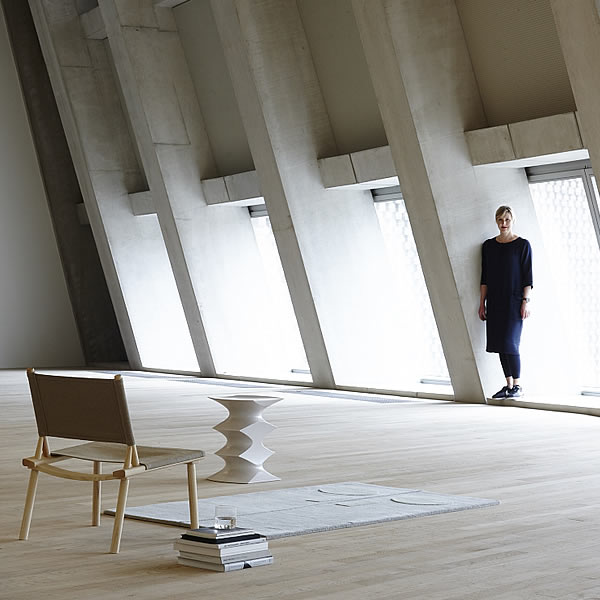


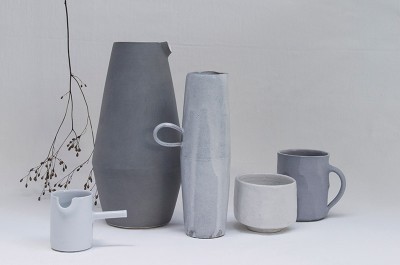 Line Up contemporary craft exhibition, curated by Sania Pell, at Flow Gallery, 1-5 Needham Road
London, W11 2RP.
 View Sania's interiors, food and table top and children's lifestyle photographic styling portfolio.
