adventure time
March 23, 2013 in news
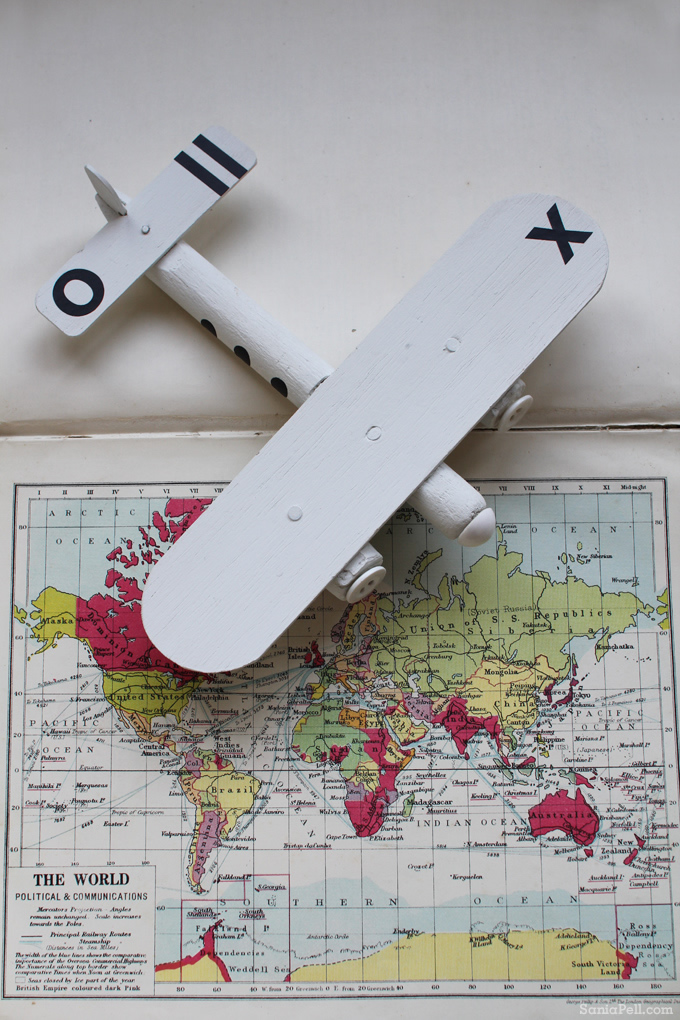
We have been planning and looking forward to this family adventure for well over a year. When good friends told us that they was moving to Sydney from London, rather than being sad that we were losing them to the other side of the world, we decided to embrace the fact and plan a visit to see them. The time is fast approaching and we will be there soon. I visited Sydney many years ago and love its cafe and beach lifestyle. I am excited by the art, craft and interiors scene in Australia and hope to be able to explore the city and visit some of the places I have been viewing from afar. We will also be exploring up the eastern coast and stopping in Singapore on the way home for some more cultural inspiration. I am sure I will take lots of photos to share when I return.
If you have any recommendations of places to see and things to do please leave a comment!
Have a happy Easter and see you in a while.
Sania x
Comments: 10 Leave a comment

pretty in pink
March 22, 2013 in flowers, interior styling
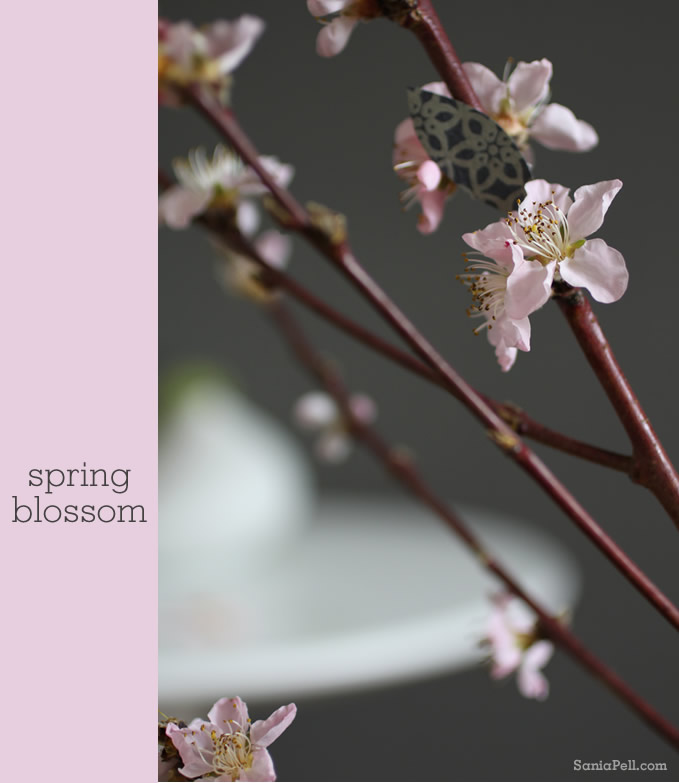
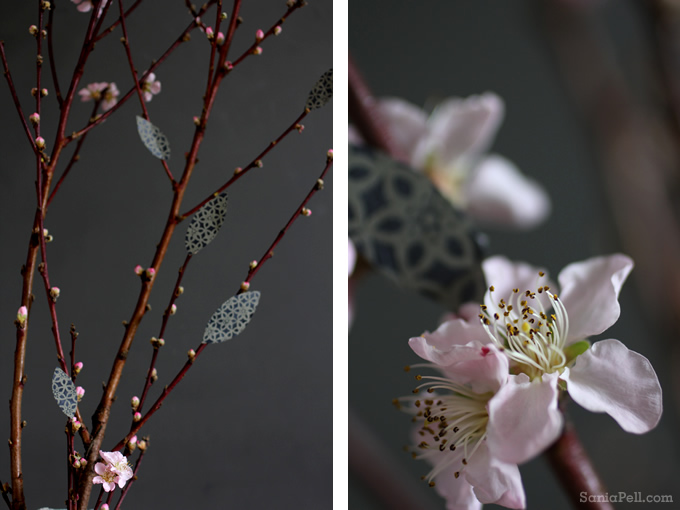
With Spring approaching and beautiful sprigs of blossom on sale, I couldn’t resist taking some snaps of them at home. The photography course I am taking has inspired me to take even more pictures and with the arrival of a little Saarinen side table I just bought from Skandium, it all fell into place. I love its classic shape and after years of lusting after it, and several shoots where I had used it, I finally ordered one. The little Rosenthal Pollo vase is another design classic that a friend bought me for Christmas several years ago, one I will always love. I cut some leaves from patterned paper and added them to the blossom stems and placed them in one of my fabric-wrapped vases.
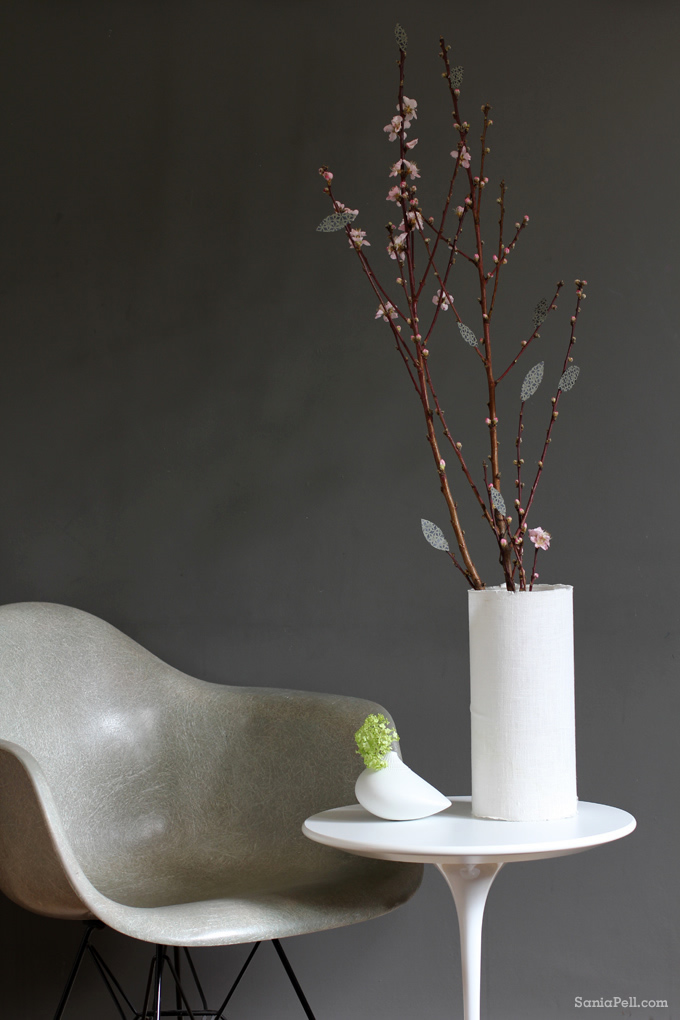
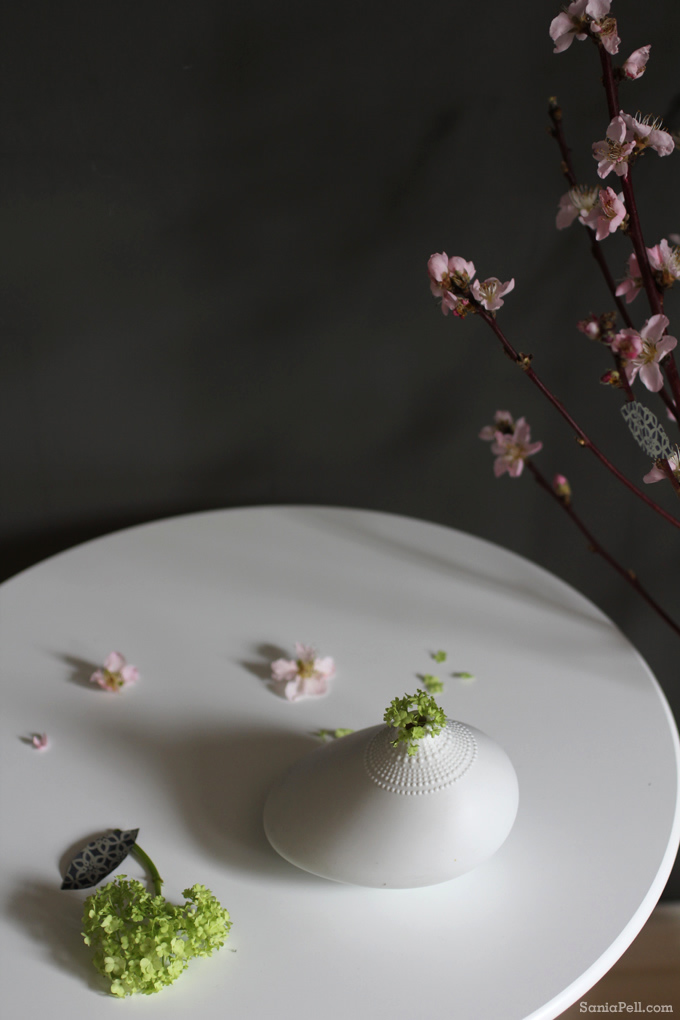
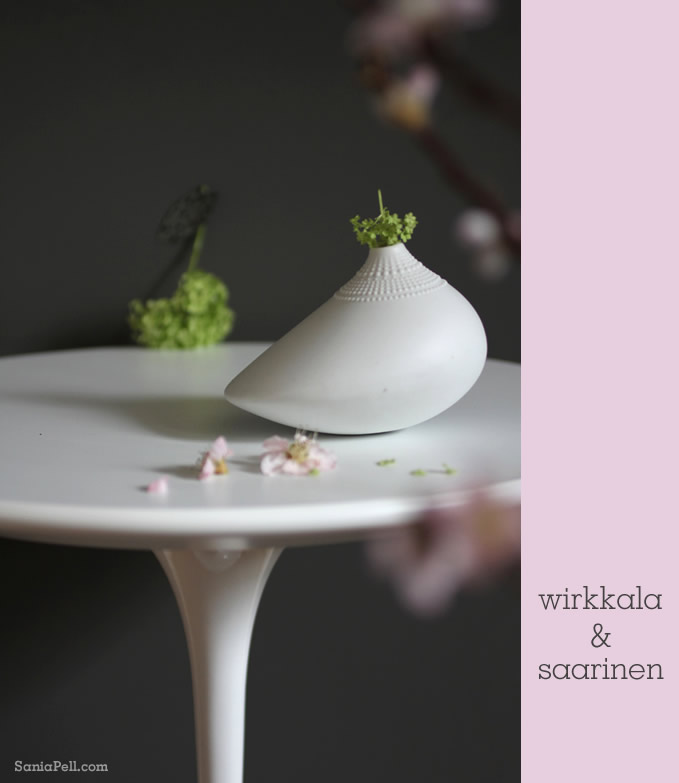
Finnish designer Eero Saarinen designed this range of tables in 1956 and they are still made by Knoll (available from Skandium in London). The Pollo vase is by Rosenthal and was designed by another Finnish designer Tapio Wirkkala in 1970 (available from Vessel Gallery in London). They sit next to a vintage fibreglass Eames DAR chair that we bought years ago at a New York flea market. They are also available new through stores like SCP.
I can’t wait for Spring, can you?
Comments: 5 Leave a comment

styling for cox & cox spring
March 18, 2013 in interior styling
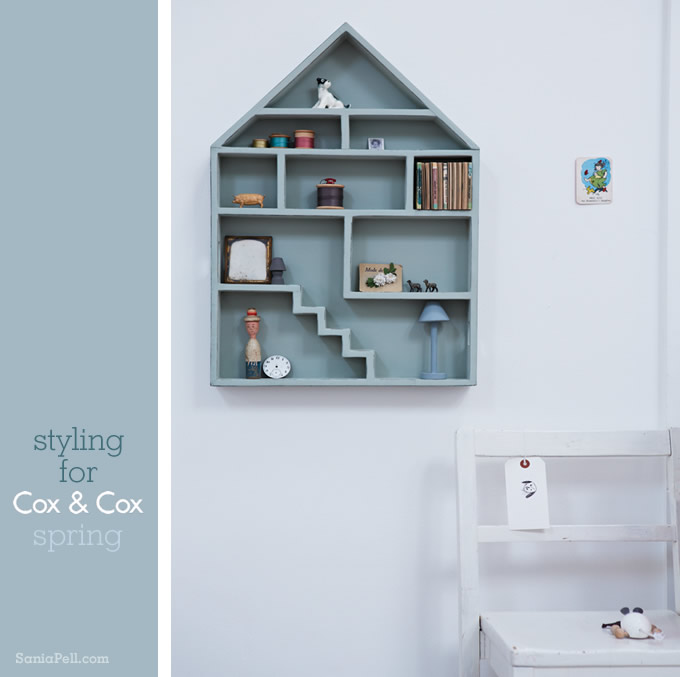
I thought I would share a selection of shots from the last Cox & Cox catalogue I worked on, styling their new Spring product range. My favourite images in the catalogue are from the children’s shoot days where there is a mixture of still lives and model shots, with the energy and fun that the children’s characters added to the images and sparkle to the products.
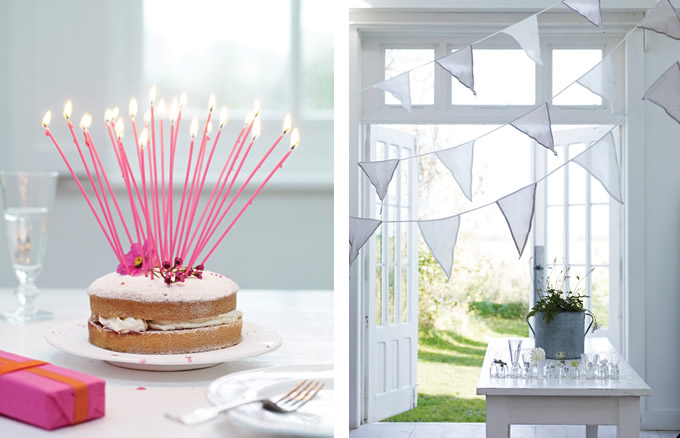
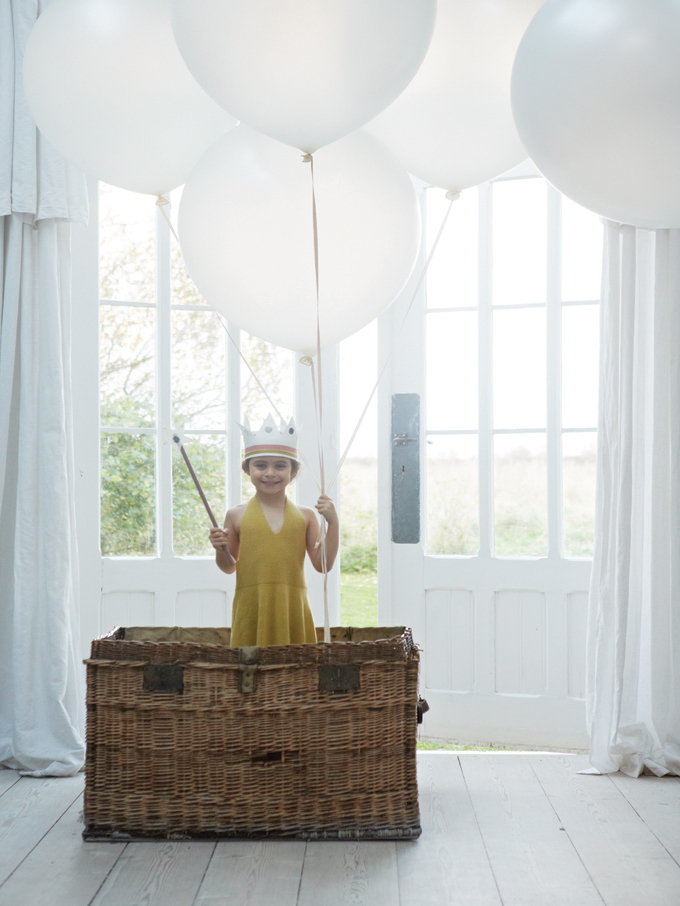
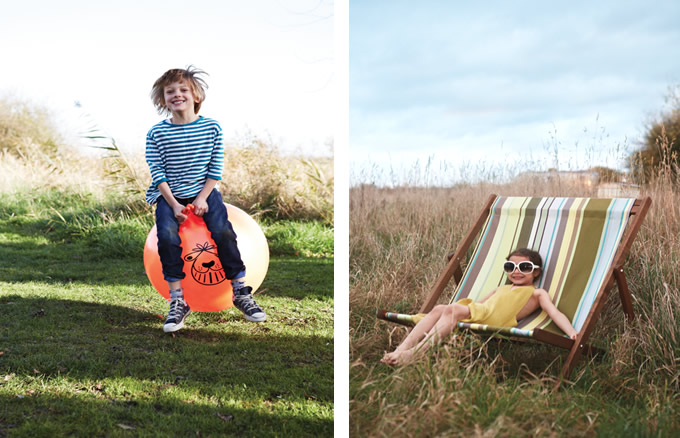
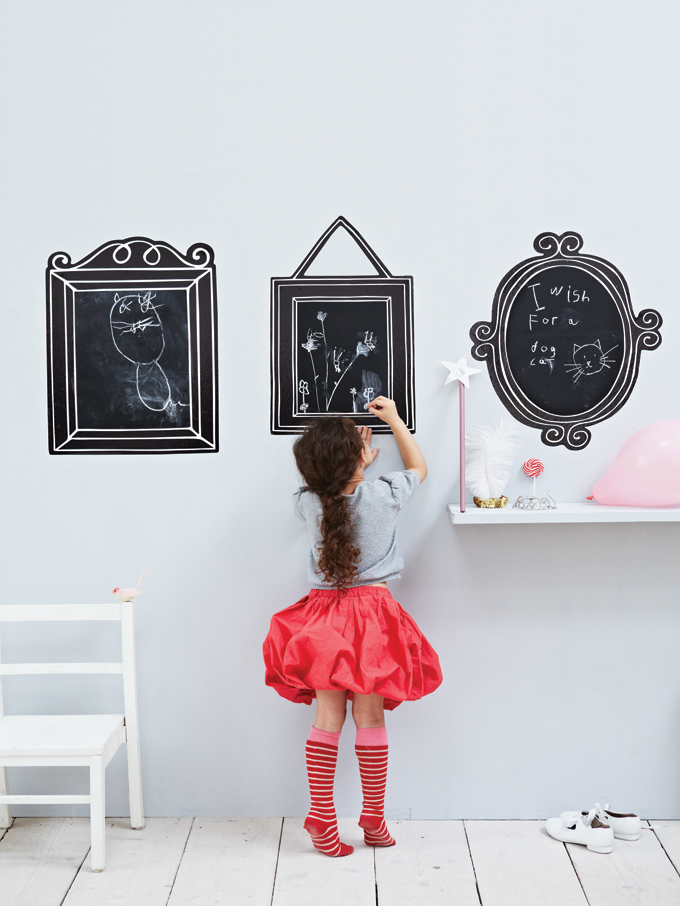
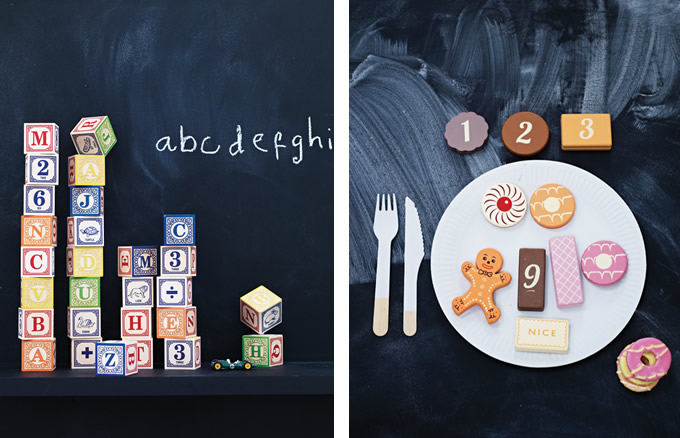
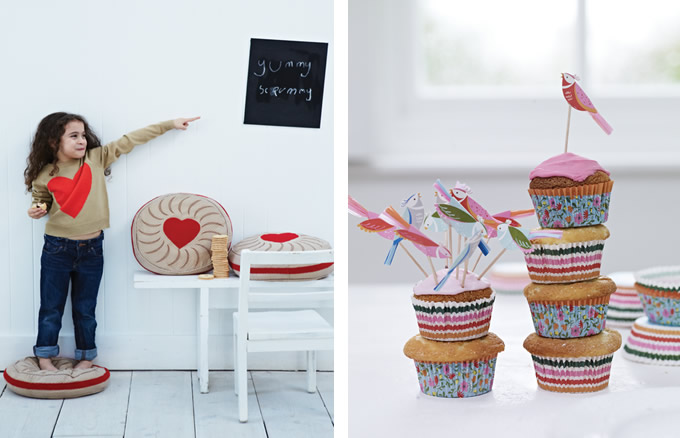
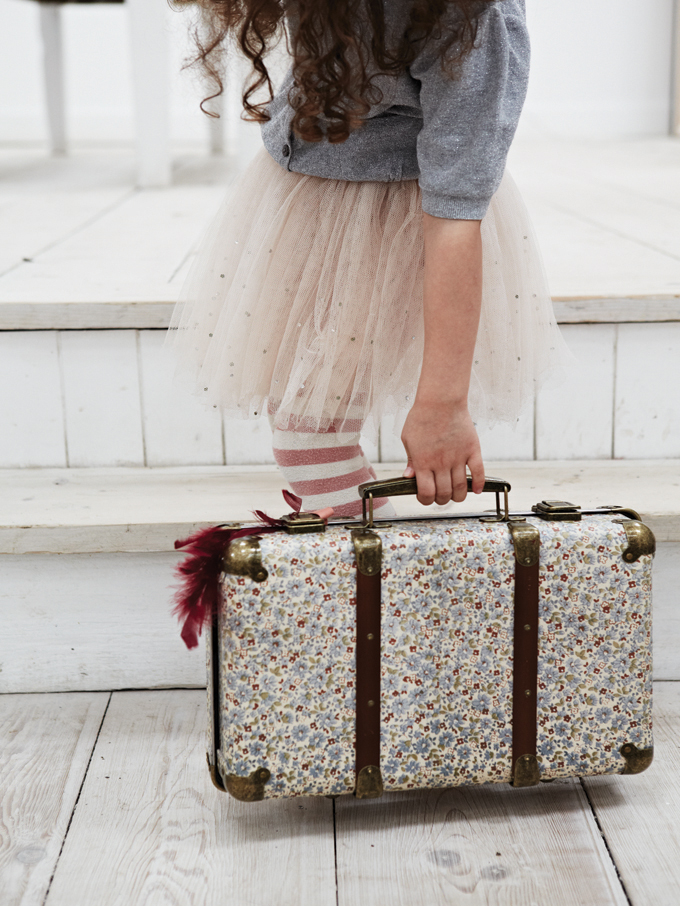
I think my favourite of all is the little girl in the basket, looking as if she is about to float up in her hot air balloon and wearing a crown and wand that I made as props for the shoot.
Which is your favourite image?
For many more images browse the kids’ range in their online shop here or you can order the free Cox & Cox brochure here.
Photographs by Emma Lee, courtesy of Cox & Cox.
Comments: 11 Leave a comment

snapshots of home on decor8
March 15, 2013 in interior styling, news
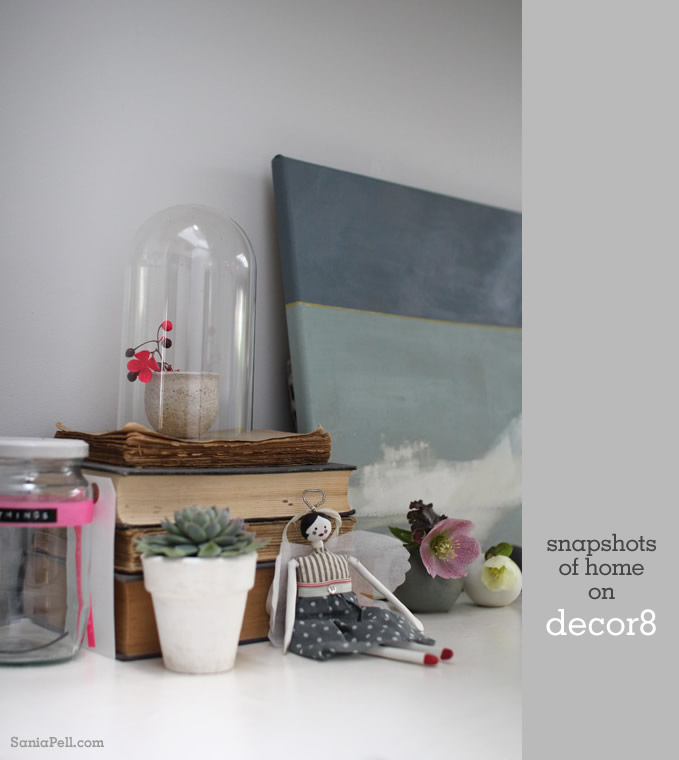
It has been a busy time here with work and family. Following a couple of shoots for Waitrose recently, I have been prepping for next week’s shoot for Karen Gilbert’s new perfume book with CICO Books (I styled Karen’s last book which you can see here) as well as planning other upcoming projects. I have also been working on updating my portfolio and this website and have started a photography evening course to improve my technical ability, which is really fun and the technical aspects are falling into place. We also have a big, exciting family holiday adventure coming up soon, so lots of organising involved with that too!
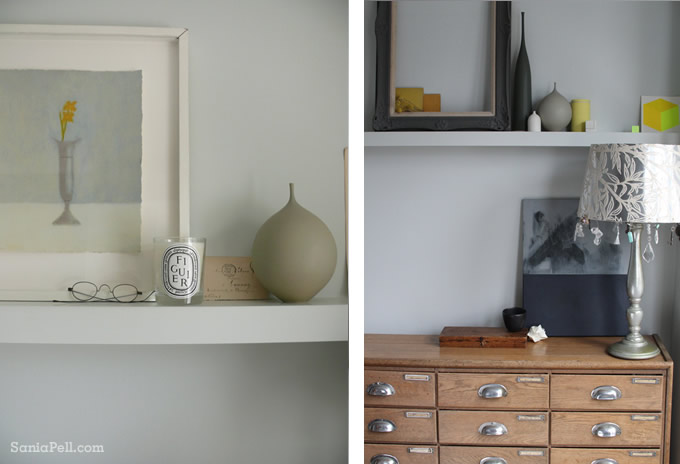
I thought I would share some pictures I took of my home for a post on Holly Becker’s Decor8 blog. Holly is interviewing some of the homeowners that feature in her new book Decorate Workshop in a series called ‘Snapshots of home’ and I was happy Holly asked me. If you’ve not seen it head over to read the full interview on Decor8 here. Holly’s new book is a great resource for tips and techniques to decorate you home. It is packed full of exciting visual reference to inspire anyone who needs a point in the right direction. It is also practical with guidance and advice to help the reader through every step of a decorating project. Holly explains all about her book here.
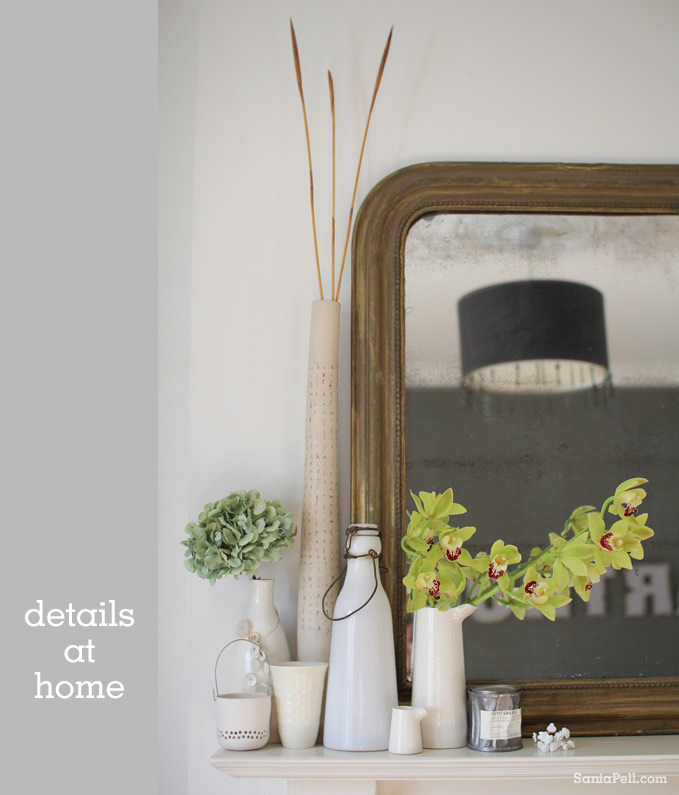
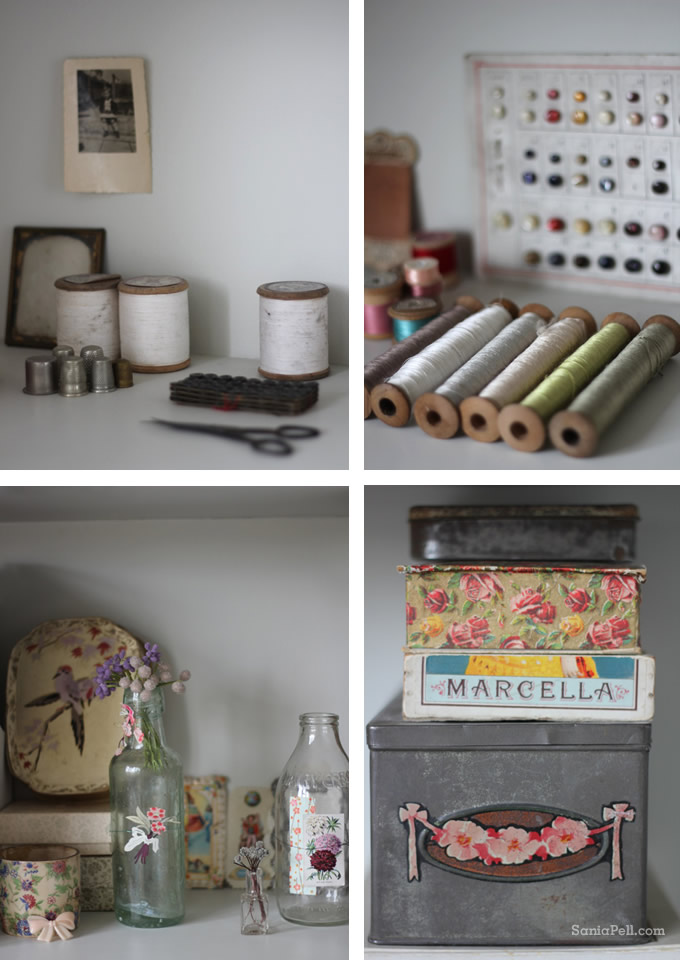
If you want to know more about these photos and where they are taken in my home, I talk about them in the Decor8 post.
We’ve started planning our own re-decorating project too. After seven years with small children our family home needs a refresh so I’ve been looking at paint colours, floor finishes, sofas, coffee tables, fabrics… the list goes on!
I hope Spring has sprung in your part of the world. We are still waiting for its arrival in a rather chilly, blustery England… though at least the sun has appeared after what seems like weeks of grey skies.
Comments: 6 Leave a comment

homemade gift – liberty print candle
March 6, 2013 in diy craft projects, homemade
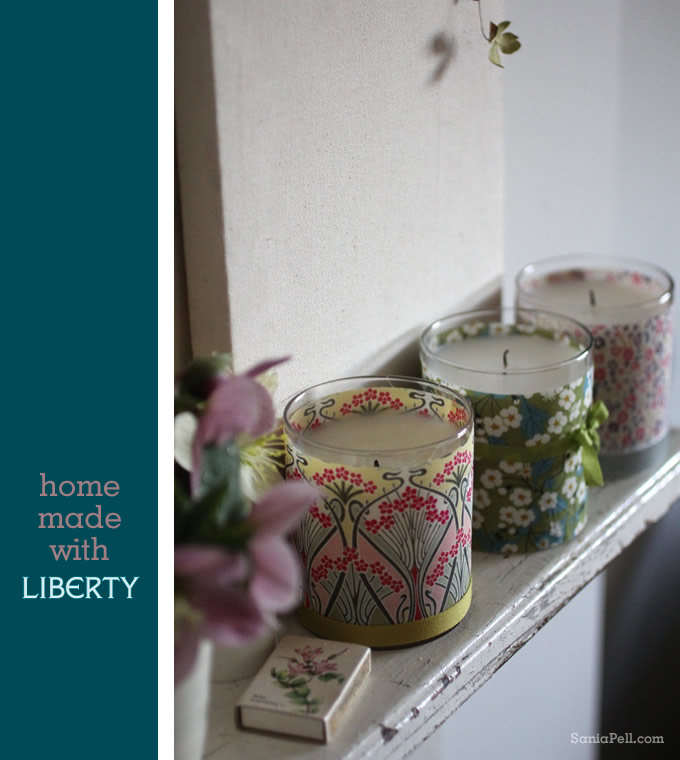
A few weeks ago I was asked by the lovely team at Liberty to come up with an easy-to-make Mother’s day gift for the Liberty blog, so I adapted a project and wrapped glass candles with a selection of Liberty print fabrics. Although Mother’s Day in the UK is only a few days away, you still have time to make this as it is quick to do.
This is a really simple idea to turn a plain candle into something unique and special. One of these patterned treats, wrapped in tissue in a beautifully decorated box, makes the perfect mother’s day gift. Choose your mother’s favourite colours and a beautiful Liberty print to make a gift she will love and display with pride.
You will need:
Glass candle, Liberty Print fabric and ribbon
Double-sided tape, fabric scissors, a pencil and ruler
For the gift box:
Plain cardboard box with lid, swing tag, Liberty print fabric and ribbon
Emulsion paint and small flat brush about 3cms wide
Scissors, needle and thread, bondaweb and an iron
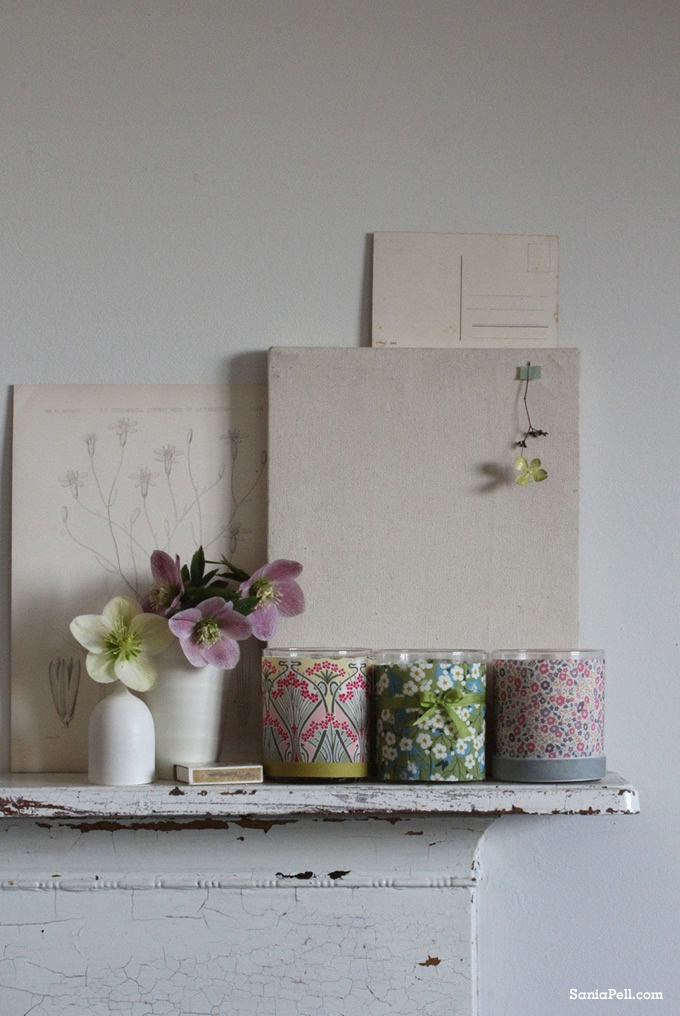
To make the candle
Measure the height of the candle and cut your fabric at least 3cm shorter than this height to give at least a 1.5cm gap at the top of the glass and the bottom. To measure the circumference, wind some thread around the candle adding a 1cm overlap for the cross-over at the back, then stretch it out and use it as your guide for your length. Draw this long rectangle lightly, but visible in pencil onto the reverse of the fabric and cut out carefully.
Stick double-sided tape along both short edges on the wrong fabric side. Stick the first side straight to the glass, then wrap the fabric around the glass and stick the other side down with an overlap of fabric, ensuring your fabric is straight and taut and that there is at least a 1.5 cms gap at the top. Snip any stray threads off.
Cut a ribbon to the correct length and wrap it around the middle, tying with a bow, or wrap a strip around the bottom of the candle using double-sided tape at both ends of the ribbon to fix.
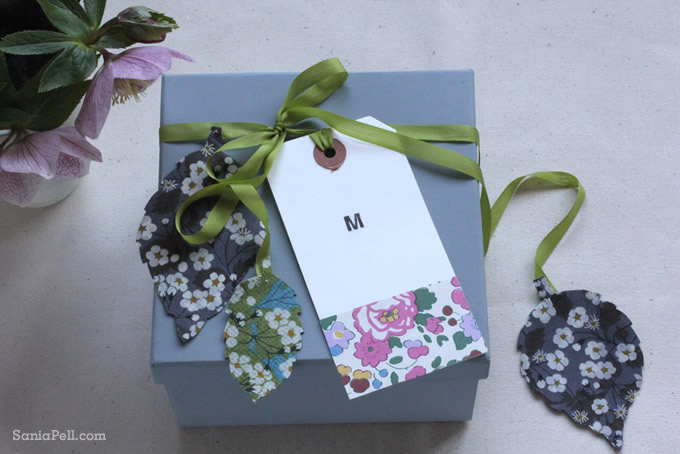
To make the packaging:
Paint the box with emulsion paint in one of your mother’s favourite colours, outside and inside until covered. This could take two coats.
Add some detail to a tag using a piece of Liberty wrapping paper fixed to the bottom with double-sided tape and write or stamp on your mother’s name or initials.
To make the fabric leaves, iron bondaweb onto the reverse of some Liberty fabric then iron a plain fabric to the other side. Cut out a leaf shape either by hand or by pinning a real leaf onto the fabric and cutting around it using it as a template. Stitch these fabric leaves to either end of the ribbon you will tie around the box.
Wrap your candle in complementary coloured tissue paper and place inside the box. Tie with ribbon and add your swing tag.
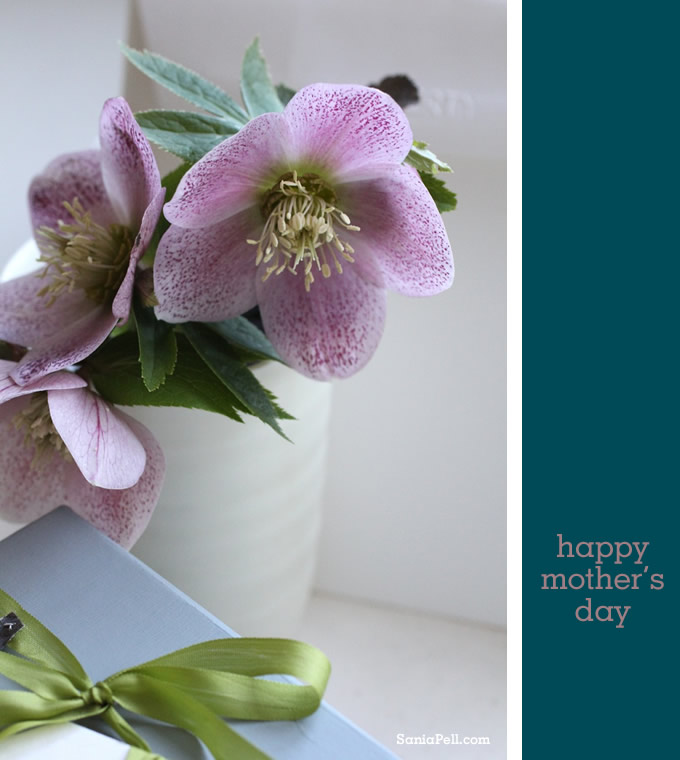
You can read my post on the fab Liberty blog here and peruse the range of Liberty print fabrics.
Have a wonderful Mother’s Day and I hope your mums like their gifts.
If you like this project then and there are more of my diy craft projects here. Each of my books also contains 50 craft projects.
*Please remember never to leave a burning candle unattended.
Comments: 5 Leave a comment

behind the scenes – waitrose
March 4, 2013 in flowers, interior styling
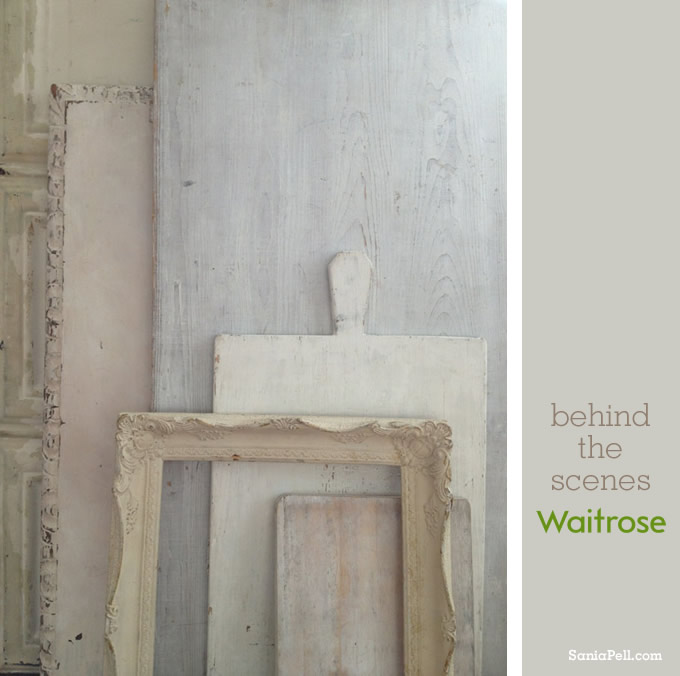
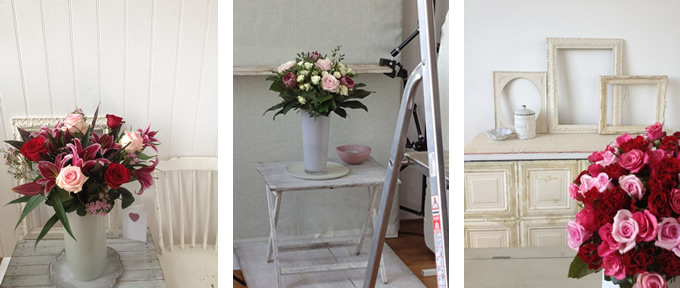
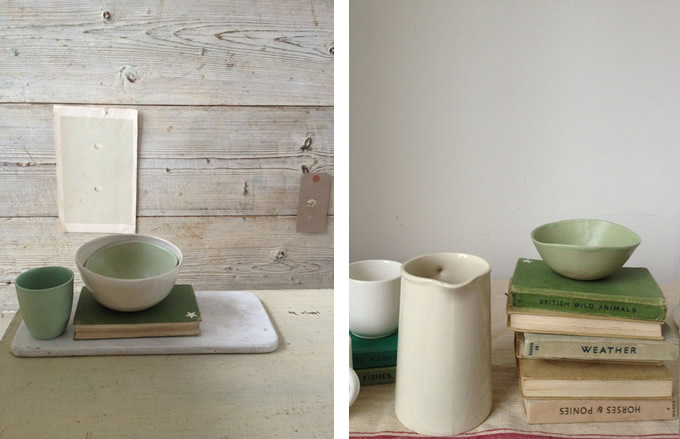
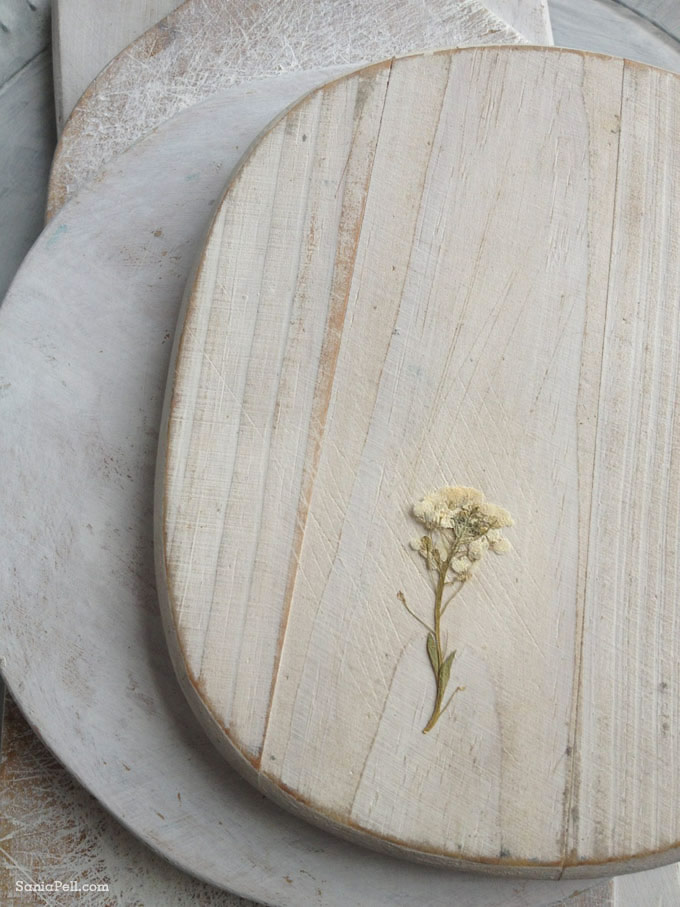
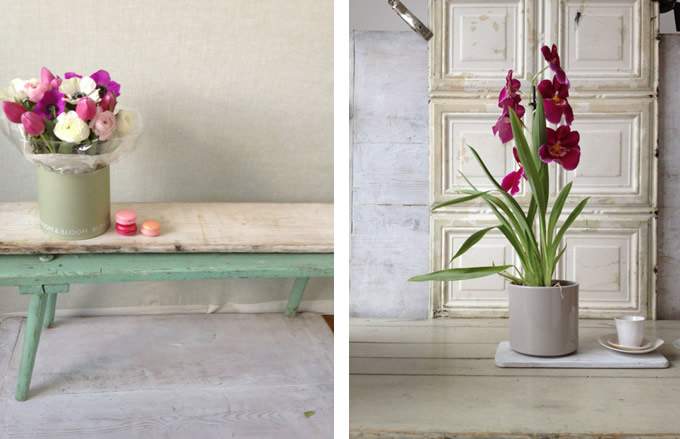
As Mothering Sunday is next weekend here in the UK I thought I would share some behind the scenes photos of another Waitrose shoot I worked on earlier this year with photographer Karen Thomas. We shot the new floral ranges for Valentine’s Day, Mother’s Day and some new Spring bouquets and plants. The brief was for a light, bright look for Spring to contrast against the autumn range we shot previously. During breaks in shooting I snapped a few images of the props and backdrops I had chosen and some of the sets I put together for this shoot and thought you might like a glimpse behind the scenes.
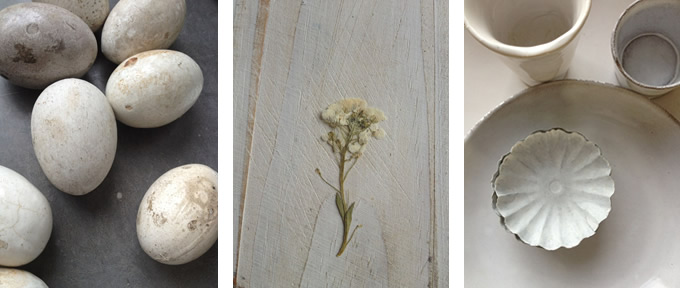
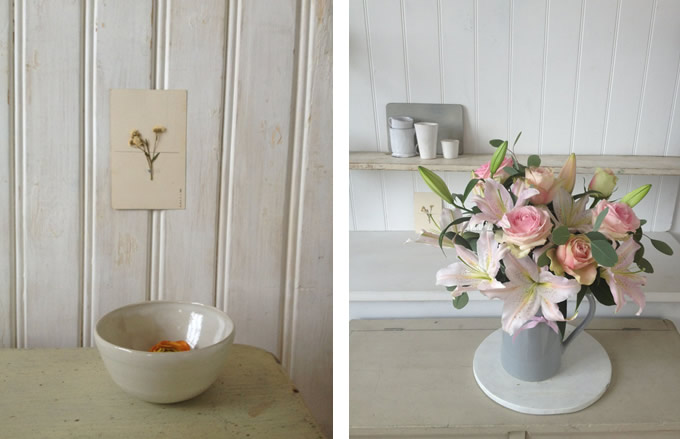
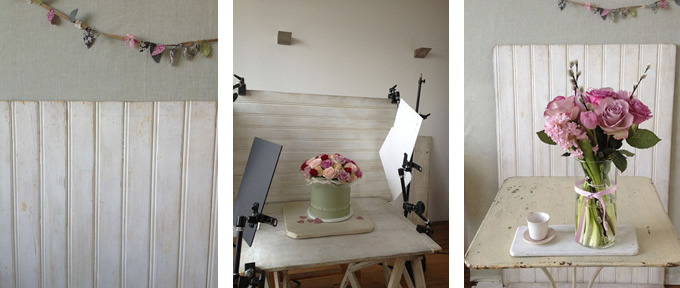
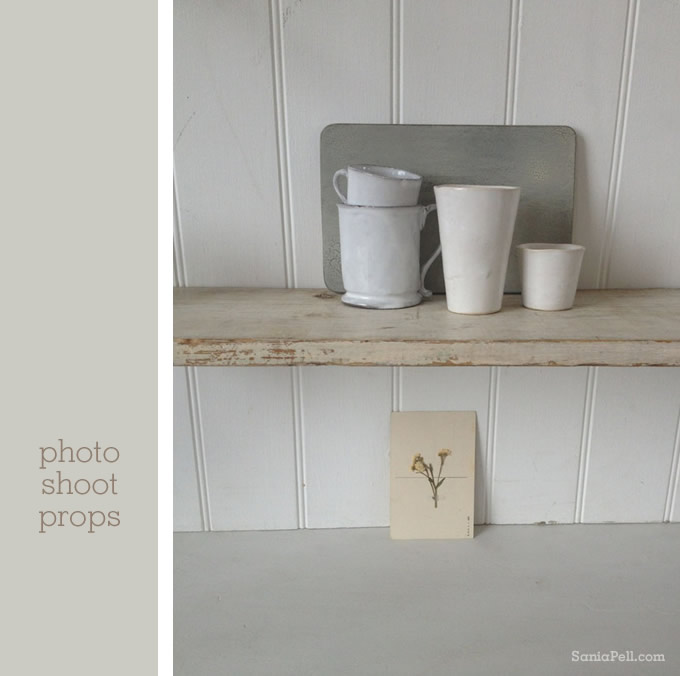
All of these photos were taken with my iPhone! I took them for reference really, but after the shoot I thought the quality was good enough to post them on my blog. What do you think?
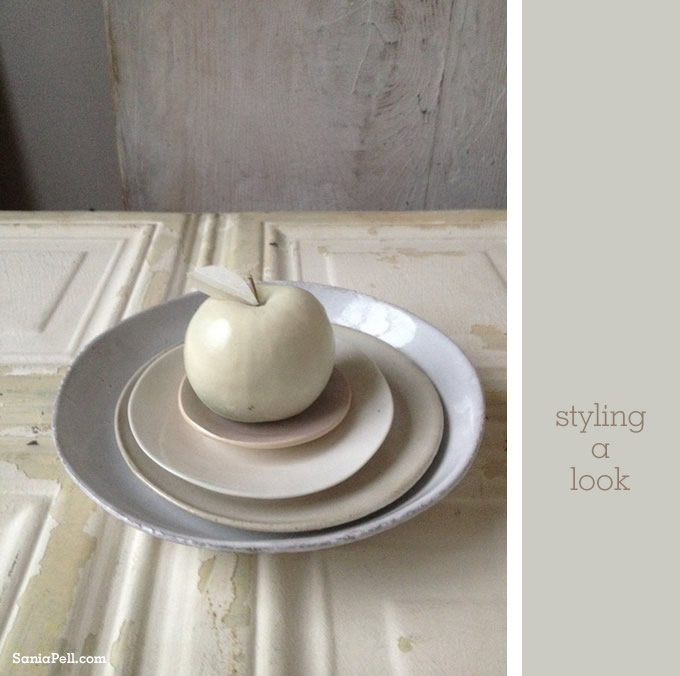
Head over to the Waitrose website to see Karen’s photos from our shoot for Waitroses’s new floral ranges.
Comments: 8 Leave a comment

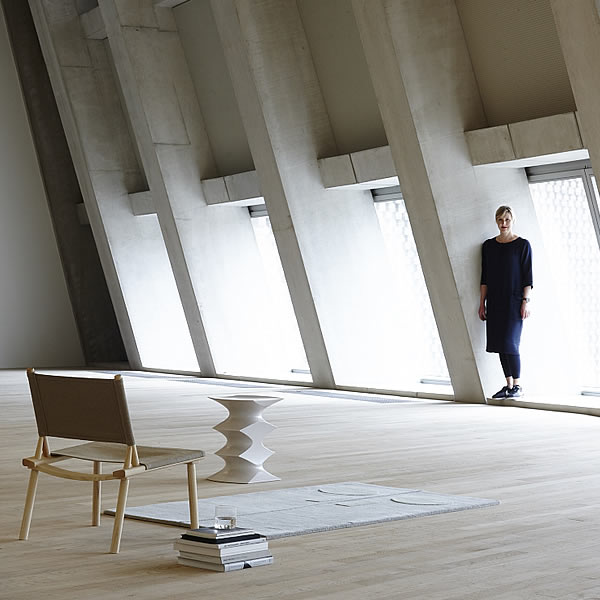


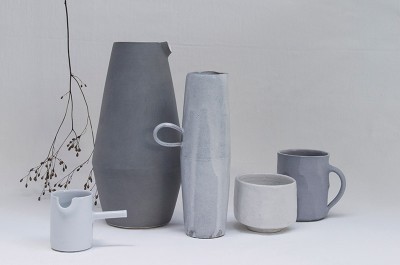 Line Up contemporary craft exhibition, curated by Sania Pell, at Flow Gallery, 1-5 Needham Road
London, W11 2RP.
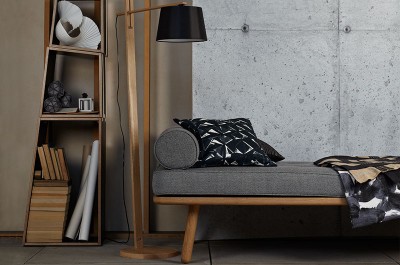 View Sania's interiors, food and table top and children's lifestyle photographic styling portfolio.
