afternoon tea with remodelista
June 30, 2012 in food styling, interior styling
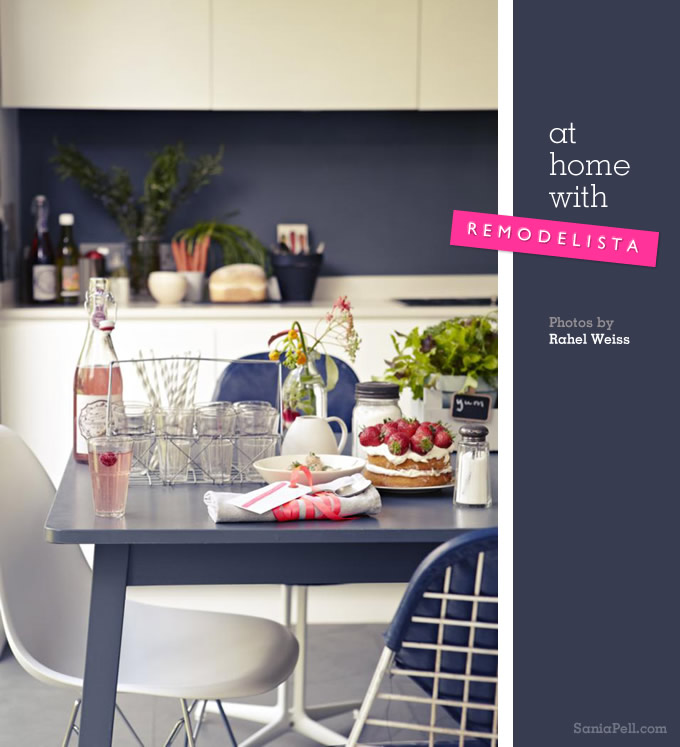
A few Saturdays ago I had the pleasure of top interior design blog Remodelista, the sourcebook for contemporary living, as guests at my home for afternoon tea and a photo shoot. London Editor Christine asked if I could create a tablescape for them to feature, and with casual family summer lunches in mind I decided to create a look that was simple, colourful, informal and relaxed and based around growing vegetables and having raw ingredients on your kitchen table to make your own sandwiches as you sit. These are some of the photos from the afternoon, taken by talented photographer Rahel Weiss.
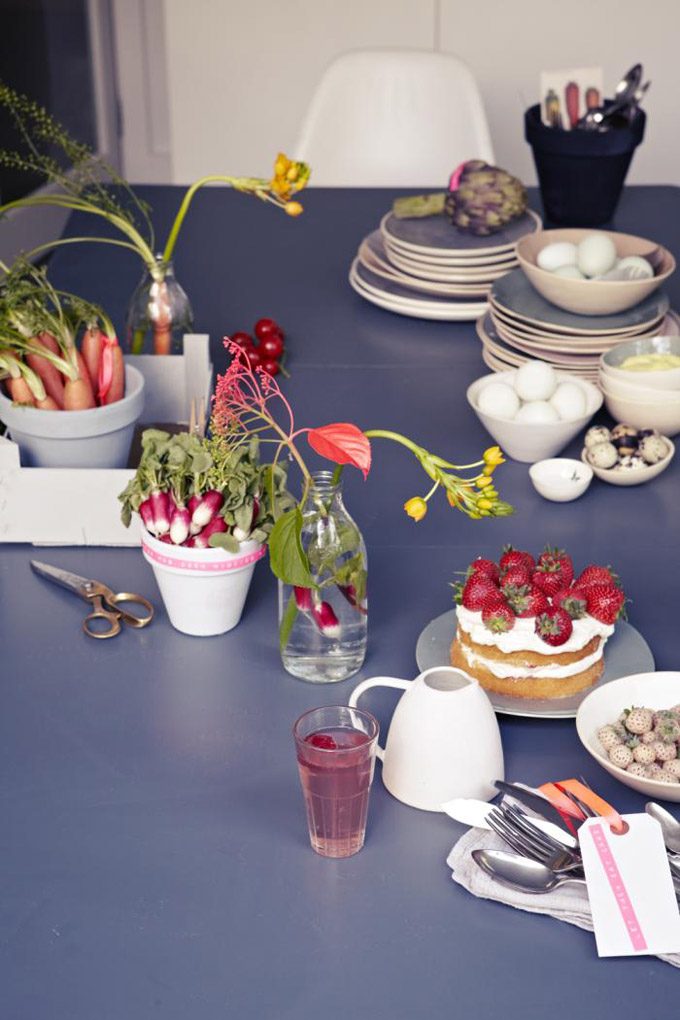
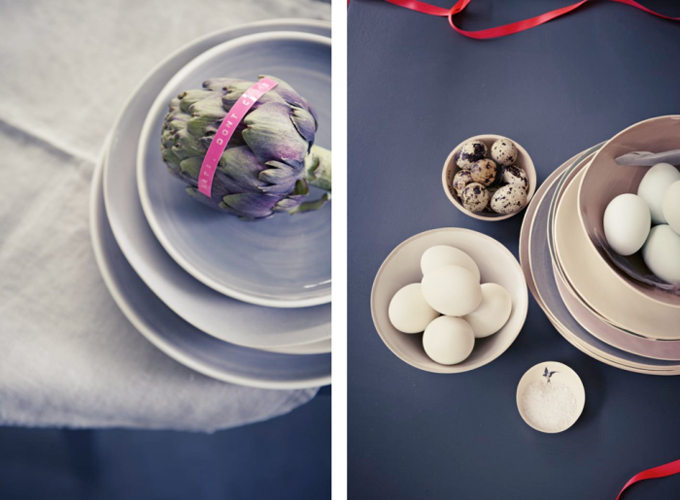
As it was a Saturday my children were at home and involved too and one of their favourites is egg and cress sandwiches. I chose a selection of eggs from my local Waitrose – quails’ eggs, lovely soft blue eggs and white eggs – which I grouped in pastel bowls. I hard boiled them all, so they could be peeled and sliced to make DIY egg sandwiches. The children grew watercress from seed the week before in pretty pastel egg cups. I sliced the farmhouse batch bread, buttered it and let the children peel the eggs and crumble and slice them onto the bread. They snipped and added the cress and sprinkled a few grains of sea salt on top and them devoured the crusty sandwiches with crumbs all around.
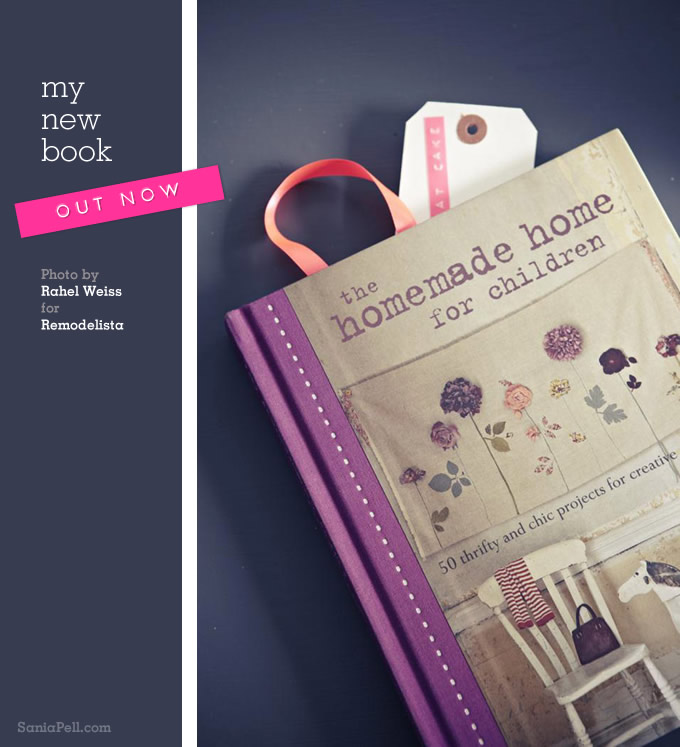
To decorate the table I painted terracotta pots from my local garden centre with emulsion paint in shades of grey, and used them as bowls to display radishes with their foliage still attached. I did the same went with organic carrots as they look so lush with the long stem and leaves still attached, adding to the display. I only have herbs growing in my little London garden at the moment so I bought growing lettuce still in soil in my local Sainsbury’s and replanted them in the painted terracotta pots, washing the leaves first and leaving scissors on the table nearby to snip the required amount off. The idea was you could harvest your own salad right there at the table. A painted wooden fruit box from my local market was used as a tray to contain some of the pots. It is one of the projects from my book The Homemade Home for Children.
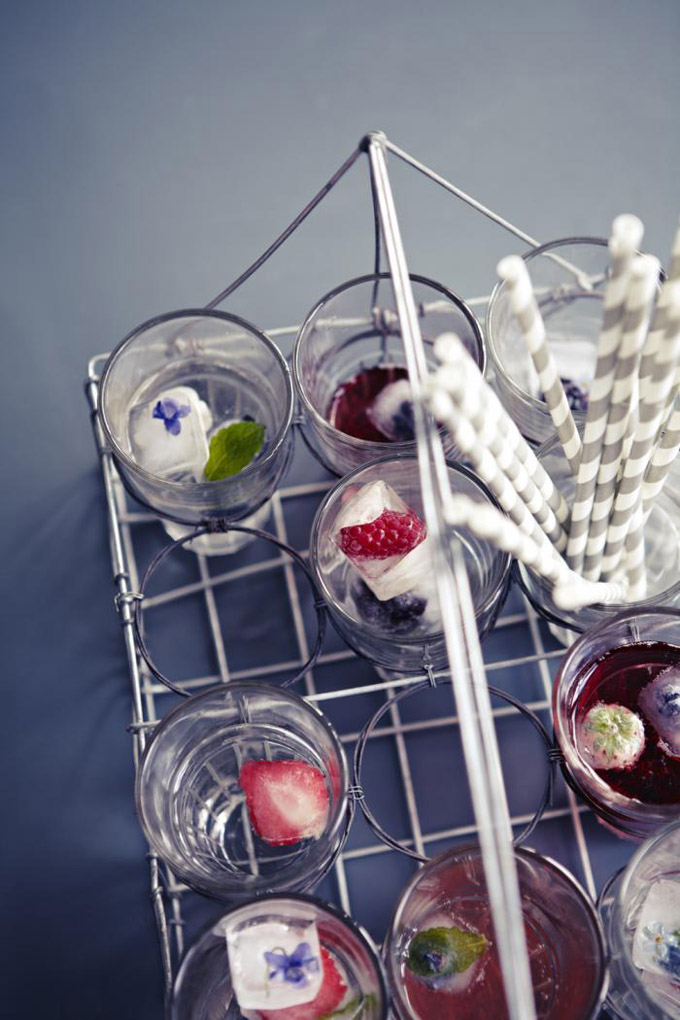
Fizzy drinks were bought in old fashioned looking glass bottles, which I bought from Marks and Spencers. Striped straws add fun but in grey and white matched my kitchen decor. Fruit such as strawberries, blueberries and blackberries, and mint leaves too, were added to ice cubes creating a sweet little detail to our drinks.
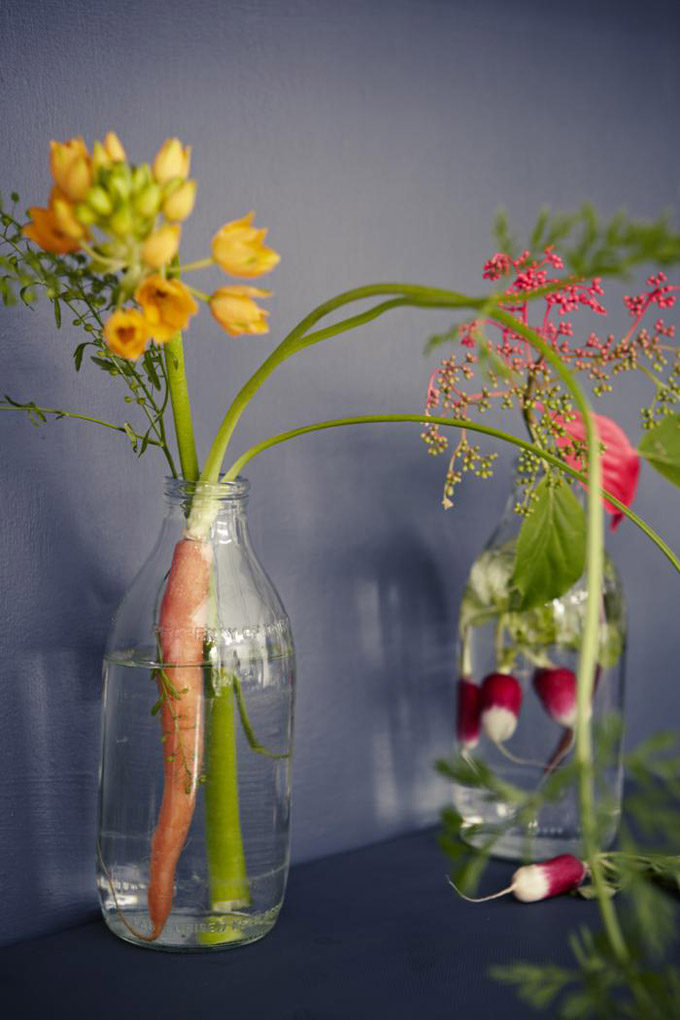
I made the centrepiece simply with water-filled glass milk bottles (yes, we have a milkman!) with garden flowers and vegetables pushed down into the water, their foliage acting as greenery.
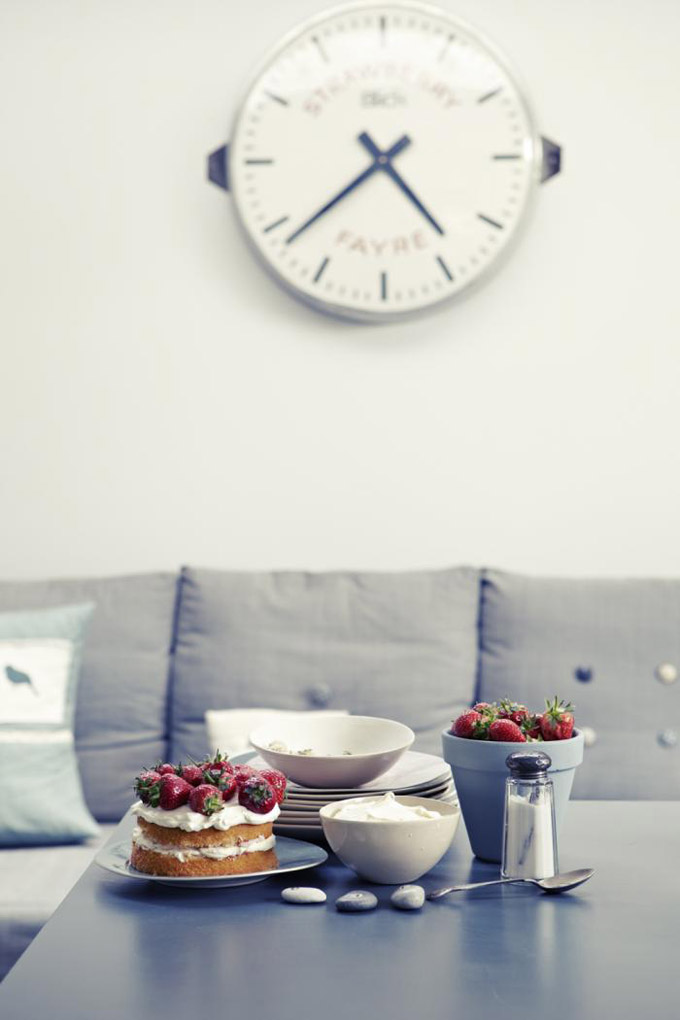
A Victoria sponge cake with whipped double cream spread over and strawberries generously piled on top is an easy pudding that looks and tastes delicious. The three little letter pebbles spell the word EAT and are from another project in my book.
A big thank you to Remodelista for popping by, (you can see the original post here), to Rahel Weiss for the great photos (see her folio here), to my friend Chrissie Holden for helping out and her culinary skills and to my children for gobbling it all up.
This informal lunchtime meal had a sprinkle of creativity, a dollop of fun and plenty of crumbs and was enjoyed by all.
Comments: 9 Leave a comment

a book of flowers
June 15, 2012 in flowers
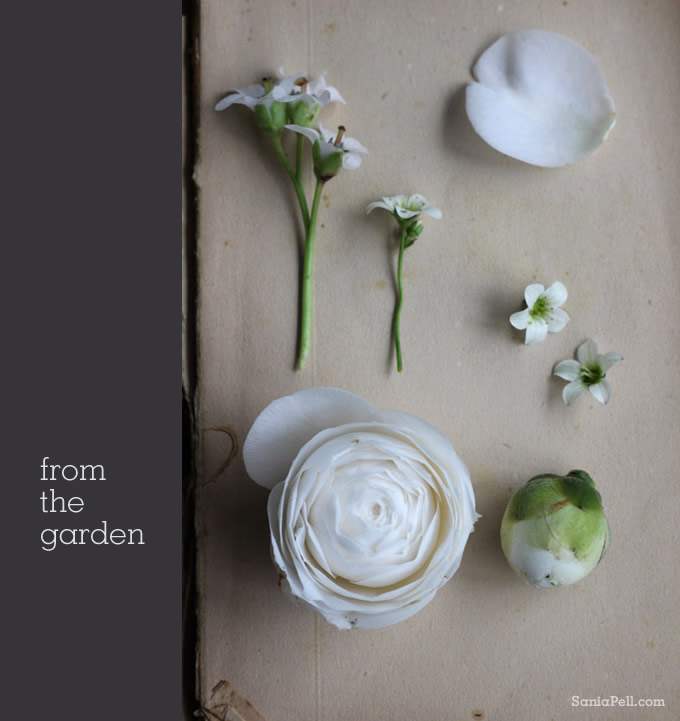
I took these photos after picking a few flowers from my garden. It is a small space, a city garden where a little bit of nature can be seen from the kitchen through the modern grey-framed glass doors. A camelia already existed when we moved in but the rest I had great delight in selecting and planting after we remodelled the kitchen and garden about five years ago. I ordered the bulk of my initial planting through the online company Crocus, choosing plants that flower with white or pale blooms like climbing hydrangea, clematis, jasmine, black elder, white lavender and more. Each season I look forward to the bursts of flowers and am always pleasantly surprised at the bulbs that come up that I had forgotten I had planted.
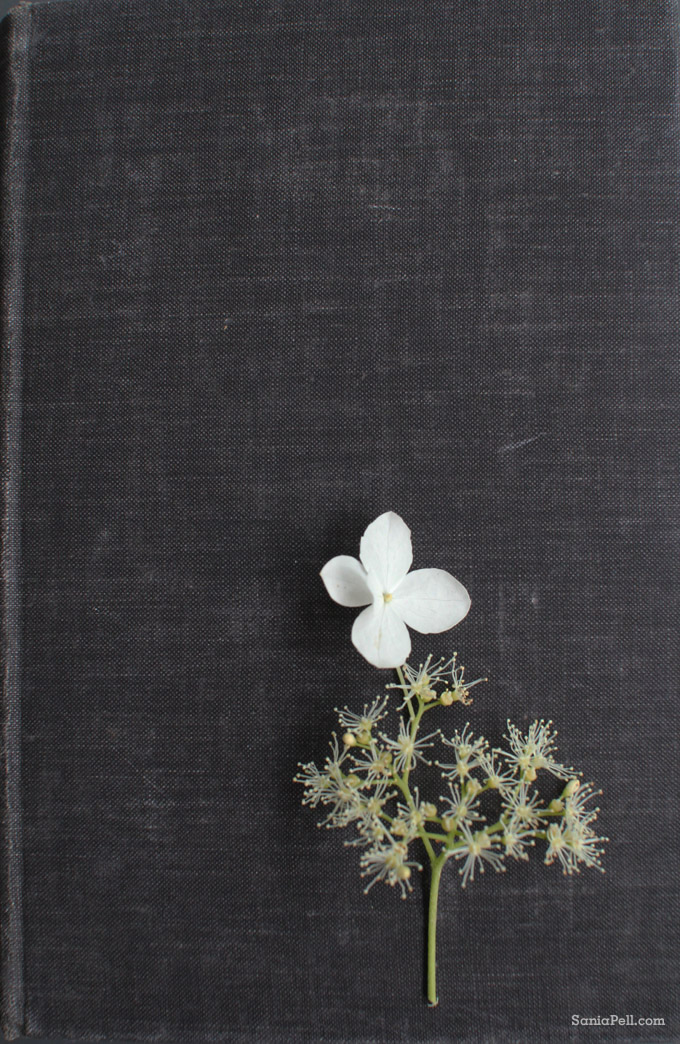
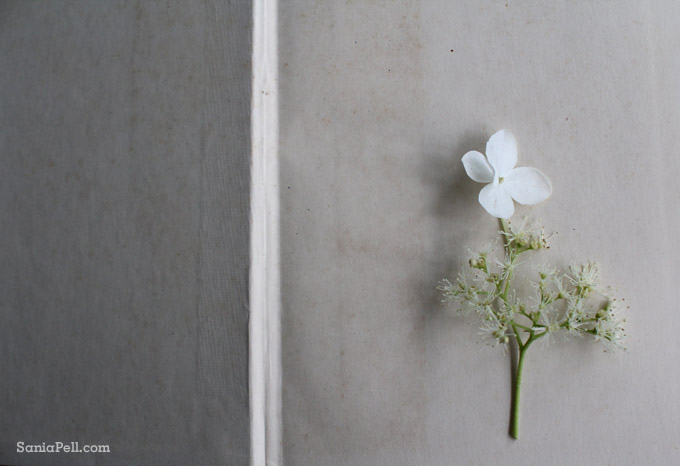
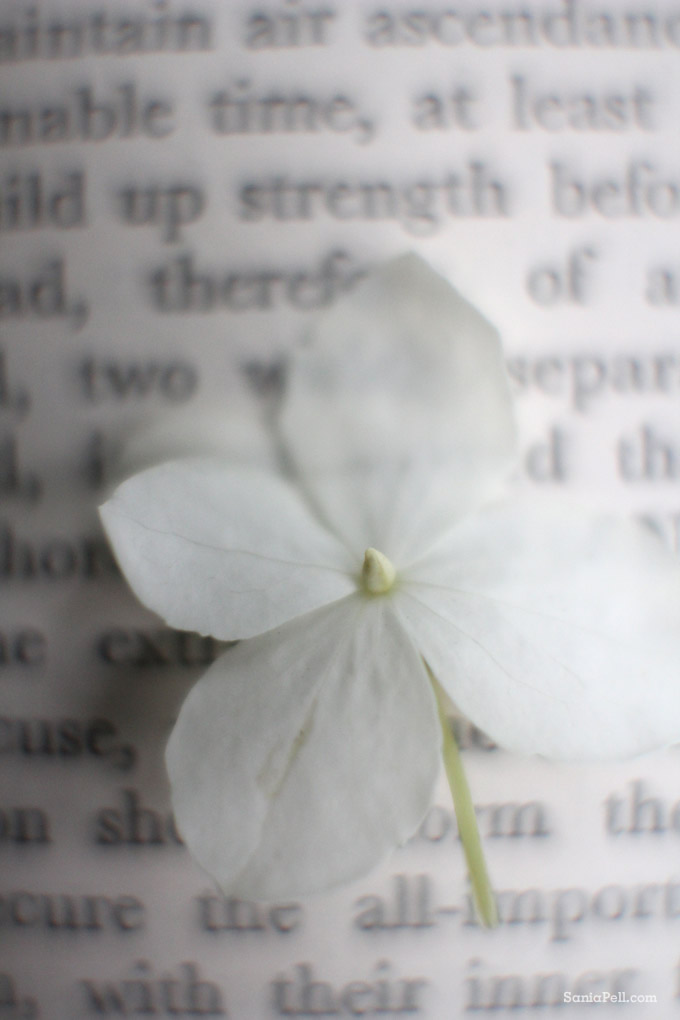
The beautiful textured pages of old books add a nostalgic feel to the images and make lovely backdrops. They remind me of pressing flowers in old books when I was a little girl, something I always did whilst staying with my grandparents on holiday.
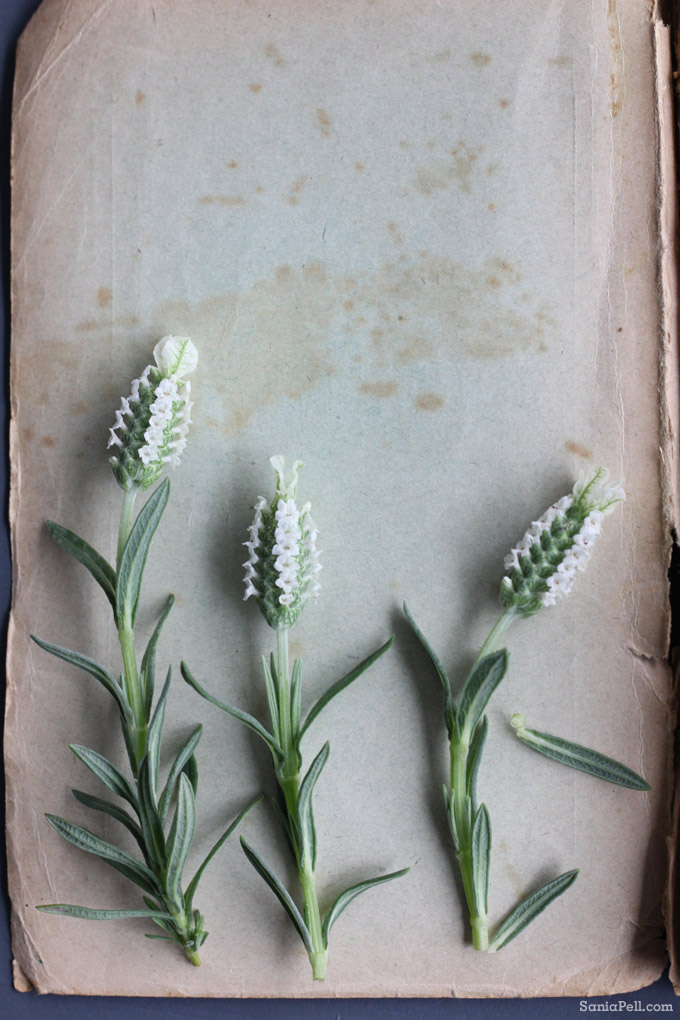
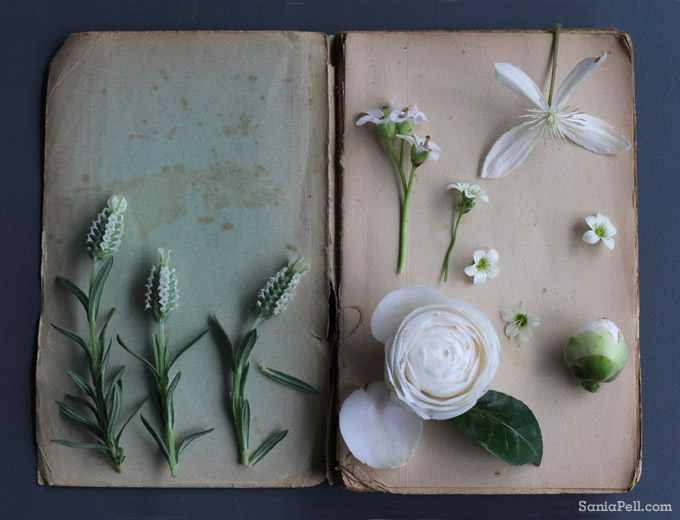
Photographing flowers in this way always gives me great pleasure and sparks off new ideas as I play and change the displays. I automatically tend to shoot these floral patterns from directly overhead. I think it is an ingrained way of seeing having worked as a textile designer for so many years.
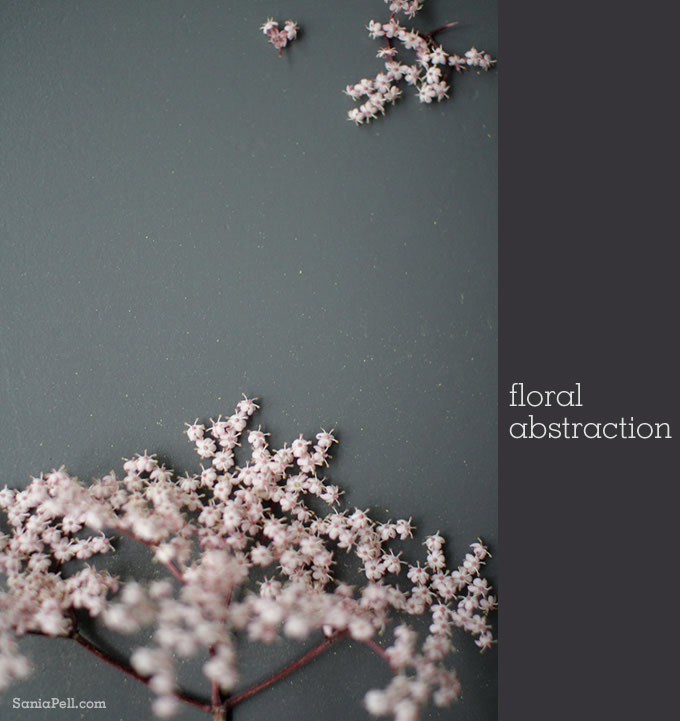
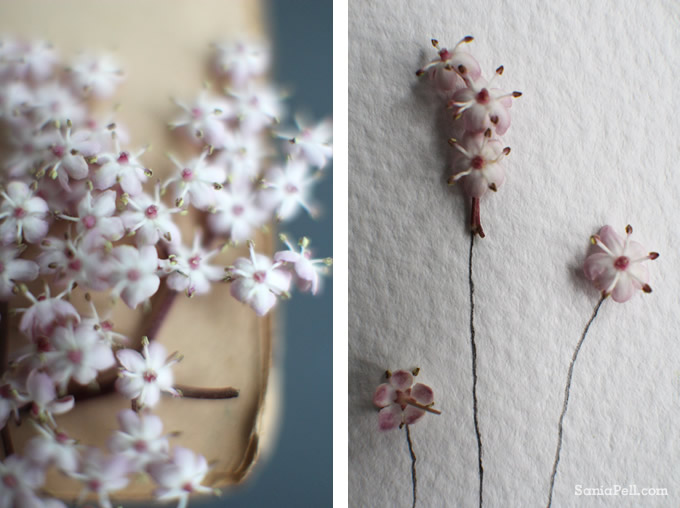
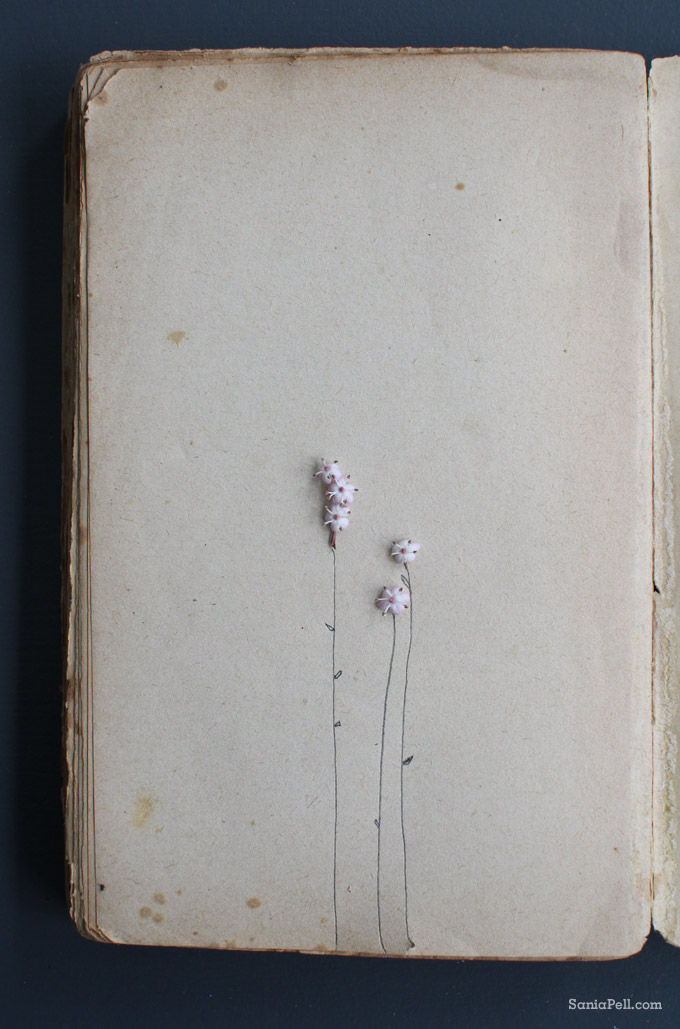
I drew simple, fine lines in pencil creating fantasy stalks for the delicate tiny flowers of the black elder that I had dissected, capturing it in time with a little photo sketch.
This is really part one of this story as these images led on to lots more ideas that I photographed. I will post part two of my fun with flowers another time, so do pop back soon.
Comments: 21 Leave a comment

quick idea : liberty plant pots
June 5, 2012 in diy craft projects, flowers
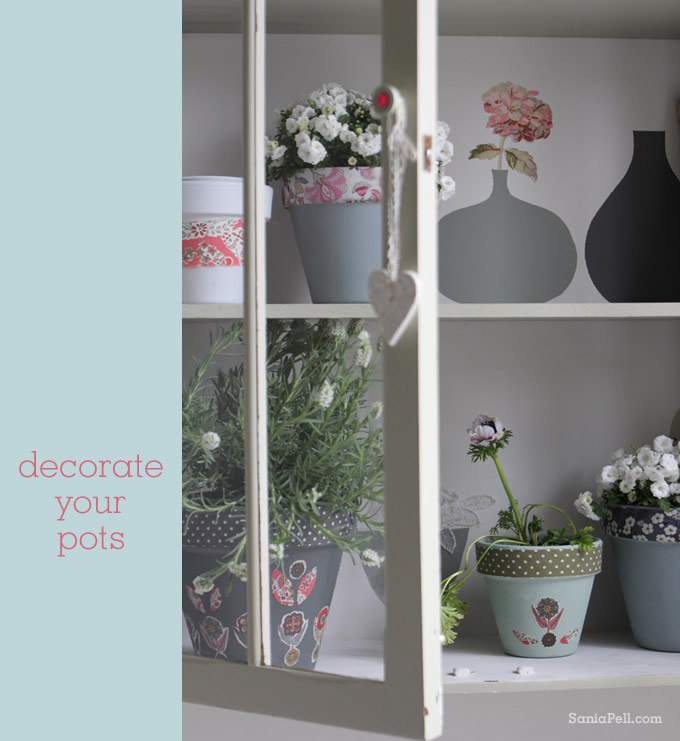
Here is a quick idea to update plain and simple terracotta plant pots with paint and fabric. I made these pots for my book launch at Liberty to help personalise and style my corner of the store. Liberty print fabric works well as the ditsy pattern contrasts against the flat paint and it is available in a multitude of colours and variations, plus you only need a little so it is a great idea for using up those remnants you keep hold of.
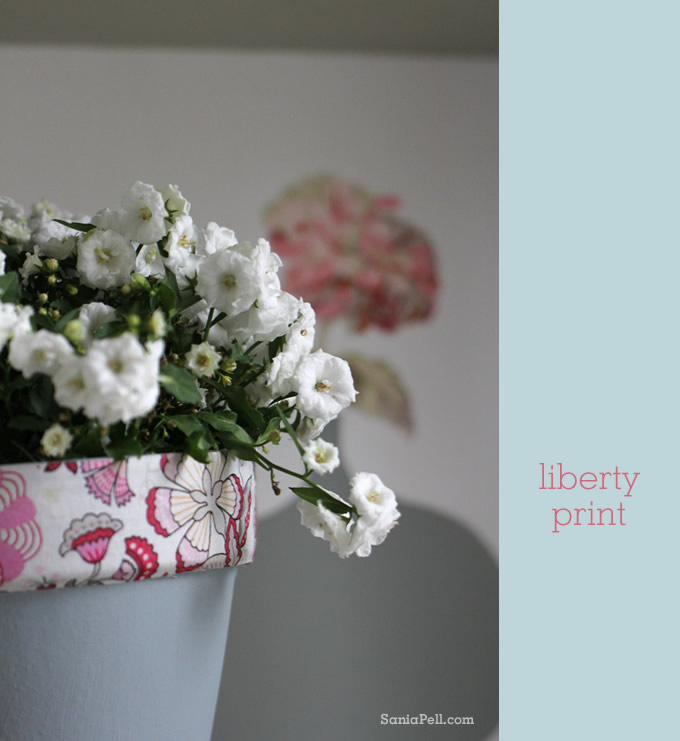
The plant pots are easy to make and add a little detail to an otherwise plain vessel. I bought standard-shaped classic terracotta pots in various small sizes from a local independent garden centre, but they are readily available at big stores like B&Q and Homebase and are very reasonably priced. Paint your pot in a colour that fits with your scheme. I used household paint that was easily at hand, some left-over Fired Earth and a Farrow & Ball tester pot, that both happened to be water based emulsion. I gave the pots two coats to give the terracotta a solid covering and left them to dry.
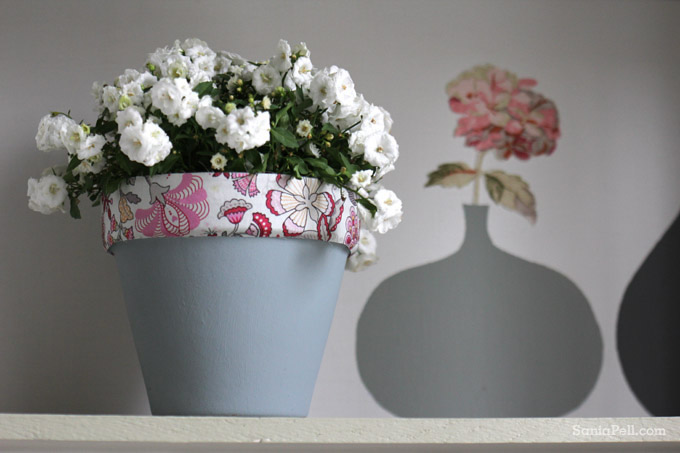
To create a strip around the top, wrap your fabric around the circumference to mark the length then cut a strip of fabric slightly longer than circumference by the height of the lip of the flower pot. Stick double-sided tape onto the reverse and stick straight onto the lip of the flower pot, overlapping slightly at the end. Using tape also means you can remove the fabric and re-use it, or change it to another fabric.
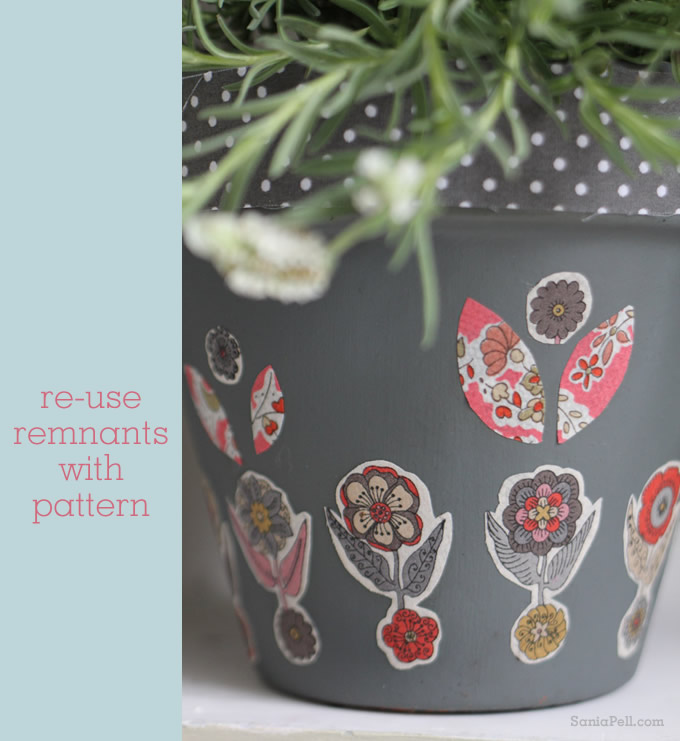
I also cut out some small motifs directly from the patterned fabric. To do this, iron bondaweb to the reverse of the fabric to prevent fraying and then cut out the motif with small, sharp fabric scissors. Using a paint brush and pva glue paint the glue onto the reverse and carefully stick into place. You could have just one motif or continue the pattern all the way around. These are really suitable for inside use only (though may be ok outside for a dry summer). Don’t forget to place them on a saucer though before watering the plants as these type of pots tend to have drainage holes in the bottom.
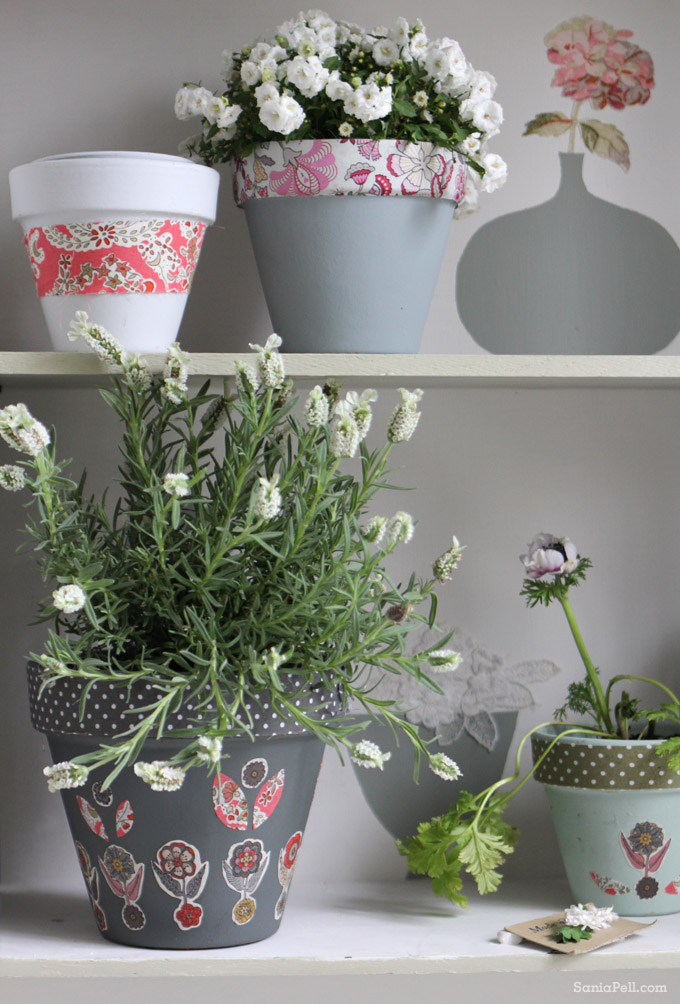
I photographed them recently in the Curiosity Cabinet project from my new book The Homemade Home for Children, which hangs on the wall in my daughter’s bedroom. The pots and vases in the background create a trompe l’oil effect – a little trick to the eye.
This is just a small, fun way to update something ordinary that can make your house unique to you.
If you like this idea, you may also like my fabric wrapped vases.
Comments: 12 Leave a comment



 Line Up contemporary craft exhibition, curated by Sania Pell, at Flow Gallery, 1-5 Needham Road
London, W11 2RP.
 View Sania's interiors, food and table top and children's lifestyle photographic styling portfolio.
