halloween how-to: pumpkin party mask
October 16, 2013 in diy craft projects
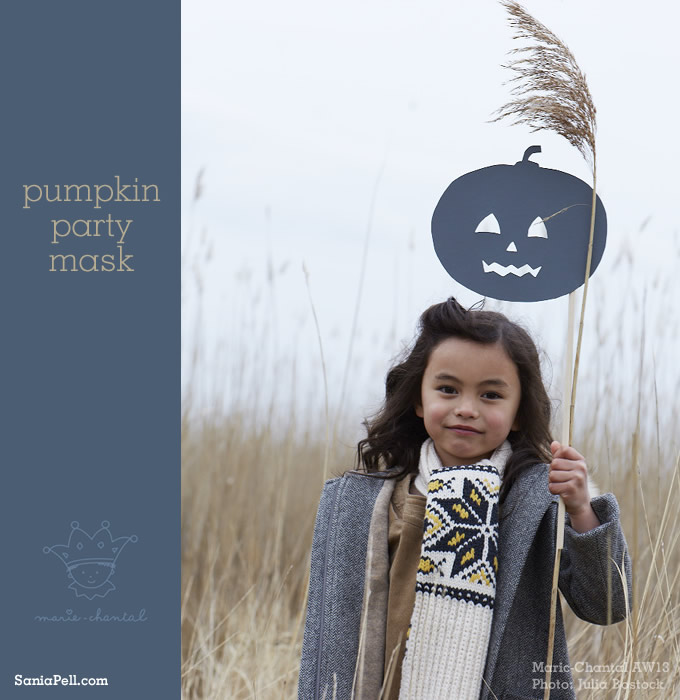
With Halloween only two weeks away, the Marie-Chantal team asked me to write this little project for their blog on how to make one of the props I created for their autumn/winter photo shoot. The photos are by Julia Bostock.
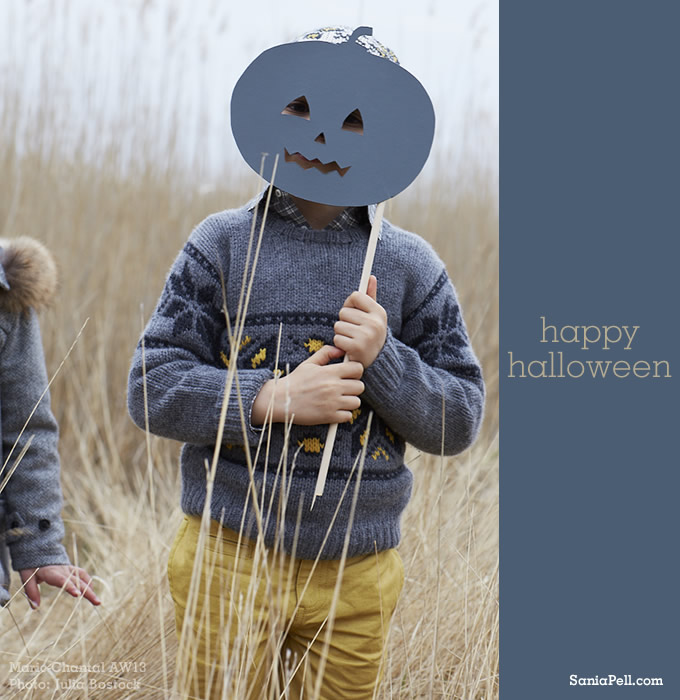
This friendly pumpkin mask is the perfect Halloween accessory that can be used again year after year. It is easy to make and can be used as a costume mask, a shadow puppet or simply as a decoration for a Halloween party. They are especially good for children who don’t enjoy having their face painted.
Materials required:
A4 size card about 1mm thick (around 400gsm) – it needs to be stiff, but if the card is too thick it can be difficult to cut through.
Cutting mat or board
Scalpel or craft knife
Pencil
Dowling rod
Gaffer/Elephant tape
Emulsion paint
Flat paintbrush
Step 1: Print out the template at A4 size and trace the shape of the pumpkin onto the back of the card in pencil.
Step 2: Using a sharp scalpel or craft knife, cut out the shape of the pumpkin, the eyes, nose and mouth.
Step 3: Paint both sides of the card and leave to dry. I painted them dark grey as shadow puppets for the shoot, but you could paint them the traditional orange or whatever colour you like. It may require 2-3 coats each side. Leave them plain or let your children decorate them further if they wish.
Step 4: Attach dowling rod to the back of the pumpkin with gaffer tape or wide masking tape as a handle. Ensure the rod is long enough to hold comfortably with the mask in front of your or your child’s face. If you want it double-sided, cut out and paint a second pumpkin and glue or double-sided tape it to the other one, sandwiching the rod between them.
Step 5: Have fun at your Halloween party!
You can read the original post and more about Marie-Chantal over on the Marie-Chantal blog.
My children are already getting excited about dressing up and going trick or treating. It’s time to stock up on sweets I think.
Have fun!
Photos: Julia Bostock
Comments: 2 Leave a comment

styling for marie-chantal
October 11, 2013 in interior styling
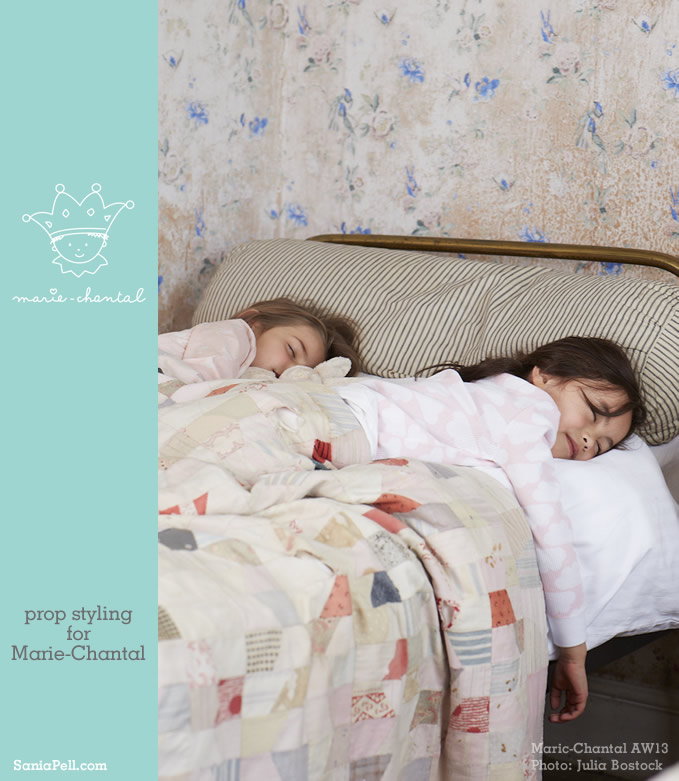
Earlier on in the year I had the pleasure of working on a location shoot for the Autumn/Winter 2013 collection from Marie-Chantal, the children’s fashion brand that was founded in 2001 by Princess Marie-Chantal of Greece.
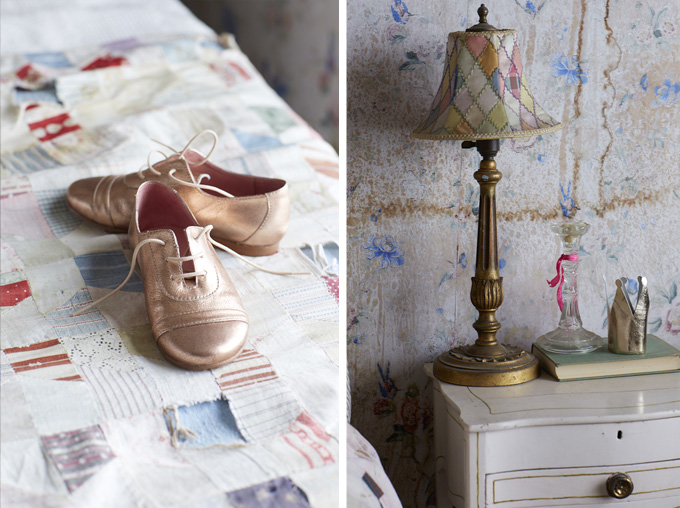
The creative team was headed up by the talented photographer Julia Bostock. As well as Julia and myself, the crew also consisted of a hair and make up artist, a fashion stylist, a set builder and a film crew who documented the shoot and worked with Julia on the promotional film that runs alongside the campaign.
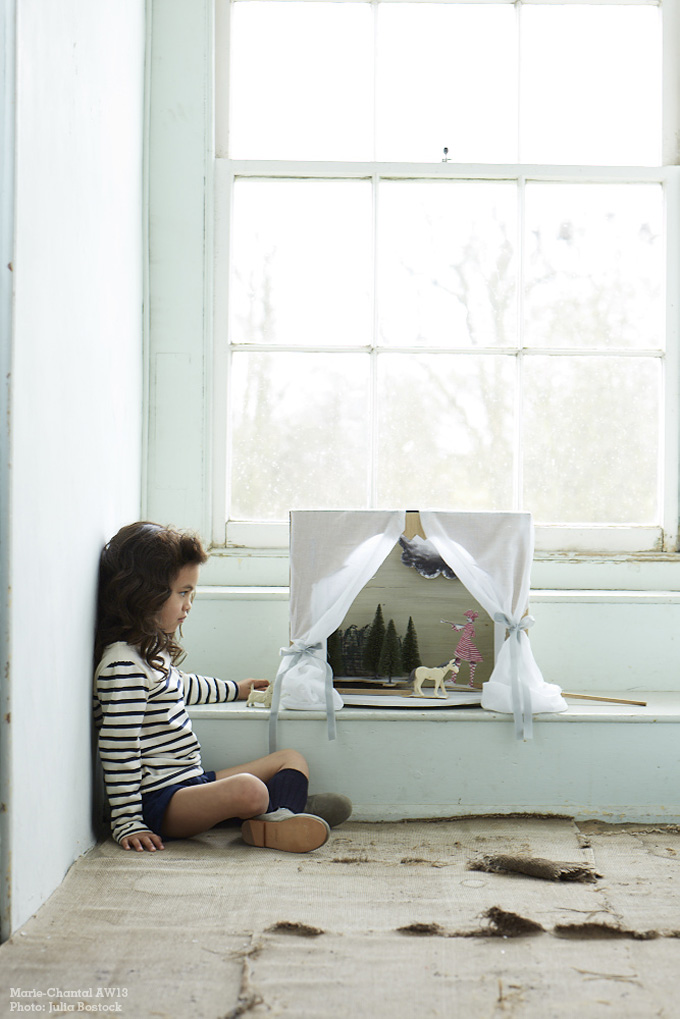
My role in the team was to style the interiors and sets, source the props needed and, prior to the shoot, make bespoke props that fitted the theme and could be used within the images.
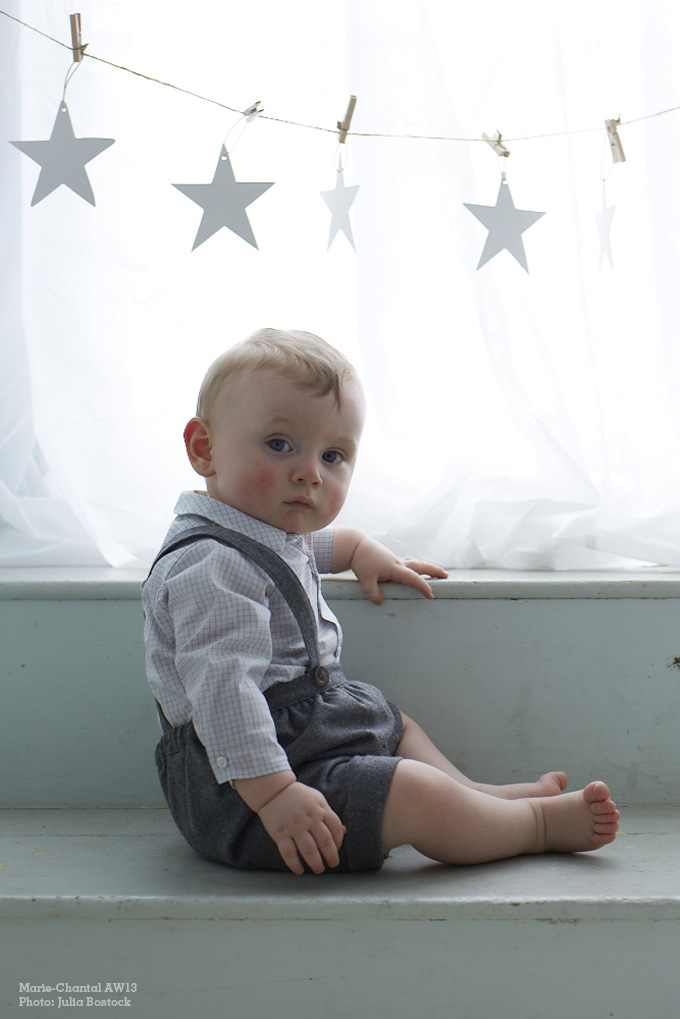
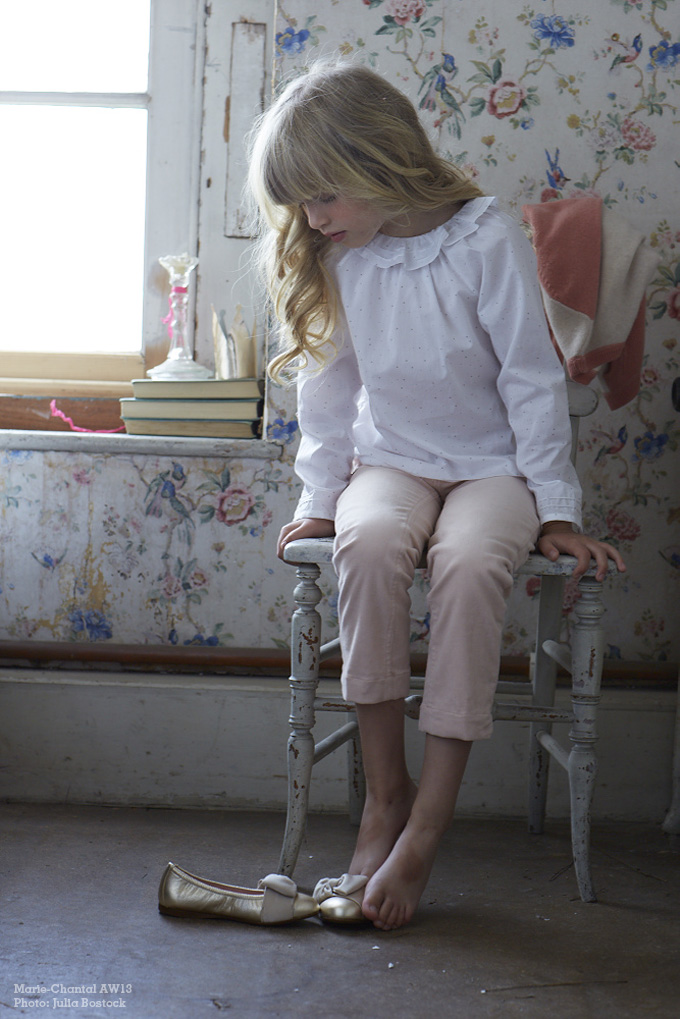
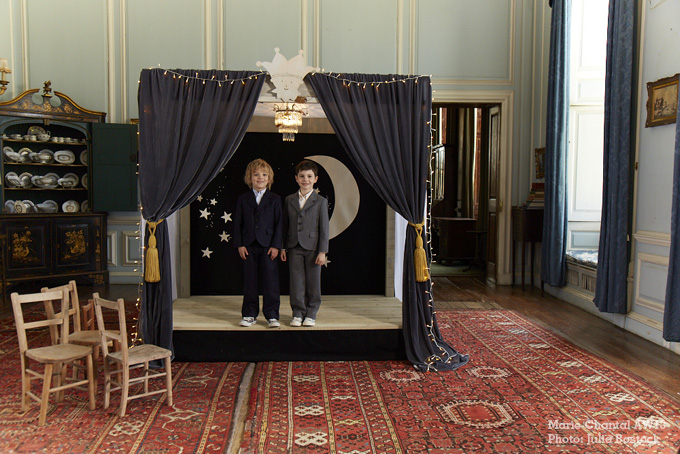
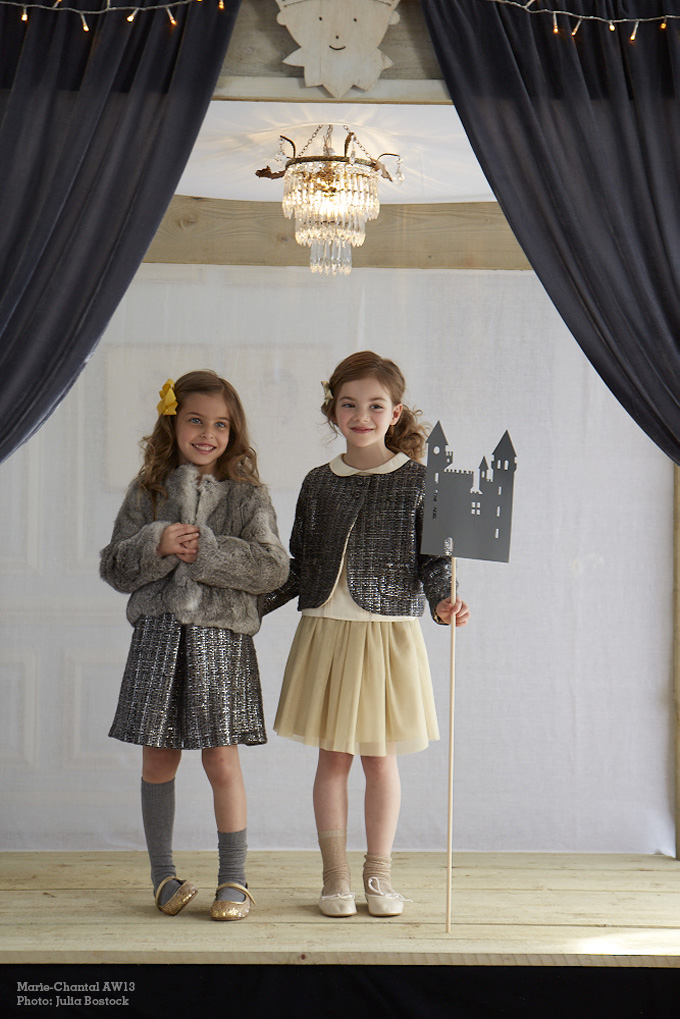
Julia and I designed the stage set prop and it was made for us and placed outside in the wilderness and then brought inside to the grandeur of the stately location house. The clothing was chosen to match this idea, with casual wear outside and smart occasion wear inside.
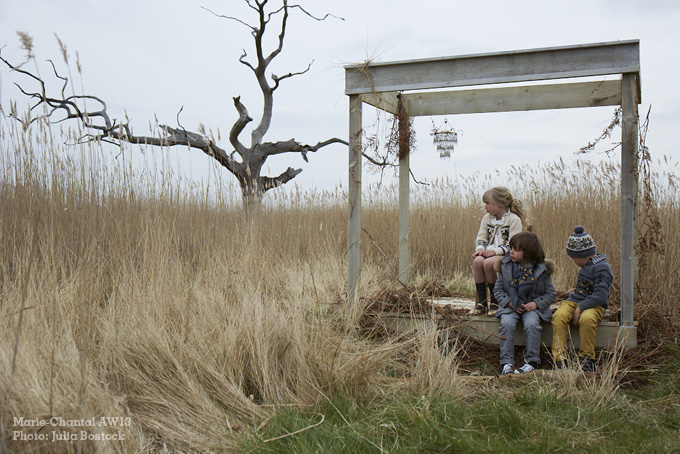
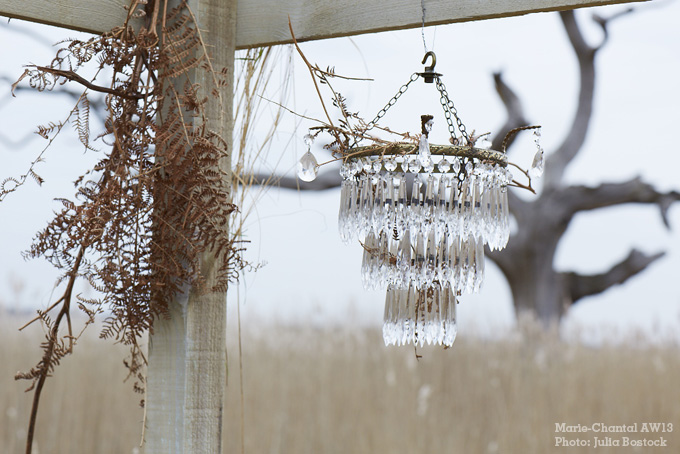
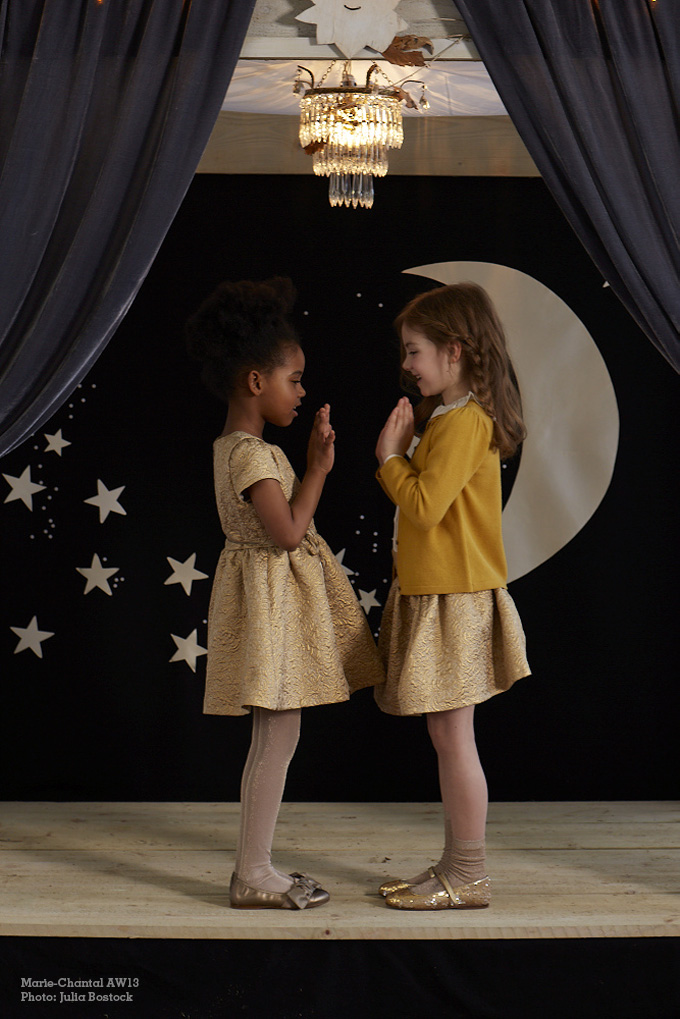
Inside there are two different scenes: a dramatic night sky backdrop that I made and a much simpler white back drop to show the series of hand-held shadow puppets I also made. These consisted of the Marie-Chantal crown, castles, stars, a dragon and a Halloween pumpkin.
The film, art directed by Julia, is really sweet. I hope you enjoy it, it tells the story behind the shoot with a lovely narrative.
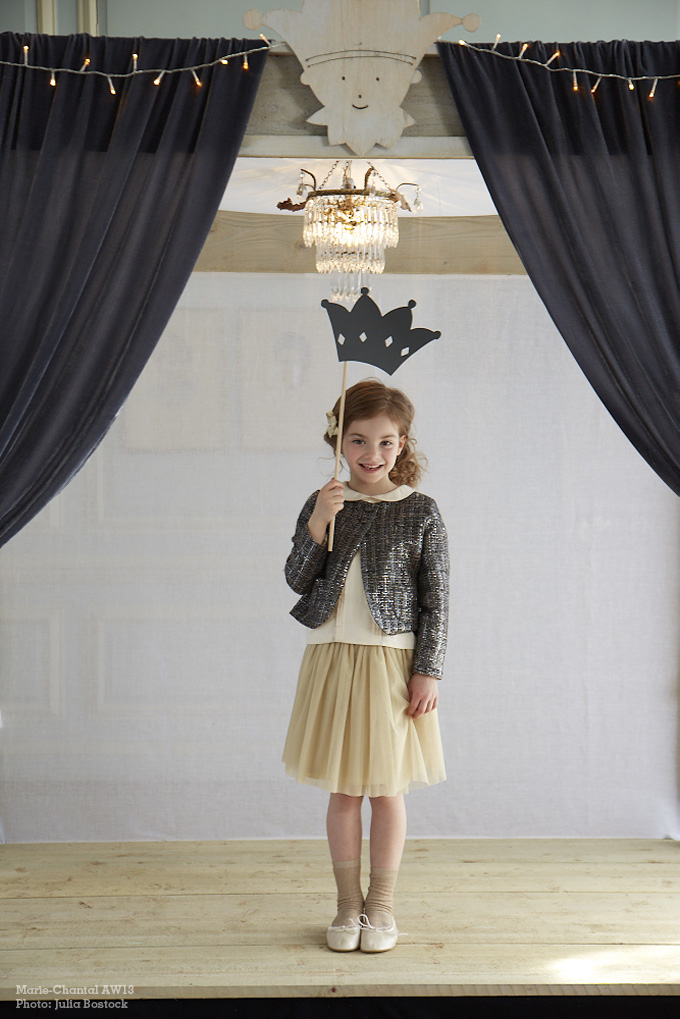
The clothes are just beautiful and the different settings perfect to show them off. I hope you enjoy the images as much as I enjoyed working on them. These are some of my favourites.
You can see lots more photos from the shoot and the Autumn/Winter collection look book and on the Marie-Chantal website.
I’ll be posting a how-to from this shoot too so do pop back soon. x
Photos: Julia Bostock
Comments: 4 Leave a comment

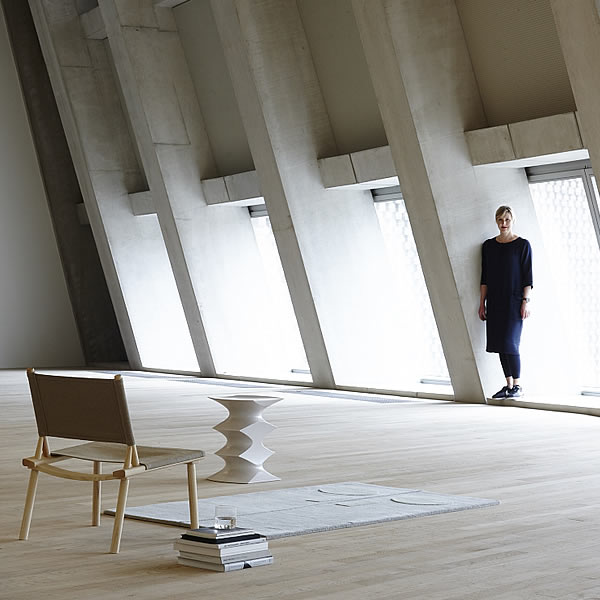


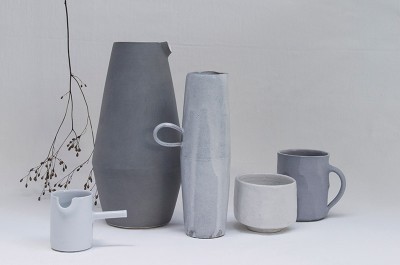 Line Up contemporary craft exhibition, curated by Sania Pell, at Flow Gallery, 1-5 Needham Road
London, W11 2RP.
 View Sania's interiors, food and table top and children's lifestyle photographic styling portfolio.
