message in a bauble
December 23, 2011 in diy craft projects, homemade
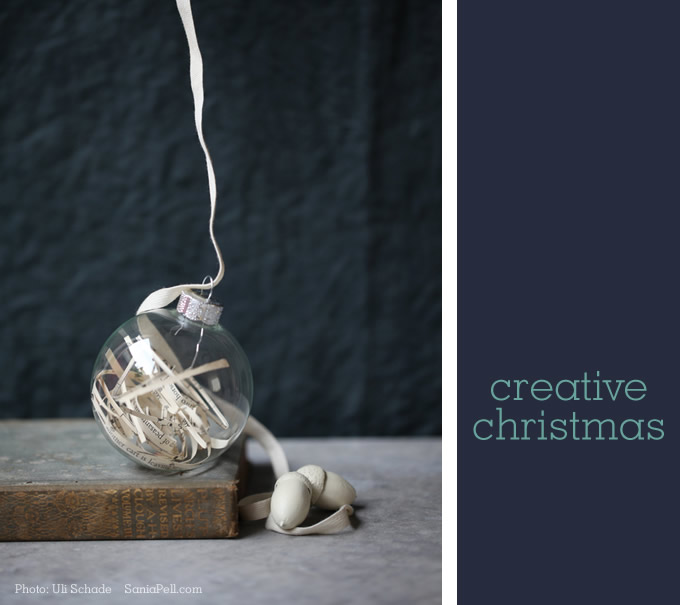
As Christmas is almost upon us I wanted to share the last few photographs of my collaboration with photographer Uli Schade. This is another simple idea to update plain glass baubles.
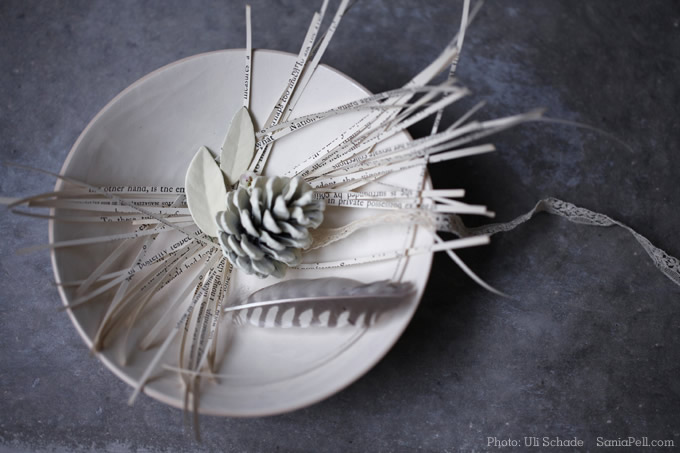
We finely shredded pages from an old book using a guillotine to cut between the lines of printed text, creating slivers of paper that we simply coiled into the baubles after removing the top. You could use scissors or a craft knife with a metal ruler on a cutting board to cut strips too and tweezers can help position them within the bauble. If you don’t have an old book then you could photocopy or print out your favourite carol or a passage from a Christmas-themed story book instead.
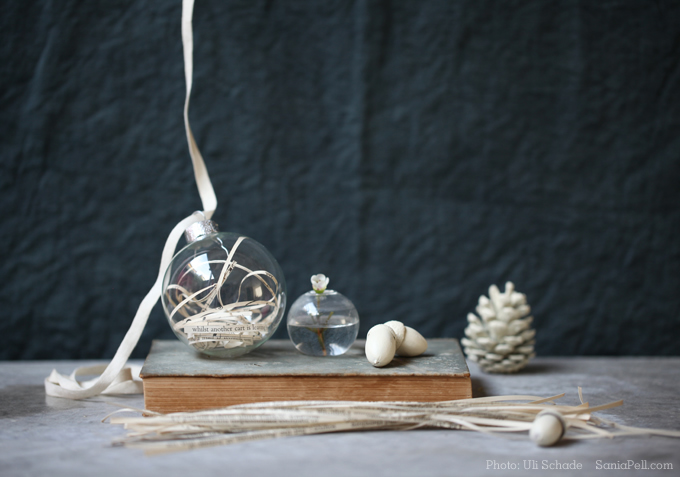
I also collected a few natural objects from the woodland floor on a walk with my family: pine cones, acorns and dried leaves that I sprayed a matt off white colour as additional festive decorations.
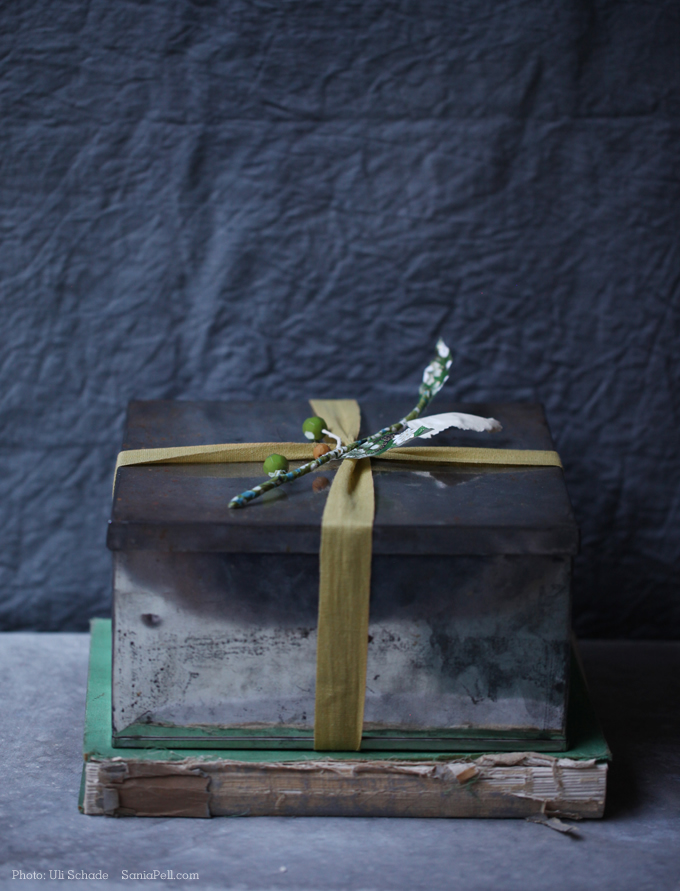
Wrapping gifts in a creative way makes a gift feel extra special for the lucky recipient and will look wonderful on display in your home until to is time to give the gift. Beautiful old metal cake tins like this one make wonderful, unique boxes for gifts with their tarnished silver patina. Keep an eye out for them at flea markets and car boot sales.
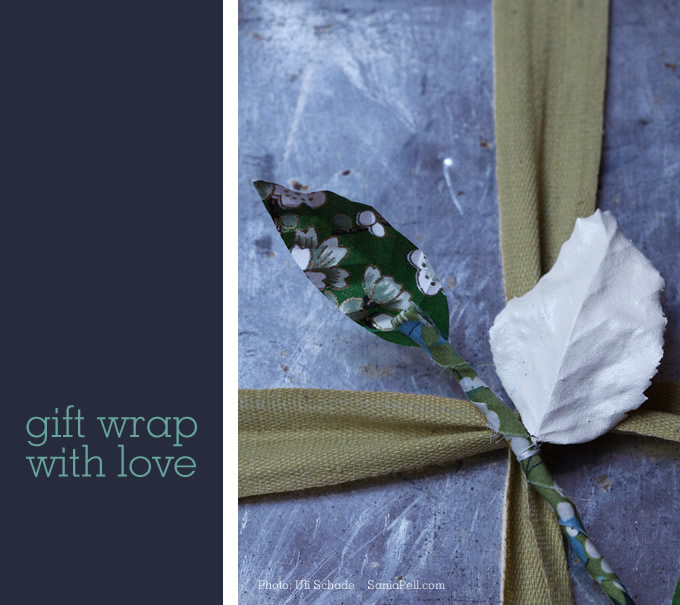
First I wrapped around the box with cotton ribbon. I then wrapped a twig in strips of Liberty fabric, attached with double sided tape. Beads were glued in place and stitched on like berries. Japanese paper was cut into leaf shapes and folded to imitate the texture of real leaves and a sprayed leaf was added too.
And that just about wraps up my creative Christmas collaboration with Uli Schade. We hope you like the ideas and the photographs and have fun making this holiday season.
Comments: 10 Leave a comment

decorate with bulbs and biscuits
December 19, 2011 in diy craft projects, homemade
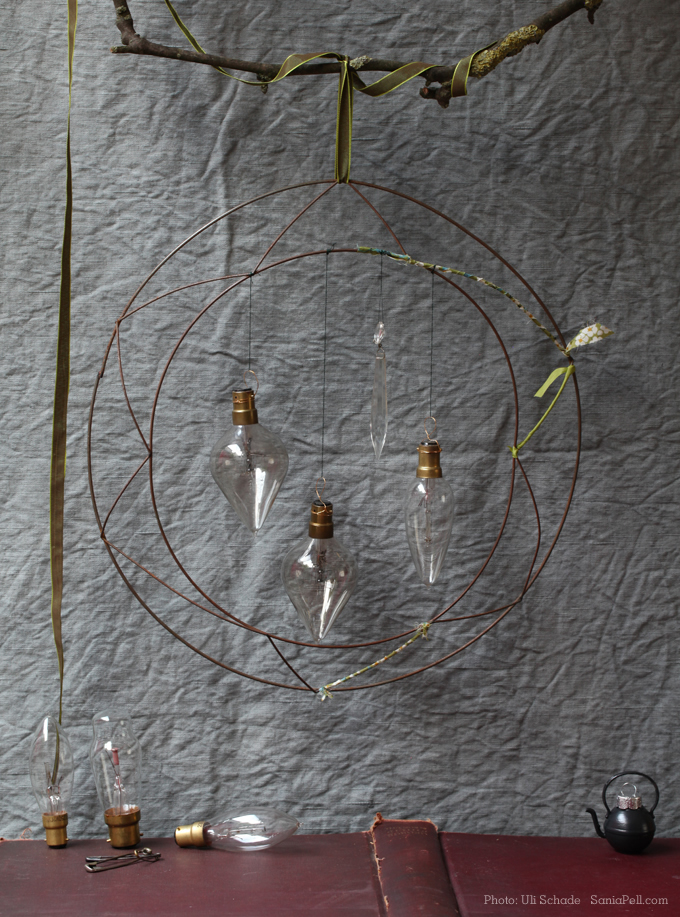
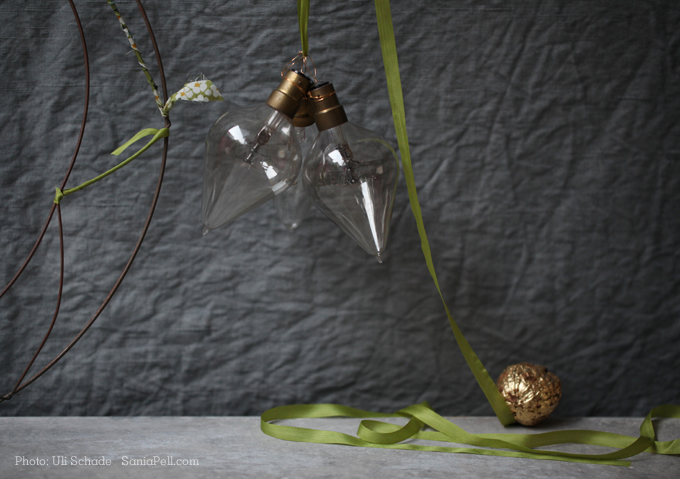
Why not turn old light bulbs into baubles? I bought these vintage light bulbs a while ago at a car boot sale. I had no particular use in mind, they just looked rather beautiful to me. Then whilst working on the floral bauble decorations, it occurred to me that they were similar – so why not try the bulbs as baubles? It’s a little bit bonkers but I like it. I simply used thin wire, wrapped and tied around the base, to create a loop to hang them from. The metal ring is a wreath frame used in floral displays, usually packed with moss or oasis; I love the simple bare bones of the exposed wire though.
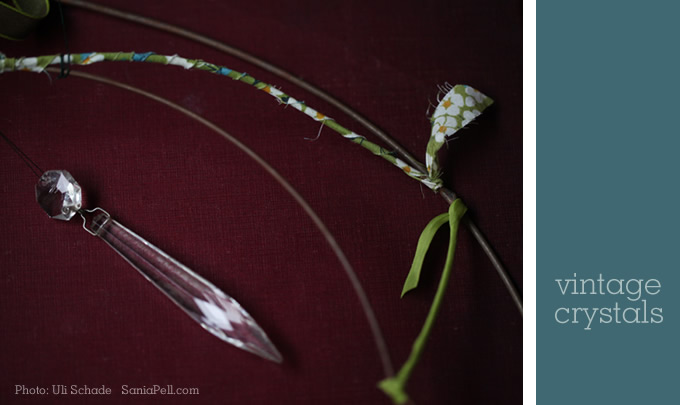
Some of the wire is wound round with a strip of Liberty print fabric (a similar idea to the covered coat hanger project in The Homemade Home), the rest left bare. For a little extra I added old chandelier droplets too. You can often pick these up loose at flea markets and boot sales. I kept the colours muted and used a scrap of fabric I already had and the bulbs hang in the centre as an alternative Christmas decoration.
My friend Uli Schade, who took all of these photos, made the lebkuchen below to an old family recipe that she learned as a child. They’re a traditional German Christmas treat, a bit like gingerbread and make great edible decorations for your tree if they’re made with the recipe that bakes them hard rather than soft. You can buy similar baked decorations all over Northern Europe and they’re often decorated with brightly coloured icing (think of the gingerbread house in Hansel and Gretel) though here Uli used edible gold leaf as a stylish alternative.
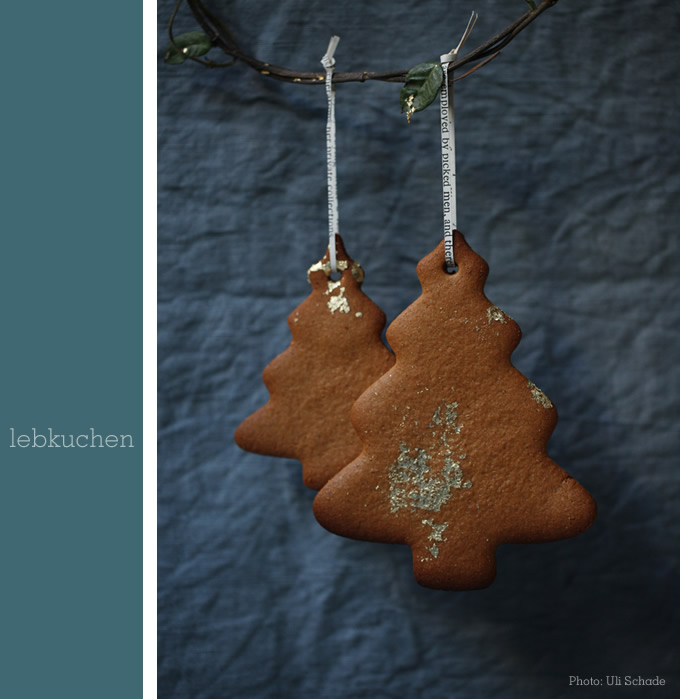
The lebkuchen are hung with strips of paper cut from old, unwanted books and hang on a ring made from some evergreen Jasmine that I cut from my front garden wall.
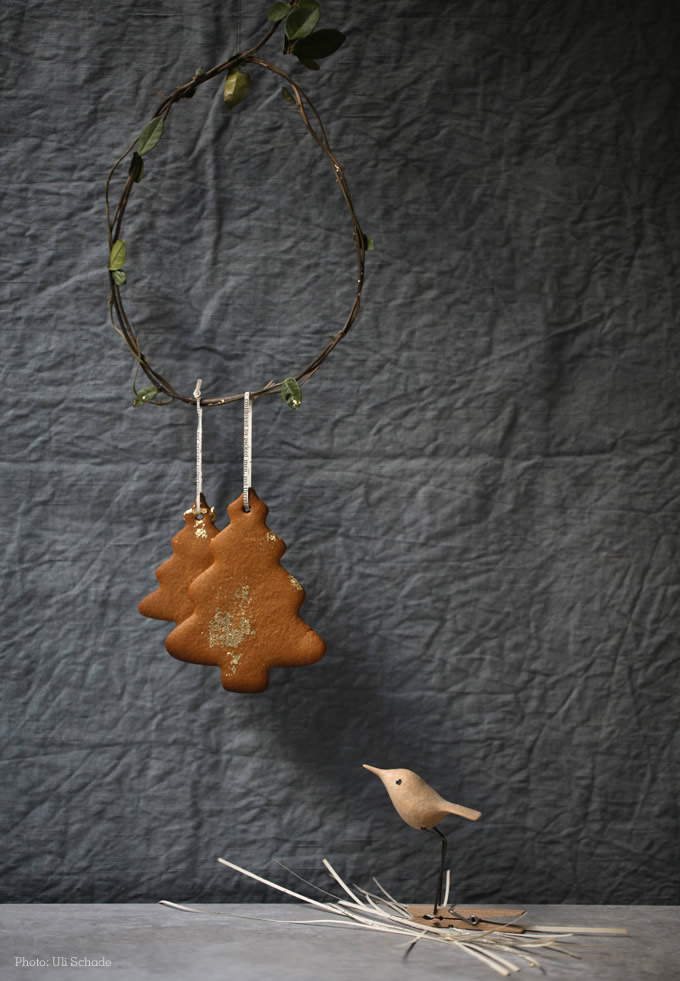
Uli bought this sweet little hand-carved wooden bird from a Christmas fair in Germany. It’s attached to a wooden clothes peg and the bird nods up and down when you squeeze the peg – utterly charming.
A few more decoration ideas to add a quirky, homemade flavour this Christmas.
Comments: 4 Leave a comment

floral bauble decorations
December 16, 2011 in diy craft projects, flowers, interior styling
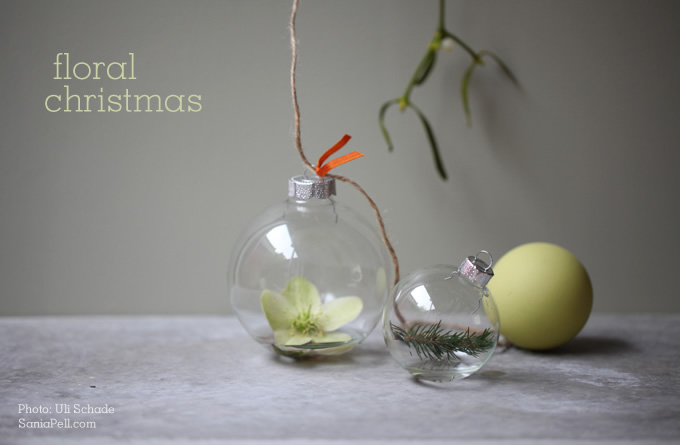
Why not turn simple clear glass baubles into mini vases and display beautiful little clippings of flora and fauna?
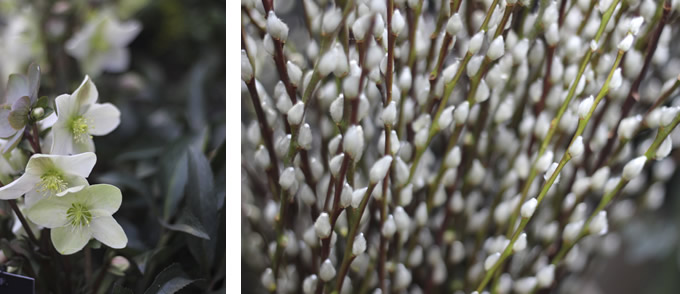
Here is Part 2 of my recent collaboration with talented photographer Uli Schade. We removed the metal tops from these Paperchase baubles by gently squeezing and pulling them off then added some water and pushed in the pretty and appropriate, pale green Christmas Rose flower (Helleborus niger) and a little Spruce fir tree cutting. We added just a touch of water so as not to make the baubles too heavy and used tweezers to position the foliage and ensure the flower faced upwards.
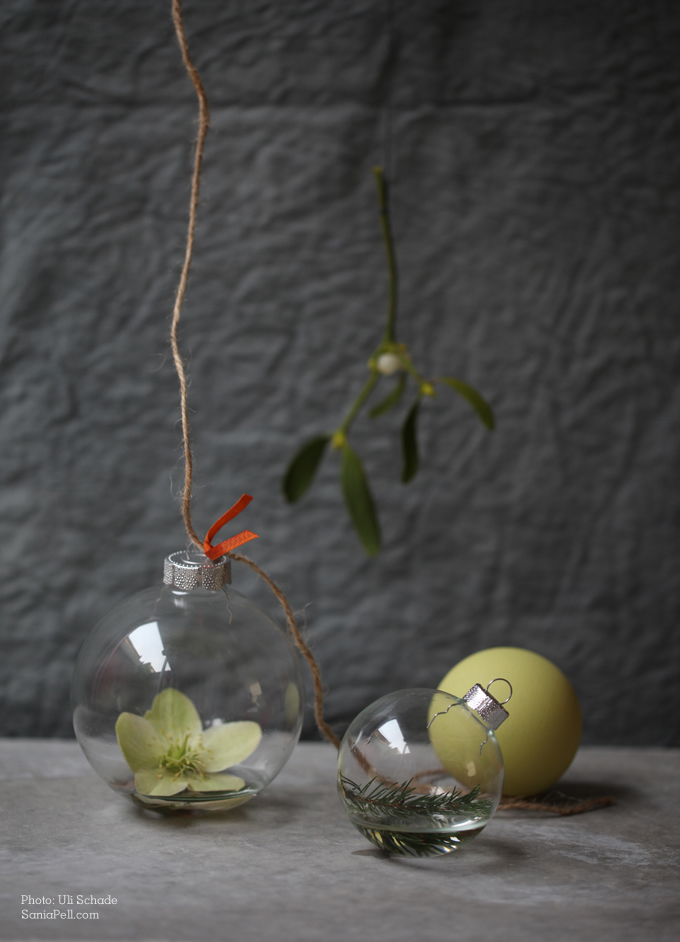
Natural string is used as ties and little offcuts of orange ribbon from VV Rouleaux add a vibrant pop of colour. You can add more water as it dries out or replace the flowers if they deteriorate. When packing the baubles away, remove the metal hangers, tip the water away and use tweezers to remove the foliage. Then rinse, leave to dry then replace the top and pack away for another year.
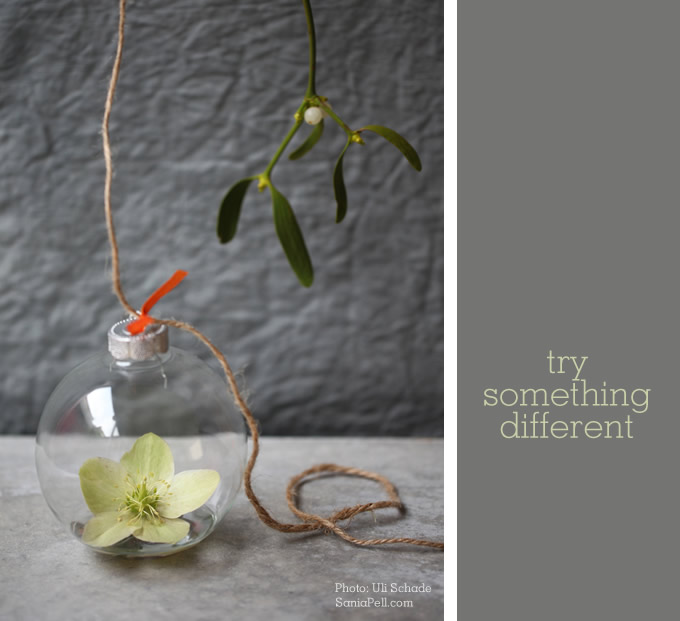
Another simple idea to make your Christmas decorations something different this year.
Pop back for part 3 in the next few days.
Comments: 12 Leave a comment

christmas greens
December 14, 2011 in diy craft projects, interior styling
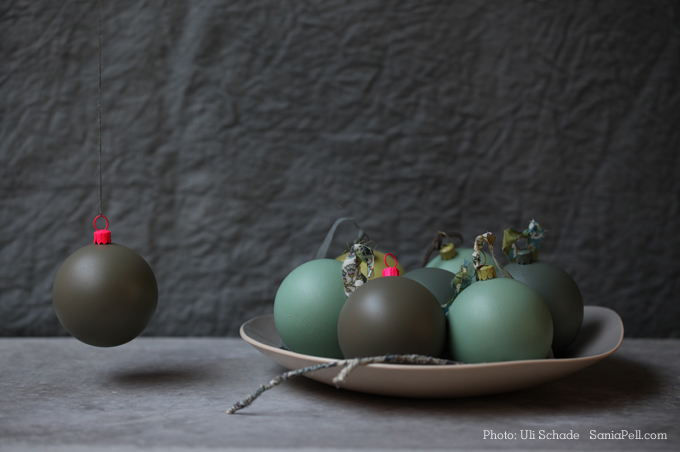
Why not decorate your tree decorations as well as your tree this Christmas? Here are a few simple ideas to embellish plain plastic and clear glass baubles and give them a new unique look. None take much time or effort and only use small amounts of paint and materials. You can tailor them to your festive colour scheme and they can make all the difference to the look of your tree and home.
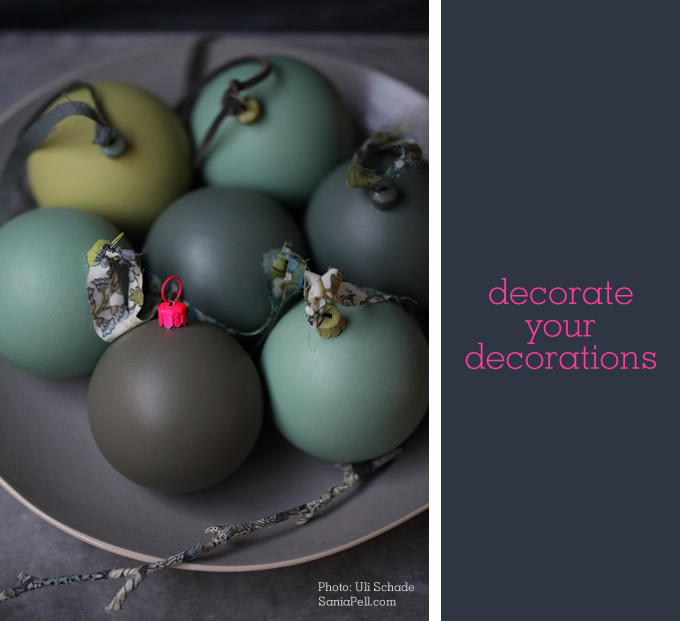
I had some plain plastic baubles left over from a Christmas photo shoot I worked on and thought they would be perfect for personalising. I rummaged through the shed at the back of my garden and pulled out a variety of Fired Earth, Farrow & Ball and Dulux pots of paint in greenish shades along with some olive Montana Gold spray paint. Each bauble was balanced in an eggcup and painted with a flat, soft, artist’s brush, turned when dry and painted with several coats until fully covered. Other baubles were sprayed in the garden on old newspaper weighed down with stones. For an added colour pop I removed the metal tops on some and sprayed them in flouro pink to add a vivid contrast. I swapped the different coloured tops around to make the baubles more interesting and then threaded through homemade ties cut from Liberty print, suede and plain fabrics cut in strips as ties.
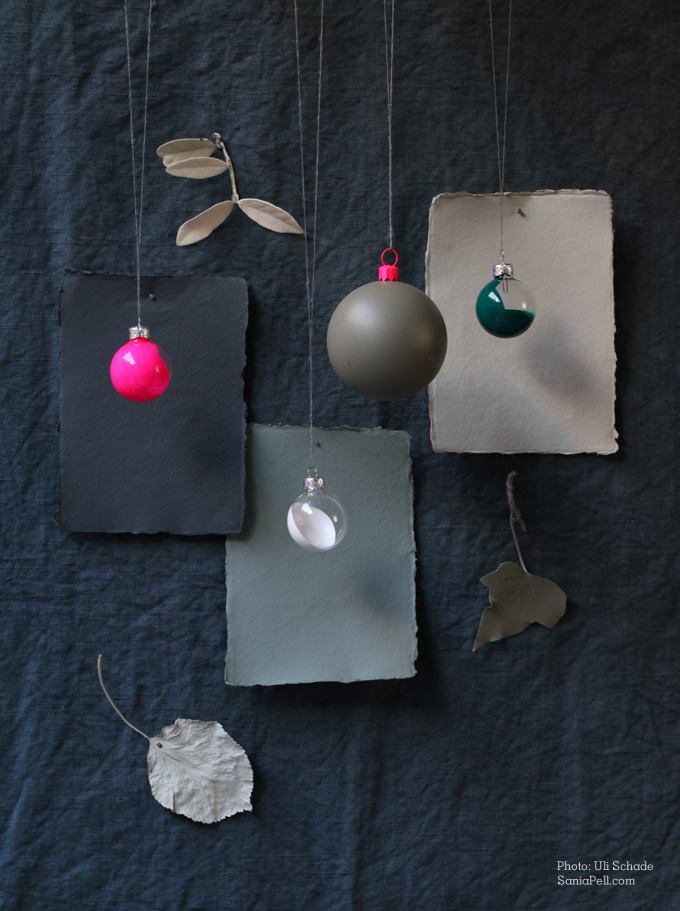
Clear glass baubles can be bought inexpensively in a variety of sizes, these ones are from Paperchase. The metal hanging loops can be removed by gently squeezing the looped wire at the top. Doing this allows you to add paint of your choice inside the glass. We used a pipette to add emulsion (latex) paint and left it with the top off to dry thoroughly. I also painted and sprayed leaves, picked from my garden (waxy leaves worked best) as well as wrapping twigs in fabric too.
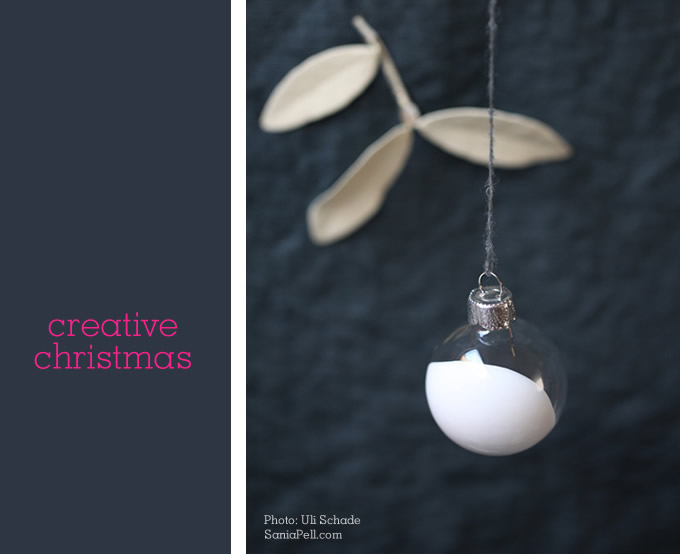
These images are from another collaboration with photographer Uli Schade. After working together on the sugar/spice shoot we were buzzing with ideas and wanted to look at something festive but with a twist and away from the traditional.
I will be posting more images and ideas from our story over the next few days.
Comments: 24 Leave a comment

amsterdam anniversary
December 11, 2011 in inspiring places
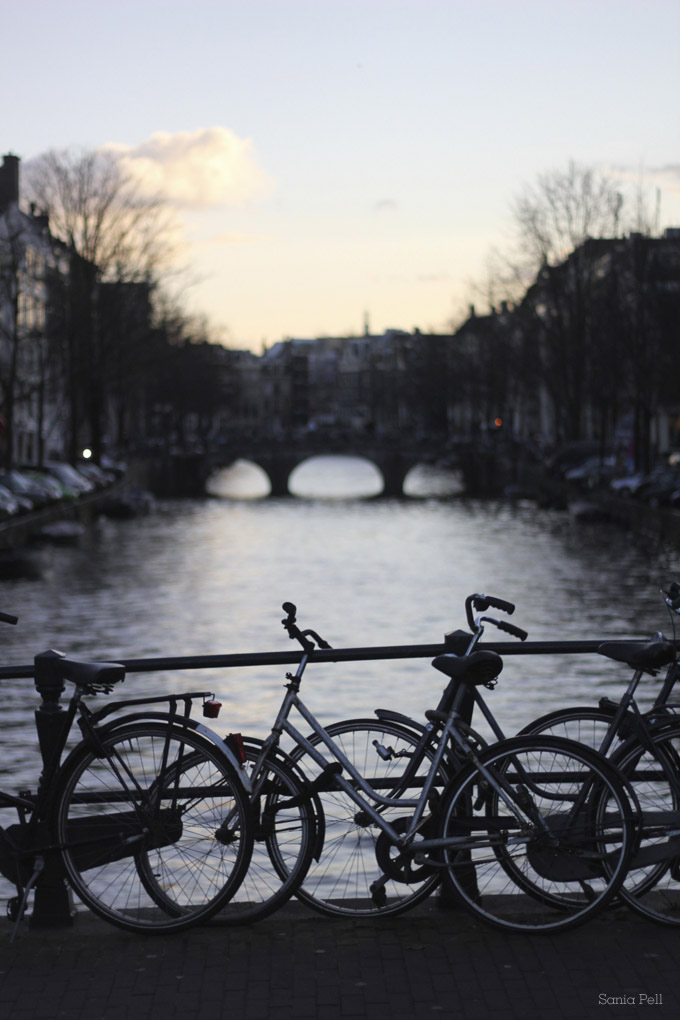
We had a wonderful few days in Amsterdam last weekend celebrating our 10th wedding anniversary. Even though the weather was somewhat cold, grey and drizzly we had an inspiring time wandering the historic canals, museums, galleries and shops armed with Pia Jane Bijkerk’s Amsterdam: Made by Hand and the Wallpaper* City Guide to Amsterdam. The Dutch locals were lovely – friendly, laid-back with an under-stated cool style and we came home thinking it was a city we could quite happily live in.
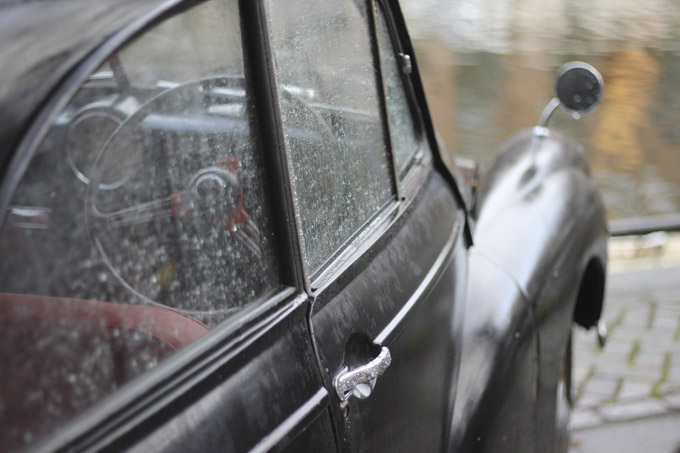
We took inspiration from museum and gallery trips including the wonderful Rijksmuseum that, even though it is mid-renovation the one open wing is filled with stunning artworks from the Dutch golden age (Willem van de Welde I’s pen paintings from the mid 17th century were just amazing and so detailed). We also visited the Van Gogh Museum, Foam photography gallery as well as touring a couple of the beautiful canal-side houses on Herengracht and the moving Anne Frank House.
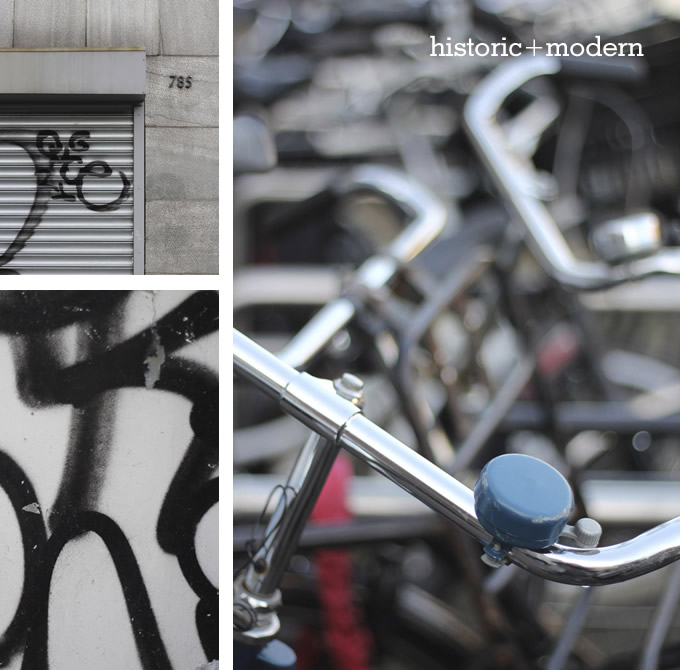
What I love about Amsterdam is that, although you are surrounded by the historic architecture and canals it doesn’t feel old fashioned nor just a big tourist attraction. With the vast volume of cyclists buzzing around it feels like a living city and you can glimpse into real homes as you wander, seeing modern interiors and creative solutions that respect the heritage but are contemporary and forward thinking.
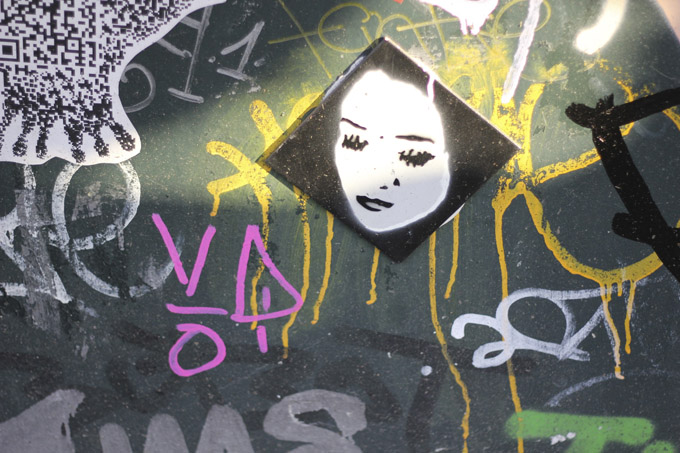
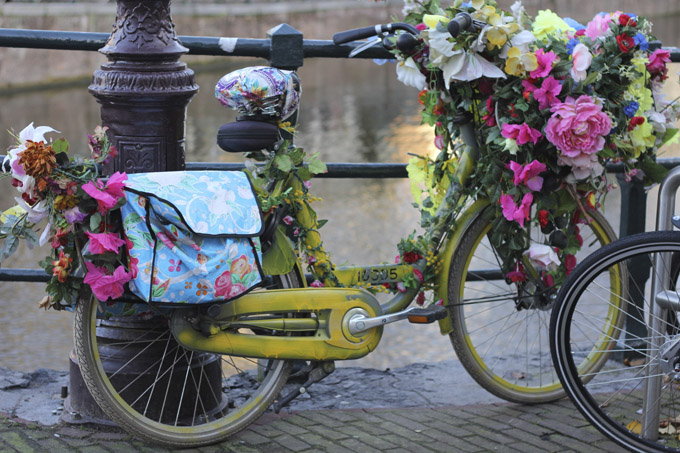
The creativity and individuality is evident everywhere. I loved this personalised bicycle covered in silk flowers.
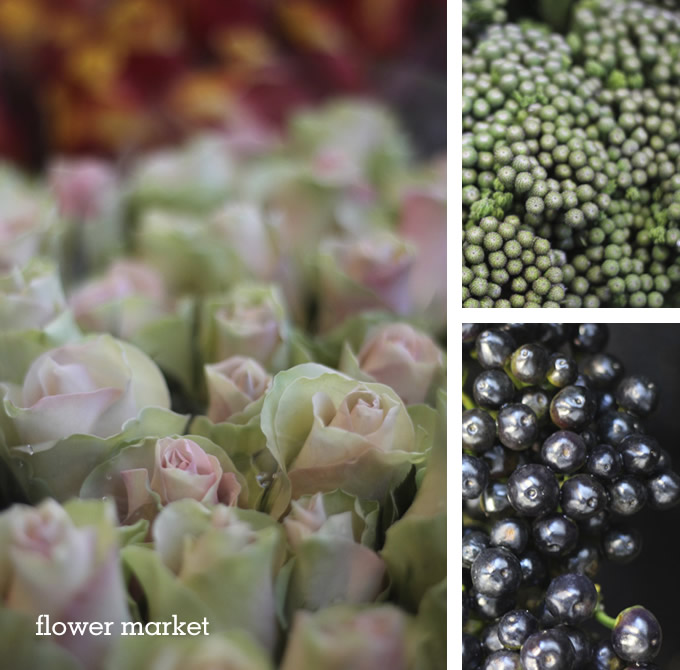
We visited the famous flower market and also the Waterloopein flea market which was disappointing unfortunately as it was all general stalls rather than antiques or bric-a-brac, though it looked like a lot of stalls had closed up early. The farmers’ market on the Noordermarkt was fabulous and well worth a visit.
Touring the shops, my favourites were Moooi, Droog and The Frozen Fountain. Bebob Design had a great selection of vintage and new classic 20th century furniture. I always like to visit a major, old department store on a city break and we whizzed around De Bijenkorf which also has a good cafe/restaurant on the top floor. We stumbled upon a lovely little concept store called Maison NL and peered through the window of Raw Materials home store which looked interesting but was unfortunately closed when we found it. The American Book Centre was brilliant and opposite it Atheneum had a huge international selection of creative magazines.

All in all we had a lovely time celebrating our wedding anniversary and returned inspired. Thank you for making us welcome Amsterdam, we hope to see you again soon.
Comments: 190 Leave a comment

craft project: christmas wreath
December 8, 2011 in diy craft projects, homemade
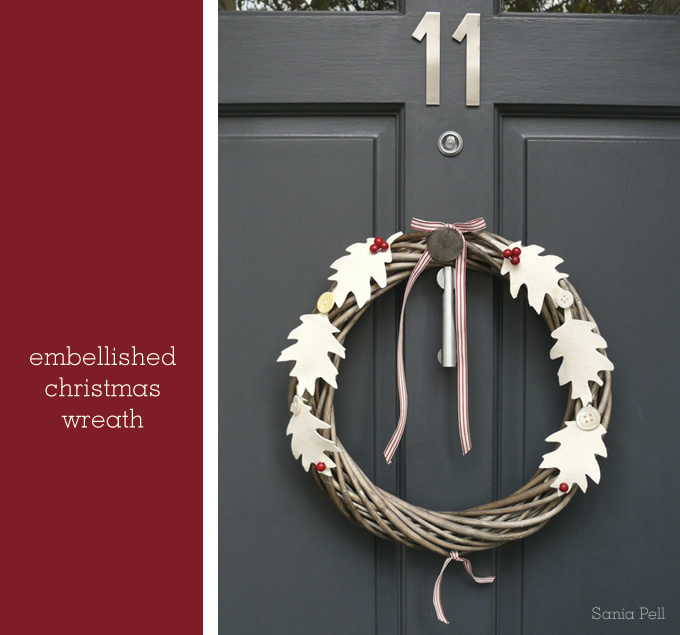
I was flicking through some old photos and found these images of two of the Christmas wreathes that I made last year and donated to sell at my children’s schools Christmas fair. I originally posted them on my Homemade Home Facebook page last year but as it’s that time of year again, and following the wonderful response to my simple clay decorations project, I thought I would share them here.
I bought the plain, woven wooden wreathes and then embellished them by hand with felt leaves, beads, ribbon, buttons and a little Robin in some cases. I made a dozen or so and each one was unique.
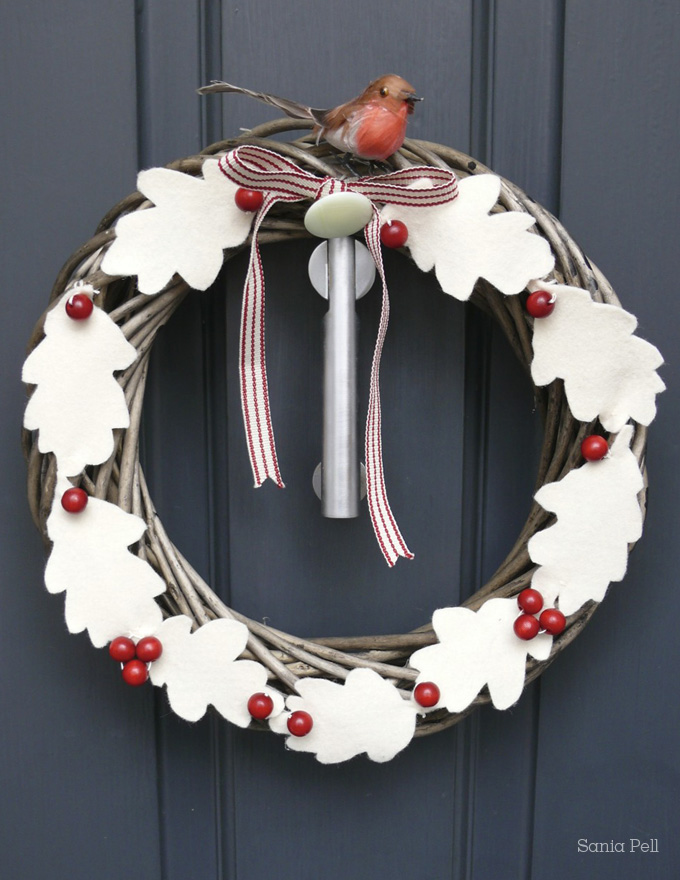
I used real leaves that had fallen in my local park as templates, pinning them to the felt fabric and simply cutting round them. All of the felt, buttons, beads and ribbon came from my stash of haberdashery goodies.
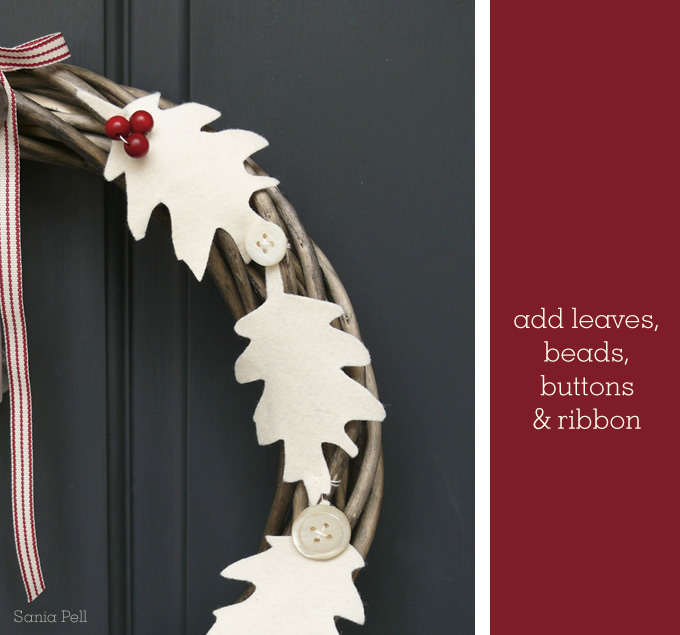
I used strong glue to fix the leaves on, let the glue dry and then sewed the red beads, to look like winter berries, and also old buttons on to the leaves to add visual interest. The matching ribbon finishes things off.
If you try this idea and use felt or fabric them make sure your front door is well sheltered from bad weather or the rain may be a problem.
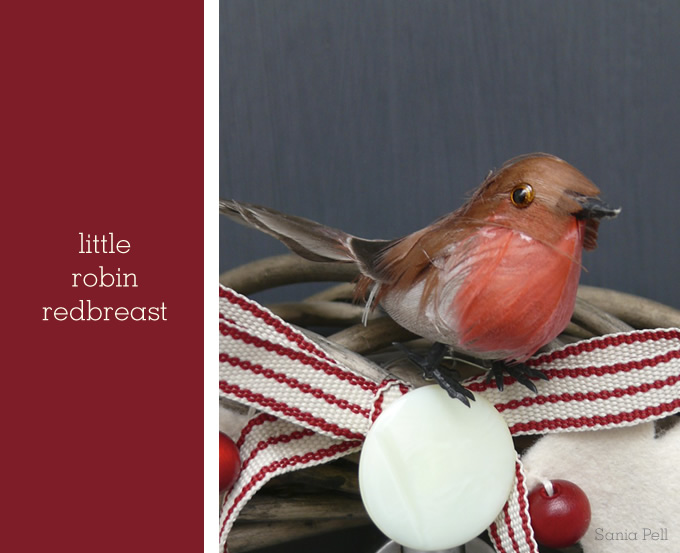
My children loved the little birds. They were inspired by the little Robin who visits our back garden regularly, sitting on the fence and watching us in our kitchen.
What Christmas decorations are you making this year?
Comments: 13 Leave a comment


 Line Up contemporary craft exhibition, curated by Sania Pell, at Flow Gallery, 1-5 Needham Road
London, W11 2RP.
 View Sania's interiors, food and table top and children's lifestyle photographic styling portfolio.
