October 27, 2016 in diy craft projects, interior styling
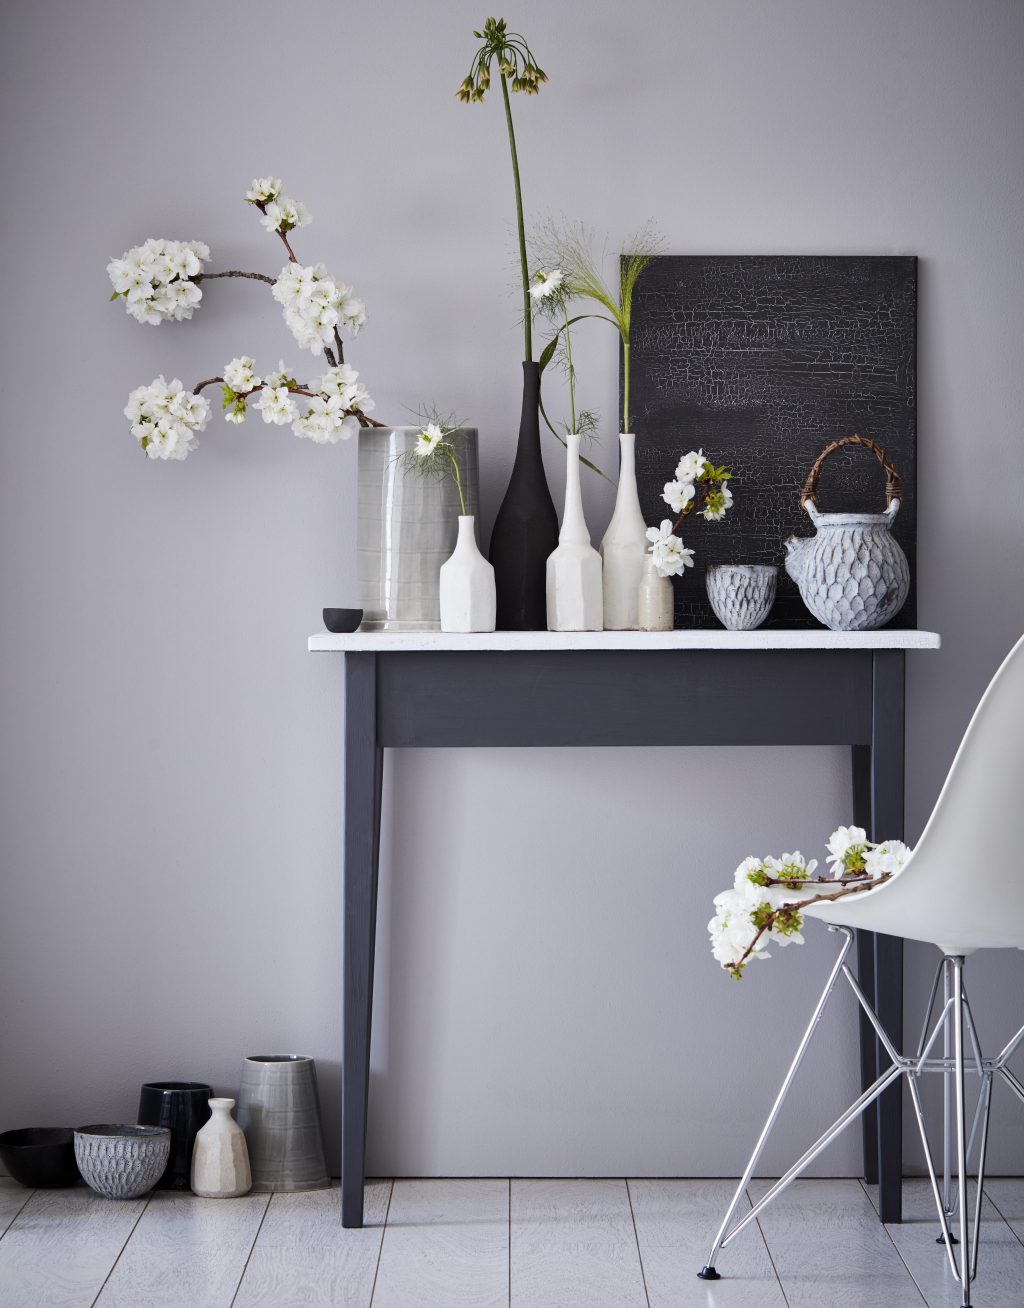
This shoot for Earthborn was to showcase two of their products. Their paints and other products are organic and environmentally friendly.
One product was their new crackle paint which creates a textured, cracked effect on painted furniture. Earthborn Crackle is a water-based, oil-free and-acrylic-free medium perfect for creating a textured, crackle effect on painted furniture. Use in between two contrasting paint colours for the ultimate crackle look.
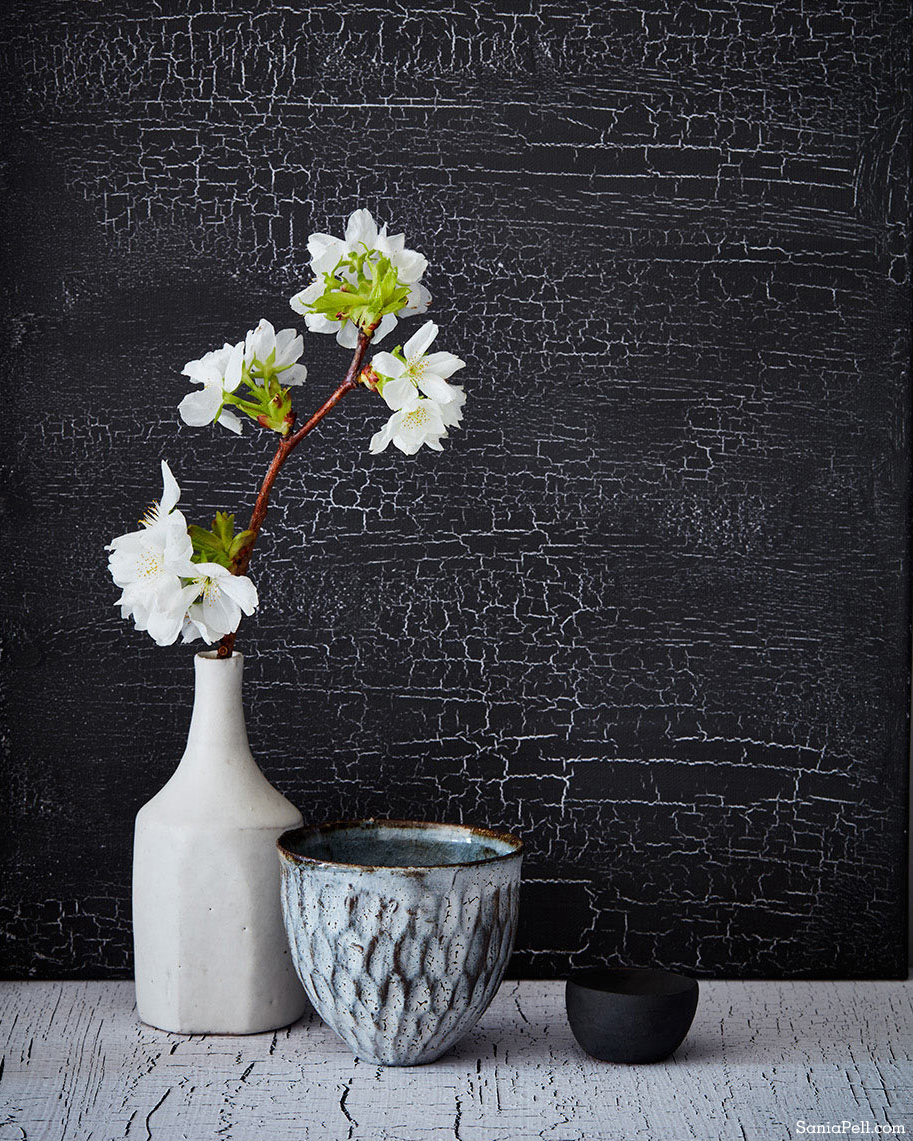
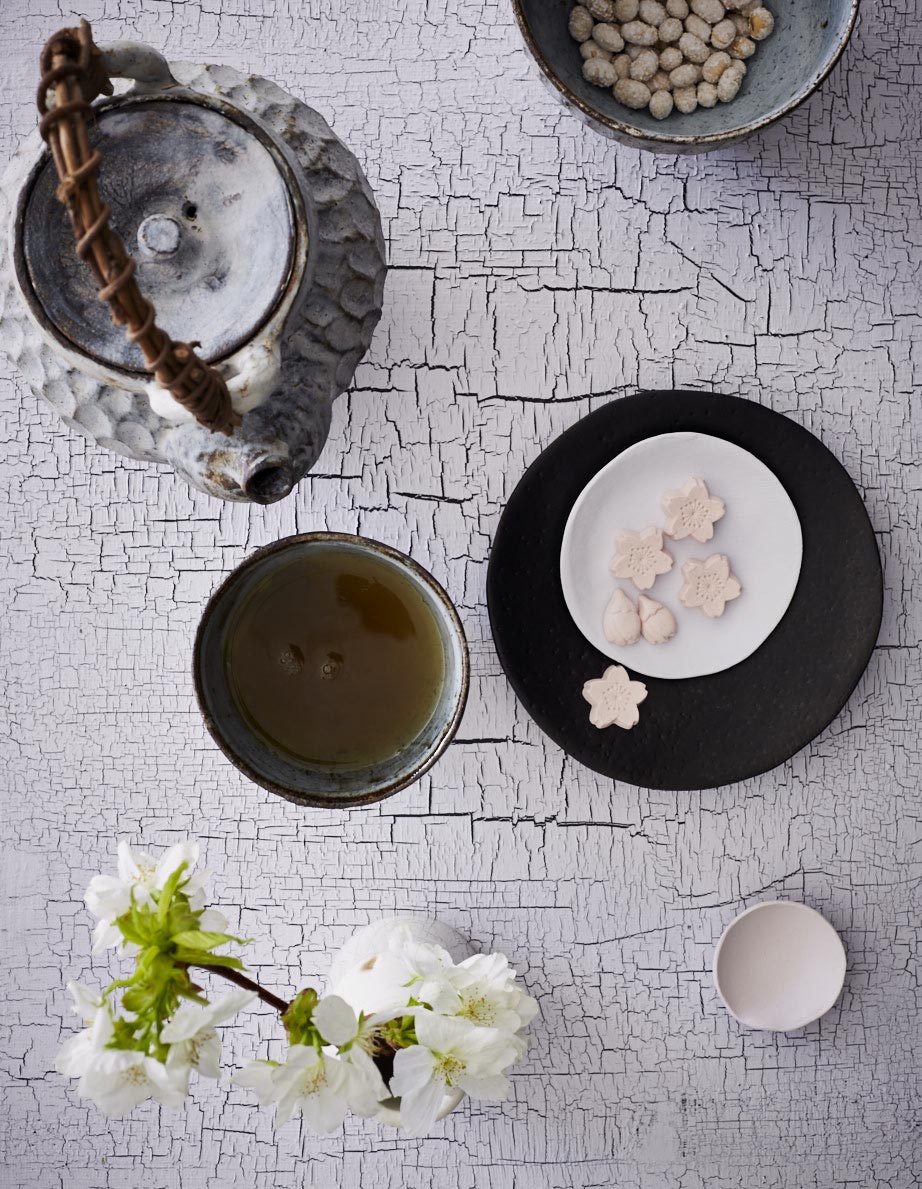
Another product was a clear wax for interior wood surfaces. Used over Earthborn Eco Claypaint it seals the paint surface.
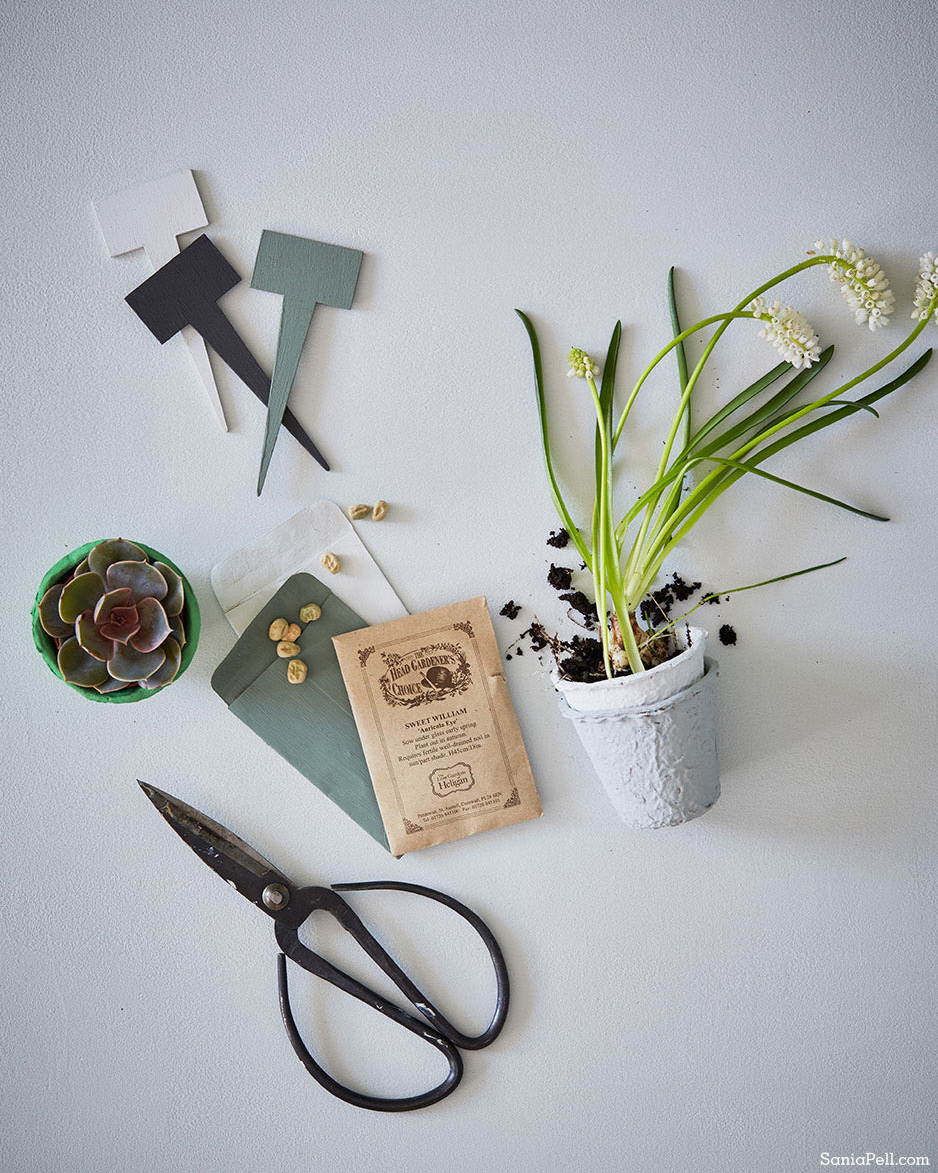

Find out more about Earthborn paints on their website.
Comments: Comments Off on Earthborn Paint Leave a comment
October 16, 2013 in diy craft projects

With Halloween only two weeks away, the Marie-Chantal team asked me to write this little project for their blog on how to make one of the props I created for their autumn/winter photo shoot. The photos are by Julia Bostock.
This friendly pumpkin mask is the perfect Halloween accessory that can be used again year after year. It is easy to make and can be used as a costume mask, a shadow puppet or simply as a decoration for a Halloween party. They are especially good for children who don’t enjoy having their face painted.
Materials required:
A4 size card about 1mm thick (around 400gsm) – it needs to be stiff, but if the card is too thick it can be difficult to cut through.
Cutting mat or board
Scalpel or craft knife
Pencil
Dowling rod
Gaffer/Elephant tape
Emulsion paint
Flat paintbrush
Step 1: Print out the template at A4 size and trace the shape of the pumpkin onto the back of the card in pencil.
Step 2: Using a sharp scalpel or craft knife, cut out the shape of the pumpkin, the eyes, nose and mouth.
Step 3: Paint both sides of the card and leave to dry. I painted them dark grey as shadow puppets for the shoot, but you could paint them the traditional orange or whatever colour you like. It may require 2-3 coats each side. Leave them plain or let your children decorate them further if they wish.
Step 4: Attach dowling rod to the back of the pumpkin with gaffer tape or wide masking tape as a handle. Ensure the rod is long enough to hold comfortably with the mask in front of your or your child’s face. If you want it double-sided, cut out and paint a second pumpkin and glue or double-sided tape it to the other one, sandwiching the rod between them.
Step 5: Have fun at your Halloween party!

You can read the original post and more about Marie-Chantal over on the Marie-Chantal blog.
My children are already getting excited about dressing up and going trick or treating. It’s time to stock up on sweets I think.
Have fun!
Comments: 2 Leave a comment
March 6, 2013 in diy craft projects, homemade

A few weeks ago I was asked by the lovely team at Liberty to come up with an easy-to-make Mother’s day gift for the Liberty blog, so I adapted a project and wrapped glass candles with a selection of Liberty print fabrics. Although Mother’s Day in the UK is only a few days away, you still have time to make this as it is quick to do.
This is a really simple idea to turn a plain candle into something unique and special. One of these patterned treats, wrapped in tissue in a beautifully decorated box, makes the perfect mother’s day gift. Choose your mother’s favourite colours and a beautiful Liberty print to make a gift she will love and display with pride.
You will need:
Glass candle, Liberty Print fabric and ribbon
Double-sided tape, fabric scissors, a pencil and ruler
For the gift box:
Plain cardboard box with lid, swing tag, Liberty print fabric and ribbon
Emulsion paint and small flat brush about 3cms wide
Scissors, needle and thread, bondaweb and an iron

To make the candle
Measure the height of the candle and cut your fabric at least 3cm shorter than this height to give at least a 1.5cm gap at the top of the glass and the bottom. To measure the circumference, wind some thread around the candle adding a 1cm overlap for the cross-over at the back, then stretch it out and use it as your guide for your length. Draw this long rectangle lightly, but visible in pencil onto the reverse of the fabric and cut out carefully.
Stick double-sided tape along both short edges on the wrong fabric side. Stick the first side straight to the glass, then wrap the fabric around the glass and stick the other side down with an overlap of fabric, ensuring your fabric is straight and taut and that there is at least a 1.5 cms gap at the top. Snip any stray threads off.
Cut a ribbon to the correct length and wrap it around the middle, tying with a bow, or wrap a strip around the bottom of the candle using double-sided tape at both ends of the ribbon to fix.

To make the packaging:
Paint the box with emulsion paint in one of your mother’s favourite colours, outside and inside until covered. This could take two coats.
Add some detail to a tag using a piece of Liberty wrapping paper fixed to the bottom with double-sided tape and write or stamp on your mother’s name or initials.
To make the fabric leaves, iron bondaweb onto the reverse of some Liberty fabric then iron a plain fabric to the other side. Cut out a leaf shape either by hand or by pinning a real leaf onto the fabric and cutting around it using it as a template. Stitch these fabric leaves to either end of the ribbon you will tie around the box.
Wrap your candle in complementary coloured tissue paper and place inside the box. Tie with ribbon and add your swing tag.

You can read my post on the fab Liberty blog here and peruse the range of Liberty print fabrics.
Have a wonderful Mother’s Day and I hope your mums like their gifts.
Comments: 5 Leave a comment
February 7, 2013 in books, diy craft projects

For some of the projects in my book The Homemade Home for Children, I made several variations but there just wasn’t space to show them all within the book. So I thought it would be interesting to show you some of the ones that we didn’t photograph for the book. They are extensions of the projects, helping to show how the basic idea can be taken and interpreted in different ways to create unique items for your home. Shown here is a variation of the Graphic Box project on pages 158 and 159 of the book and even though it was meant for small children, I really like the monochrome graphic quality and modernist feel and would be happy to have it on display anywhere in my house. This version hasn’t been seen anywhere before so thought I would take some photos and share it on my blog.


I had bought the old printer’s trays years ago from an antiques market in Greenwich, just because I liked it and thought I would use it at some point. I painted it white, inset some vintage map graphics into the back of holes and painted some wooden pieces in different shapes, taken from an old children’s game, and stuck them in with sticky pads so they were raised away from the back. I painted it in the simple black and white colour scheme as babies react well to monochrome visuals.

The large printer’s tray that features in the book was bought at my local car boot sale and I photographed this too below. The idea for was to create teaching aids that you would be happy to have on the wall and keep for future generations. I also made one for colours which is shown in the book and there is also another version that looks like a little house in the introduction pages if you have a copy of the book to flick through.


I wanted this project to show how you can make an attractive, unusual and unique item that will inspire children’s learning and look great hanging on the wall or placed on a shelf. I hope it succeeds.
If you haven’t got a copy of the book you can see some examples of the type of projects I created here.
Happy making
Sania x
The Homemade Home for Children is published by CICO Books and available now at Amazon UK and Amazon US.
Comments: 2 Leave a comment
December 14, 2012 in diy craft projects, homemade, news

I had the pleasure of being asked by Grazia magazine’s Rachel Loos to be part of their Christmas special, in a feature on their favourite bloggers’ crafty Christmas ideas. I was asked if I could come up with and create a bauble idea and, as is my way, I created lots of variations of the same idea for the photo shoot and thought I would share them with you. I worked with photographer Chris Tubbs on the shoot for the magazine but I also I took a few snaps at home that you can see below, they are so easy to make why not give them a go yourself?


As it was Grazia, I wanted to break away from the traditional Christmas colours and give my baubles a fashion edge as well as a seasonal feel. Using basic plain glass baubles as my starting point I combined disco sparkle in the form of glitter and sequins in silvers and greys, with Pop-inspired fluorescent neon paint and ribbon made from strips of some of my favourite fashion fabrics by Liberty. In others I tipped tiny beads topped by ribbon from VV Rouleaux and applied embossed black and white messages giving them a kind of disco/80s/punky feel.


The Dymo message tape and labelmakers can be bought from places like WH Smiths and is a fun way of encorporating messages on all sorts of things like labels for jam jars of collected treasures or name tags on gifts.


I was quoted in Grazia saying “I like taking something plain and giving it a twist” and that is really my approach to making and creating as well as for interiors and styling.

The great thing about making your own decorations is you can choose colour combinations that work with your Christmas theme and interior style, and change things around each year if you wish. With plain glass baubles you can use whatever beads, sequins and ribbons you have to create unique and personal decorations that will catch your guests’ eyes when they visit over the festive holidays.
Have a lovely Christmas everyone.
Comments: 9 Leave a comment
December 5, 2012 in diy craft projects, homemade

If you’ve followed my blog since the early days you may know I help each year with my children’s school Christmas fair since my son first started nursery, and this year was no exception. Being part of the school community is a wonderful thing. When the children were little and I stayed at home and looked after my baby daughter, helping at the school gave me a creative outlet and contributed to a community that helped all the school children. Now my children are both at school and I am working much more I have less time to help, but this year I still managed to make a few items for the fair in evenings and spare moments which we sold on the gifts stall at the fair last Saturday. I snapped a few photos in my kitchen of some of the things I had made and thought I would share them.


Lavender bags are always popular, you can’t help but smell them when you pick them up, and however many we make (and between us we made almost 100 this year), we sell every single one. We sold them as singles or double packs in linen and Liberty print fabric, with a ribbon tied around them. They’re simple to make even if you have basic sewing skills and there are how-to instructions in my first book if it feels daunting. I posted about lavender bags as a great mother’s day gift back in March (see post) but they are perfect Christmas gifts too.

These little black notebooks were bought from my local Tiger store and I just added some vintage playing cards, bought from a car boot sale, to the front covers with double-sided tape. These are a simpler adaptation of the notebook project in my latest book (see my previous post). Great as a stocking filler with a little pack of coloured pencils.


The festive wreaths below are another popular item and look fab hanging from your front door or inside your home. This year I bought heart-shaped basic woven wreaths and decorated them with felt leaves that were cut out and stuck on. To do this pin a real leaf from a tree to your felt and cut around it as accurately as possible. I embellished with ribbons and covered buttons at the top of the wreath and added little birds from DZD. To see another variation of this project see my post with instructions from last year here.


Lots of parents helped and we also made lots of other items like hair clips and bands, embellished cushions, decorations, jars of sweets and lots of gifts donated by local companies and parents. It was a successful day, we raised money for the school but most importantly it was a lot of fun for children, parents and teachers to all get together on the same day.
Now it’s time to get back to planning our own family Christmas!
Comments: 8 Leave a comment

A place to share my work and the things I love: interior styling and great design; fine art and contemporary craft; exciting new products and flea market finds; handmade and homemade; celebrating the old and embracing the new; creativity, family and fun. The things that I believe make your house a home.

 Line Up contemporary craft exhibition, curated by Sania Pell, at Flow Gallery, 1-5 Needham Road
London, W11 2RP.
Line Up contemporary craft exhibition, curated by Sania Pell, at Flow Gallery, 1-5 Needham Road
London, W11 2RP.
 View Sania's interiors, food and table top and children's lifestyle photographic styling portfolio.