fluro cutlery
June 22, 2011 in diy craft projects, vintage finds
I feel the need for some colour at the moment so my vintage cutlery received the fluro treatment! There is a bit of a trend for painted and coloured cutlery I’ve been noticing and I have taken it in my own way by simply spray painting some of the handles.
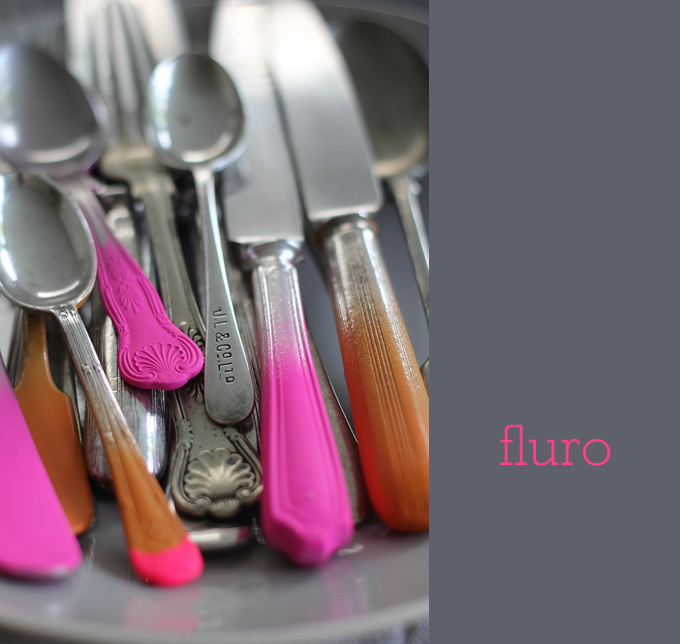
I picked up this old silver-plated cutlery at my local car boot sale for 50 pence each which is such a bargain. I love the fact it is all mismatched designs and styles, it gives it character and makes things more interesting. I gave them all a good clean and then took them into the garden, put down some newspaper and blasted the handles with the bright pink and orange spray paint I had in my paint collection.
This spray paint will scratch off but I don’t mind, the patina will add character. To reduce scratching I would use enamel paint or even just dip the handles into pots of different coloured paint.
Or I can scrub it off and repaint them another colour, perhaps to match the theme of a table setting in a shoot. Just a frivolous bit of fluro fun!
Update: It seems this picture has popped up around the web without me knowing, much to my surprise, especially on Pinterest. So just to elaborate on my comments below, I didn’t do this to my everyday cutlery that we eat with, this is old cutlery that I use as props for photos. Plasti-kote say that their Fast Dry Enamel , which comes in lots of colours, is completely non-toxic when dry and contains no ingredients that would be harmful to children or pets – but solvent-based spray paint can be harmful if ingested and you should always check the smallprint on any paint you use, follow the maker’s instructions and use common sense. If in doubt ask an expert at your local paint store.
Comments: 66 Leave a comment

the homemade home now in german!
June 10, 2011 in diy craft projects, news
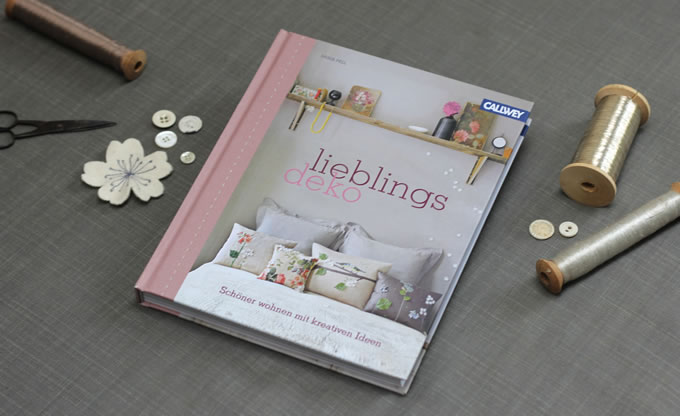
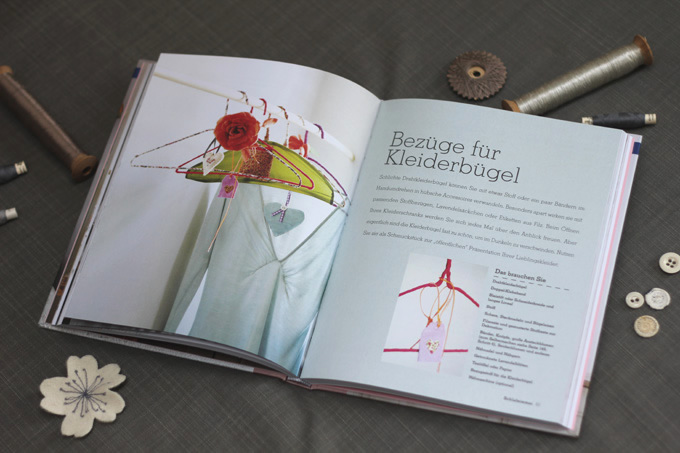
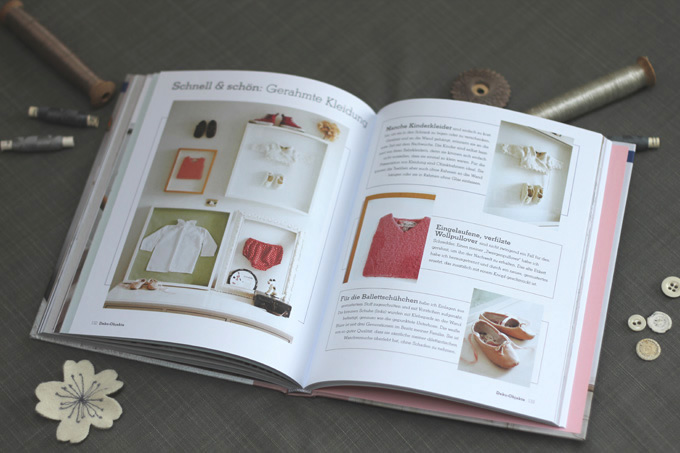
I was delighted when I heard about this! The German publishing company Callwey have translated my book and LieblingsDeko: Schöner wohnen mit kreativen Ideen is now available and has had great reviews in Living At Home magazine and NZZ am Sonntag newspaper.
A copy winged its way over to me from Amazon.de and it looks great. Callwey have chosen a different image for the cover – the loverbird pillows, which is one of my favourite projects. I think it looks great. A big thank you to everyone at Callwey!
If you know anyone German who you think may like it, please pass on the link to them. You can buy the book here on Amazon.de
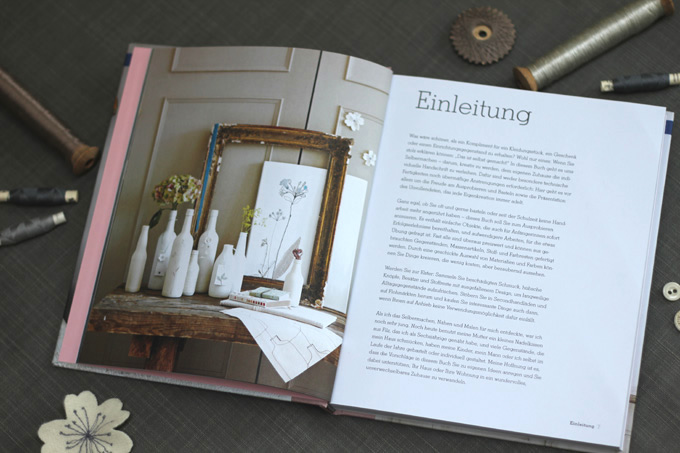
Who knows, maybe The Homemade Home will be translated into other languages too?
Comments: 4 Leave a comment

craft project: fabric button brooches
June 1, 2011 in diy craft projects, homemade
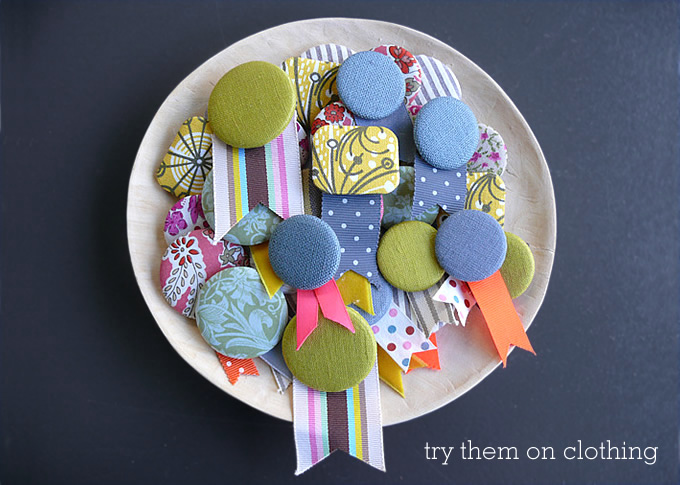
I made these little fabric brooches last year for the launch party of my book. They were little gifts for my guests to wear at the party and to take away with them as keepsakes. Each one was unique and my guests could take their pick and choose the one they liked most. You could use this idea for weddings too (make a batch as wedding favours for your guests) and they are a great conversation starter or ice breaker when people don’t know each other. They also work well as decorative additions to liven up plain cushions and other furnishings.
These were all made from scraps of fabric and ribbons that I already had in my haberdashery stash and are an adaptation of the ‘covered buttons’ project on page 176 of my book The Homemade Home.
You can use either a metal badge making kit (I use my children’s Bandai badge maker) which come with pins for attaching, or you can buy diy button kits from a haberdashery which have a front part and a back part that simply snap together, sandwiching the fabric and holding it firm. I have explained the haberdashery button covering method below, as it is more accessible.
Covering buttons in an unexpected fabric adds quirkiness and individuality to an outfit or cushion, and they work well grouped together. Each button requires only a scrap of fabric, so you can go to town with your combinations of colours and patterns, or opt for a more coordinated theme. Here I have used different types and colours of fabric – Liberty prints, plain linen, geometric patterns and vintage fabric too, along with various ribbons in different widths and materials in neutral colours, spots and of course my regulars – neon pinks and oranges.
 Covered-button kits are available from most haberdashers, they have little hooks to grip the fabric and a snap-on back to finish it off and keep it neat. They have a loop (shank) on the back for attaching.
materials and equipment:
• Button covering kit (buttons can be bought in various sizes and are not too expensive)
• Needle and thread
• Scissors
• Scraps of fabric
• Ribbon
• Safety pins
the steps:
1. Cut out a circle of fabric with a diameter slightly less than twice the diameter of the button.
2. Using a needle and thread, sew running stitch around the edge of the circle and place the button upside down in the center of the circle and pull the threads together to gather the fabric around the button and knot.
3. Place your ribbon on top of the gathered fabric (still on the back), in the position you are happy with. Check the position of the shank if you want your ribbon to hang straight down. Snap the back on so it clamps the ribbon in place as well as finishing the button. If your fabric is thick it can be quite difficult to push the back on. A cotton or fine linen works well.
4. If the shank sticks out too far you can push it in so it is flatter to the back.
5. Attach a small safety pin so you can fix it to clothes or furnishings or you could sew it on to be more permanent.
Have fun making!
If you try this I’d love to see how you get on and you can post your photos on my Facebook page here.
This project of mine was originally featured on makeitandmendit.com
Comments: 12 Leave a comment

gift idea: wrapped candle with vintage matches
May 18, 2011 in diy craft projects, homemade, vintage finds
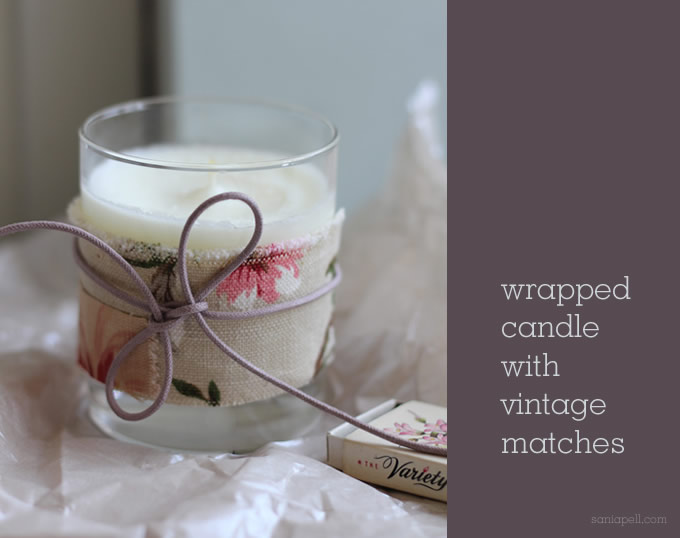
Flea markets and car boot sales aren’t just great places to pick up things for yourself and your home, they can be great for gifts for friends and family too.
I found these vintage matchboxes recently and they gave me the idea for a sweet little gift for a friend.
I had an unused candle in a glass that was in the back of a cupboard and thought it would be perfect. I looked in my fabric off-cut stash and found a piece of natural coloured linen with a pink floral motif, that picked up on the colours and subject of the illustration on the matchbox I had chosen. I used double-sided tape around the glass to hold it in place. If you use a candle that already has a label on, try scraping it off first or a little white spirit can help remove stubborn glue. (even though they’re old, please remember to take the usual safety precautions with matches and candles though!)
I then found some lilac cotton string that I had and tied it around the glass in a bow. I then wrapped the candle along with the match box in some matching, dusky coloured tissue paper and popped it in a similar coloured gift bag. It’s all very simple to do and makes a sweet little gift that looks pretty, is unique and costs next to nothing!
If you don’t have an old candle, you can pick up basic candles in glass very reasonably in a lot of general high street stores. I know John Lewis do some similar or stock up on your next trip to Ikea (I have bags of their tealights stashed in cupboards!).
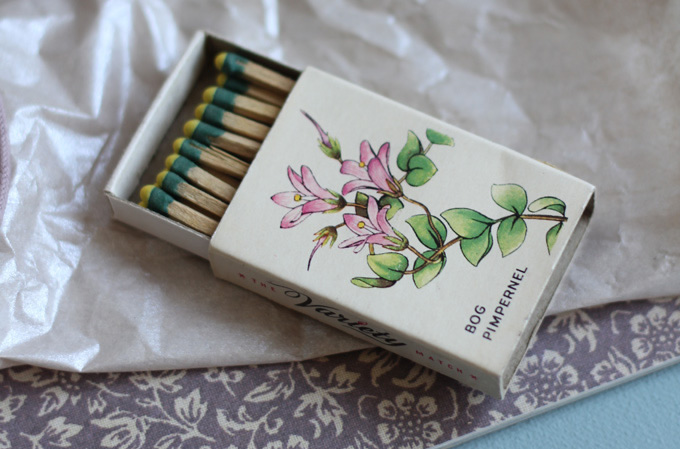
When I came across these vintage matchboxes with fab floral illustrations last month, I loved them and at fifty pence each I knew they were worth buying. When I see something at a boot fair like this I usually end up buying it as you never know when you may find something like it again.
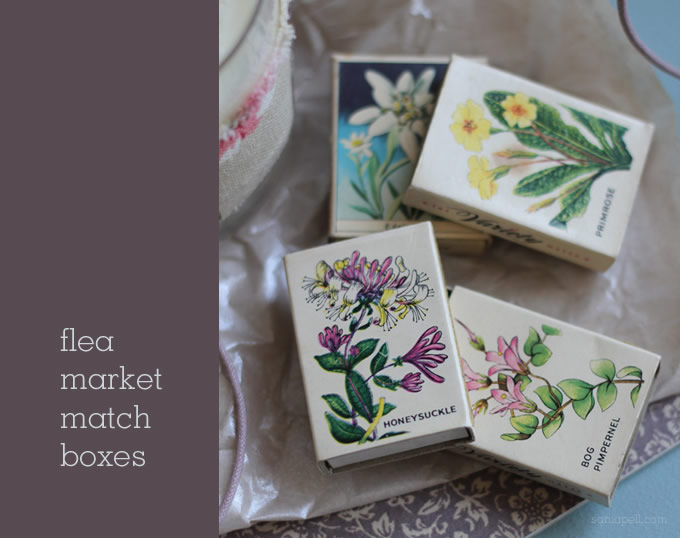
It’s perfect as I now have the basis for another three different gifts for friends! Hopefully I’ve shown that for very little you can create a personal, unique gift that your friend will love because you made it just for them.
Would it make you happy to receive something like this from a friend?
Comments: 12 Leave a comment

quick idea: disco vase
May 16, 2011 in diy craft projects, flowers, interior styling
Here is a quick and simple idea to glamourise an ordinary clear glass vase.
My daughter and I had picked some flowers from the garden and I was looking for a vase to display them in. I had this old circular glass vase in the cupboard (I think it’s Ikea) and thought it would be perfect for this idea I had.
I simply tipped a bag of silver plastic sequins into the empty vase using a funnel and then topped the vase up with water. Some sequins floated and some sank and then I just popped in a bright red rose and voila, instant glam! If you want a more delicate look simply choose an appropriate bloom.
I was inspired by a couple of vintage mirror balls I bought from a flea market which, when the sun shines in to the room at a certain time of day, reflect little sparkles all around. If you try this idea at home, see if you can position it so that the sunlight can reflect off the sequins for an added sparkly effect.
Once the flower has faded you can use a sieve to catch the sequins when you tip the water away. Give them a rinse and leave to dry and you can use them again.
It’s a very simple idea that has a bit of eye-catching wow factor. So which way would you go – glamorous or delicate?
Comments: 74 Leave a comment






 Line Up contemporary craft exhibition, curated by Sania Pell, at Flow Gallery, 1-5 Needham Road
London, W11 2RP.
 View Sania's interiors, food and table top and children's lifestyle photographic styling portfolio.
