embellished lampshades
September 28, 2011 in homemade, interior styling
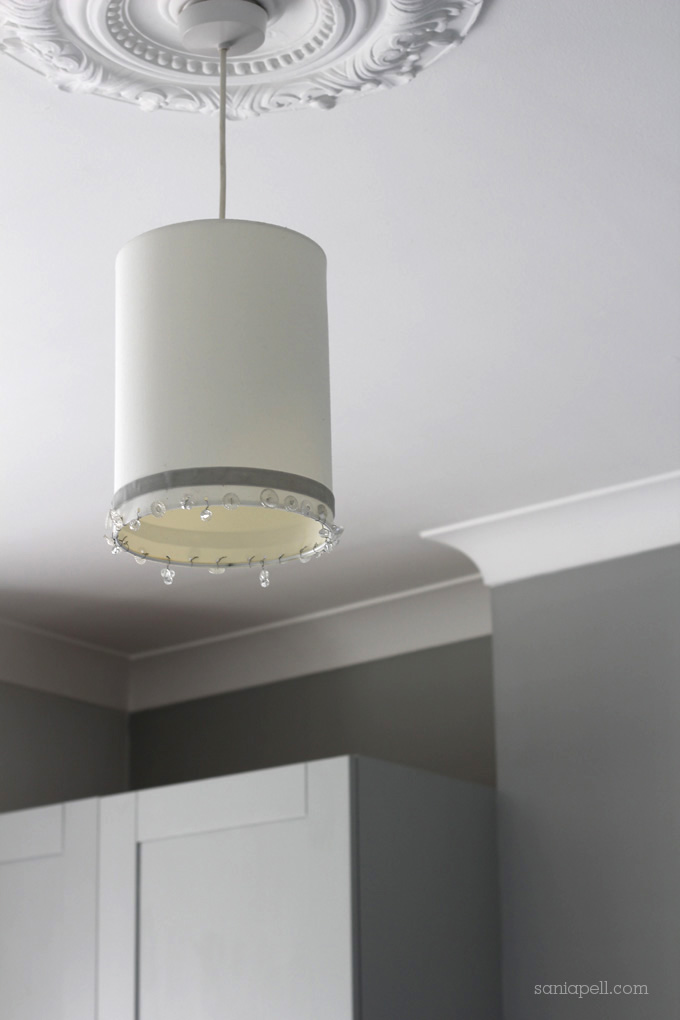
This lampshade hangs in my bedroom and is a little idea to update a plain shade into something special. It is a simple, cylindrical white linen shade that I bought from John Lewis. I simply added a stripe of dove grey velvet ribbon, chosen to match the Fired Earth Graphite painted wall behind and help it look more considered in the overall room scheme. I then punched holes randomly around the bottom edge of the fabric shade then wired on a mixture of different types of clear, glass buttons and beads from VV Rouleaux – some tight to the fabric and some hanging slightly for added visual interest.
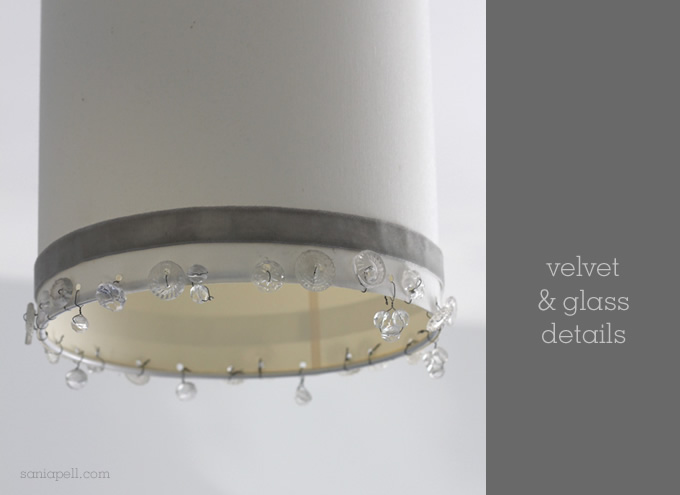
It only took an hour or two to make and didn’t cost much, but it makes the shade unique and adds subtle interest to the centre of the room. And the little glass details catch the light in a delicate, sparkly way in the morning when I open the curtains to a new day.
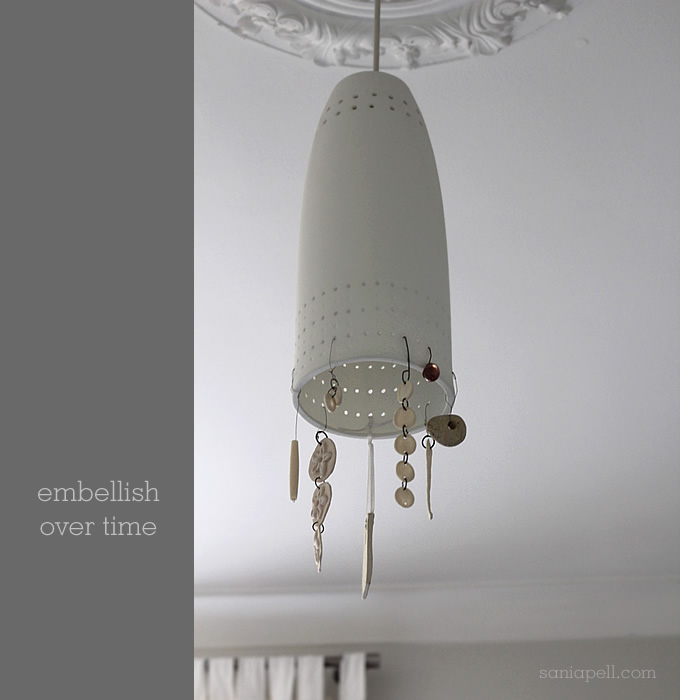
This ceiling shade hangs in my daughter’s bedroom and has been embellished and added to since she was born. It’s another shade from John Lewis that I bought years ago and is ceramic with pierced holes pierced that let light through when it is switched on. The linked ceramic discs, some with flowers on, were bought at craft fairs, a lovely glass bead and a stone with a naturally made hole found on holiday have also been added, along with an air-drying clay strip decoration that I made that hangs on white ribbon (it’s the same technique as the storage jar label project in The Homemade Home). I purposely added things of different lengths, sizes and textures in a non-uniform manner to make it more interesting and less symmetrical.
Adding little things like this is such a simple way to update a high street lampshade and help make it uniquely yours.
Comments: 6 Leave a comment

driftwood display
September 12, 2011 in homemade, interior styling
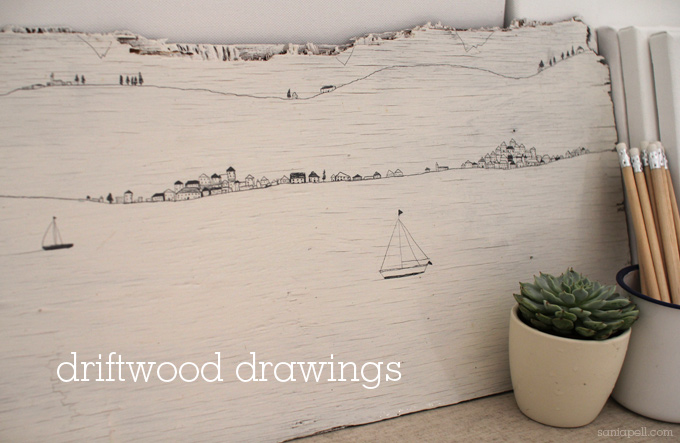
Following the lovely comments about our homemade holiday home I thought would post a few photos of some of the homemade artworks and objects that my family and I have made to display in the little house in Croatia.
I found this old piece of plywood on the shore, and after it dried a lick of white paint meant I could draw straight onto it. It’s drawn with a simple but sharp 4B pencil whilst sitting on the beach. It’s just a nieve little drawing in my wonky style of the view from the island across the sea to the mainland, with the jagged edge of the broken wood becoming the mountains in the distance on the horizon.
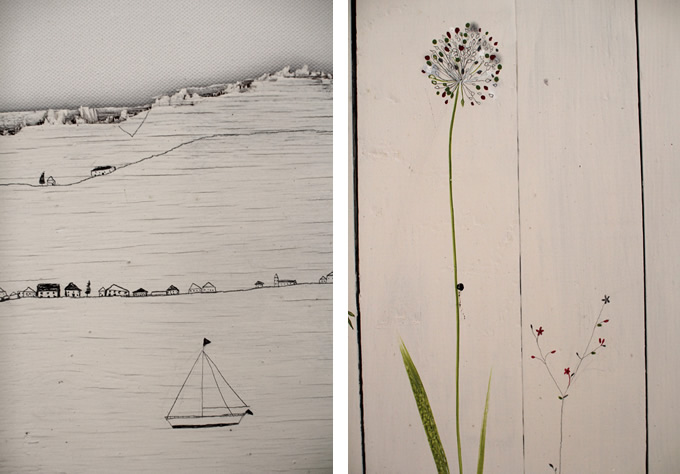
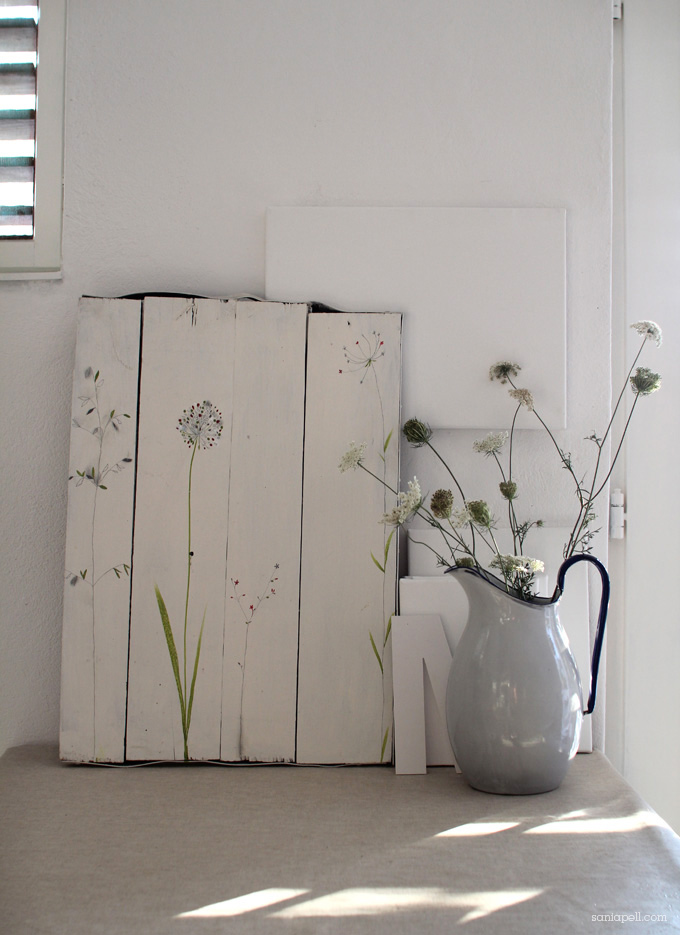
I drew this picture for my mum. We found an old discarded wooden panel on a walk on the island and brought it home and I thought it would make an interesting canvas after I painted it white. I picked some wild flowers from the garden and drew and painted them in a simplistic style.
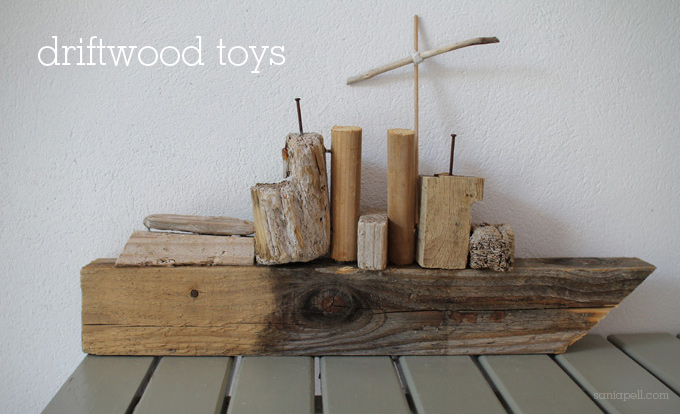
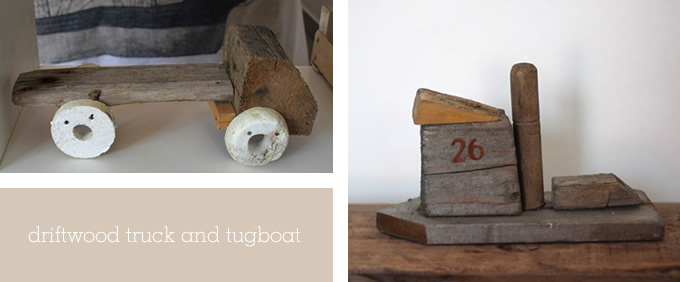
I’ve called these toys but they’re really for display only. The fun is in collecting the wood and making them. My little boy and my father made these together. My son (he was six at the time) and husband had been out foraging for interesting bits of driftwood around the shoreline and he and his grandfather nailed and glued them all together, creating different things from the shapes that had been found.
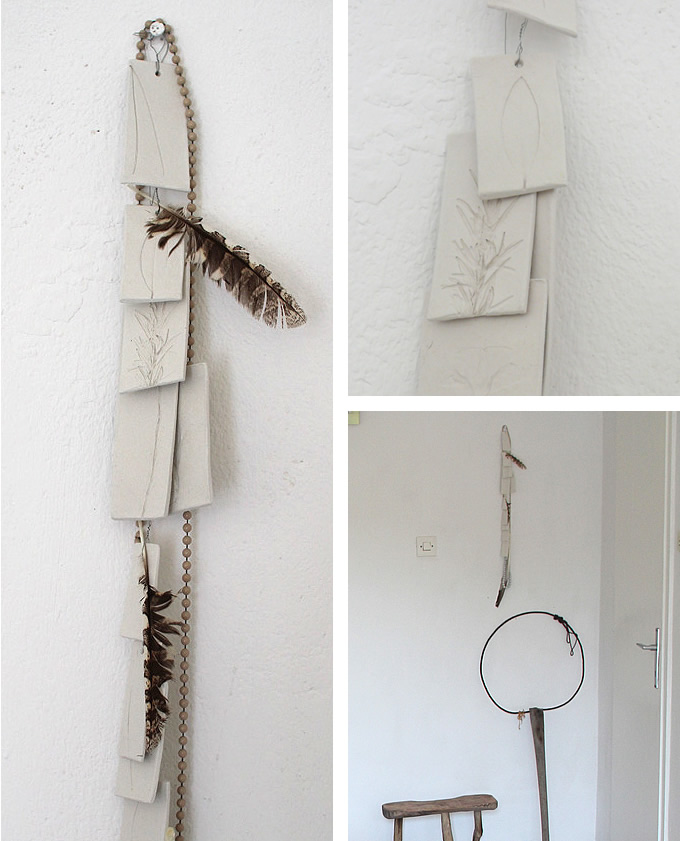
This wall hanging was made from rectangles of rolled Das air-hardening clay, pressed with leaves picked from the garden, and wired together. They’re made in the same way as the storage jar labels project on page 15 of my book if you want to try it at home. The vintage beads were my grandmother’s and the feathers my children found in the garden and pushed into the wire loops. It hangs above an old driftwood fishing net that was found washed ashore – though the net had long since disintegrated– and a vintage Croatian milking stool.
Just a few little things to display in our holiday home that cost virtually nothing but mean everything to my family, and help our little house feel like home.
Comments: 19 Leave a comment

the homemade holiday home
September 6, 2011 in homemade, interior styling
My Croatian grandfather built my family’s holiday house himself almost 50 years ago. The original one-room bungalow was extended little by little as the family grew and we now stay in what was once the old car garage, built at the end of the land. It had a shower room and tiny kitchenette in one corner but it was home to spiders and old, dusty furniture. A couple of years ago my mother gave my brother and I the challenge (all be it a very pleasant one) of transforming it into a space that is a joy to stay in for our families.
There is very little to buy on the island itself and choice is limited on the mainland near us too, so make do and mend and recycling have played a large part on how we have approached the transformation. People keep their furniture and pass it on, so there are no flea markets or junk shops and we have had to be inventive. I thought I would share some photos I took this summer as it shows how you can decorate when choice is limited and you are on a small budget. It combines all of my loves – homemade, upcycled, vintage finds, family art and found treasures – alongside new items carefully selected from supermarkets, DIY stores and the high street.
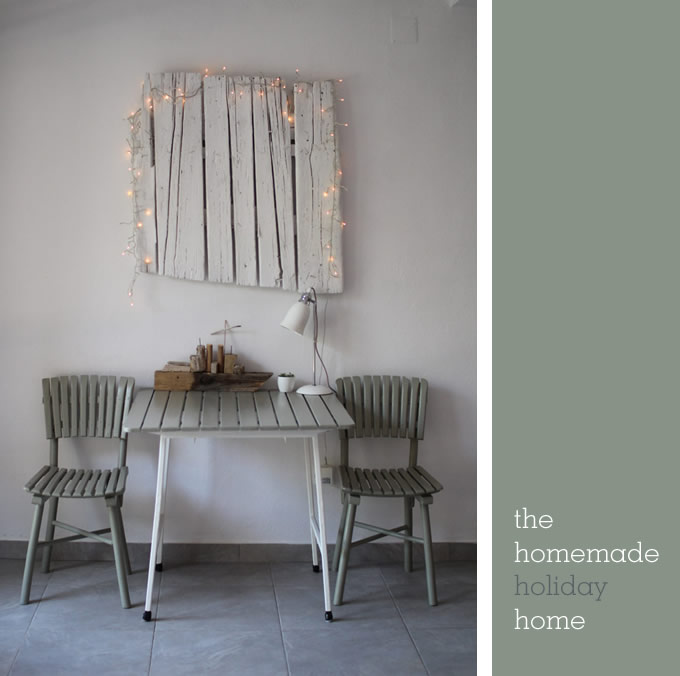
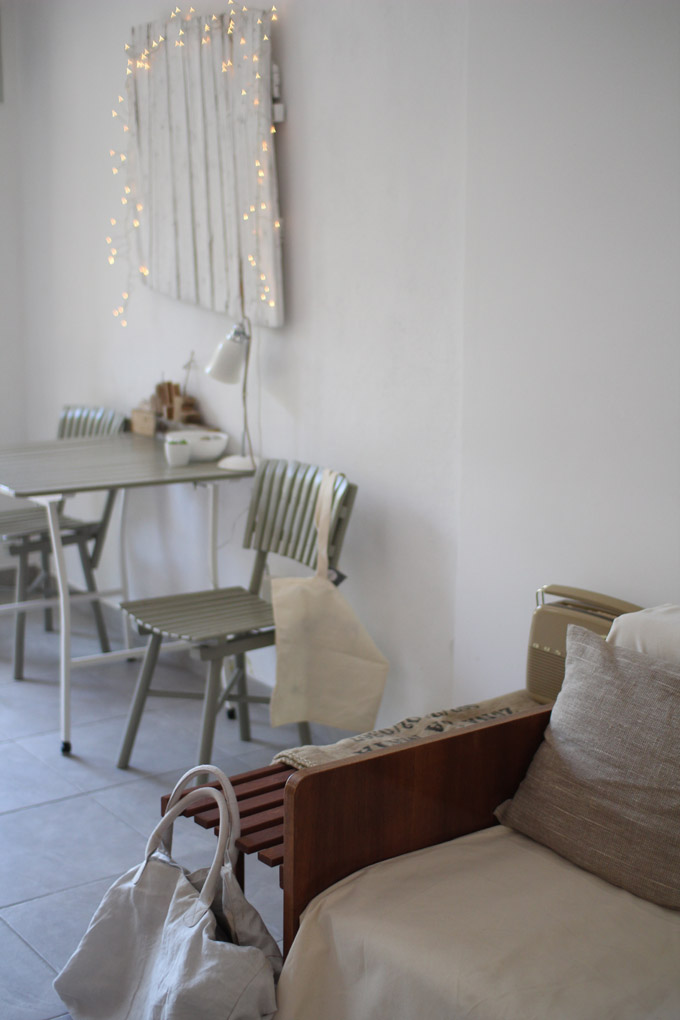
My grandparents used these slatted chairs and table for as long as I can remember and we sat around it for dinner when I was little. I discovered this summer that they were originally salvaged by my grandfather in the 1960s from a restaurant of a friend on the island who was throwing them out. The friend’s granddaughter is a friend of mine from the island who also returns each summer and our children now play together. We screwed the rickety old chairs back together and painted them in a pale greeny-grey eau de nil, I love the colour and have painted any available furniture the same shade. This is so it all mixes and matches and means we can move things around to suit our needs. The panel on the wall is driftwood, fished out of the sea while out on a walk. I let it dry out, painted it with white emulsion paint and hung it on the wall to add some texture and character. I draped it with fairy lights which look beautiful at night. I love their twinkle in the evening and how the slats mirror the table below it.
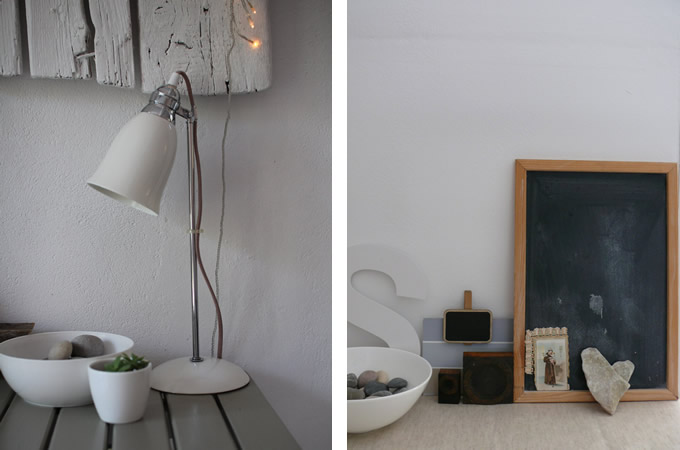
I brought this simple porcelain table light over from England after I found it in the B&Q sale. Pebbles from the beach, succulents from the garden and other little objects all make it feel like home.
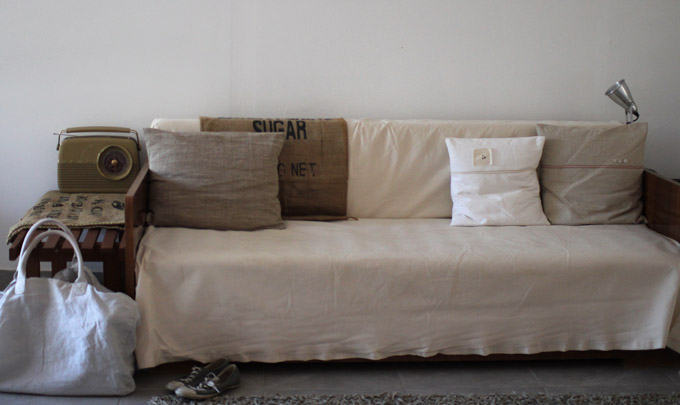
The sofa-bed above is a relic from the past but with no easy way of replacing it, I simply covered it with a large piece of cheap canvas and tucked in the sides, although I have been meaning to buy upholstery pins to keep the fabric in place.The cushions are variations of ones that I made in The Homemade Home. They are simple envelope style covers in complementary, natural shades of linen and hessian with buttons and ribbon as decoration. I took measurements of the old cushion pads one year and then made covers back at home before returning. The grain sacks were car boot sale buys and the linen beach bag is from Zara Home that I took out with me in my luggage.
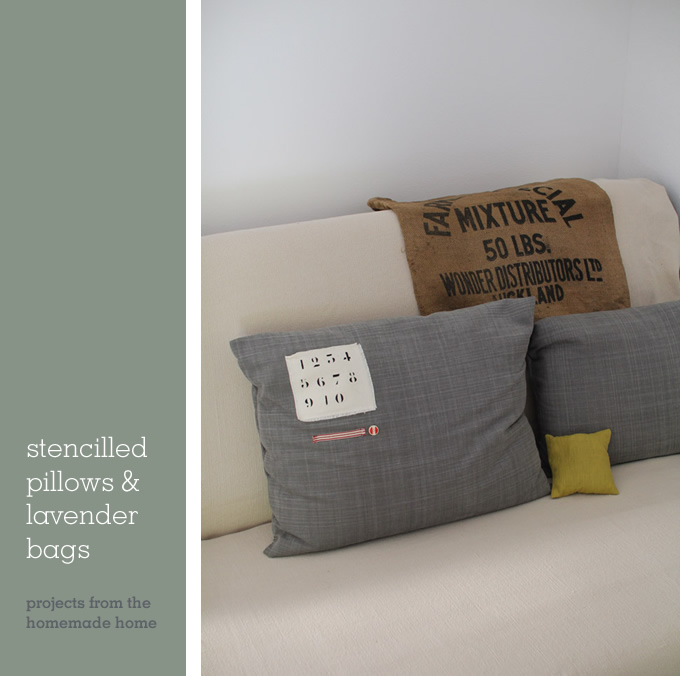
To make cushions and lavender bags like these see the projects in my book, which have step-by-step instructions and illustrations.
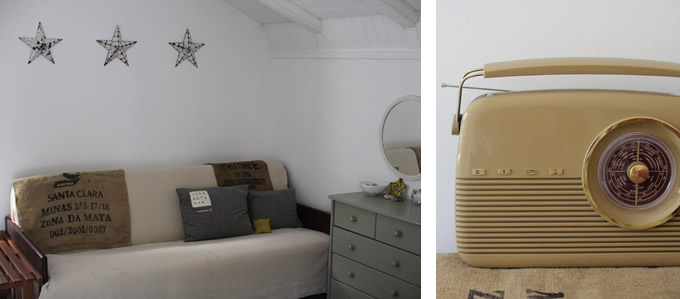
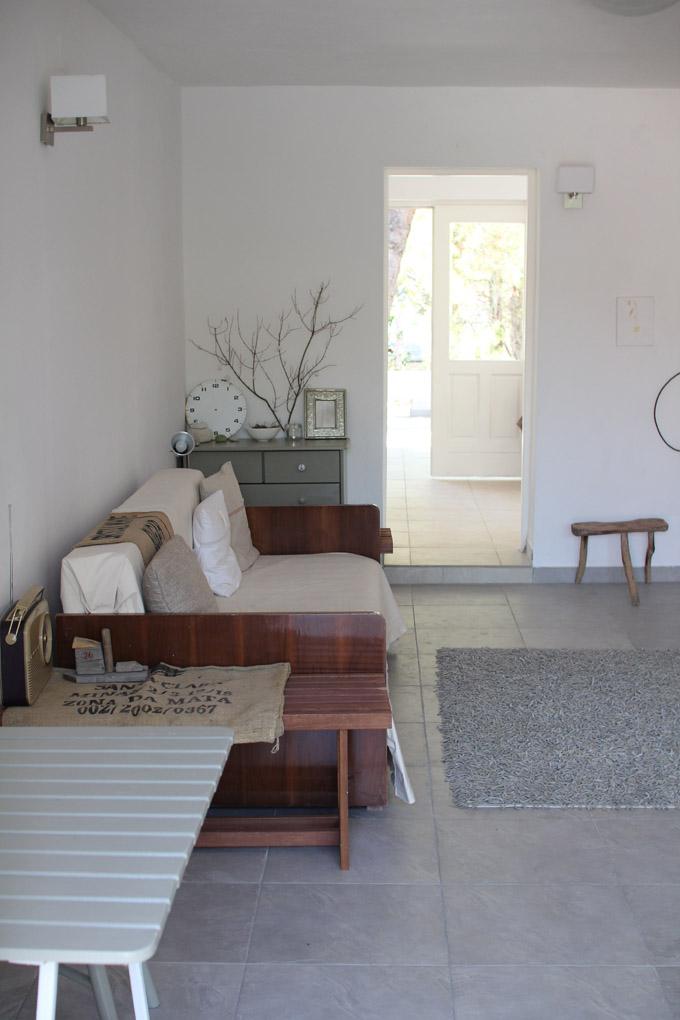
The main room above used to be the car garage and the room through the door is the old water cistern. As there was no mains water, all the houses had huge concrete boxes to store rain water collected over winter which would then supply you with water over the summer months. When the house was connected to the new water supply, the old water tank became unnecessary so we knocked through and made a new room with a terrace. My brother and husband white-washed throughout and we had the floor inside and out tiled in basic pale grey.
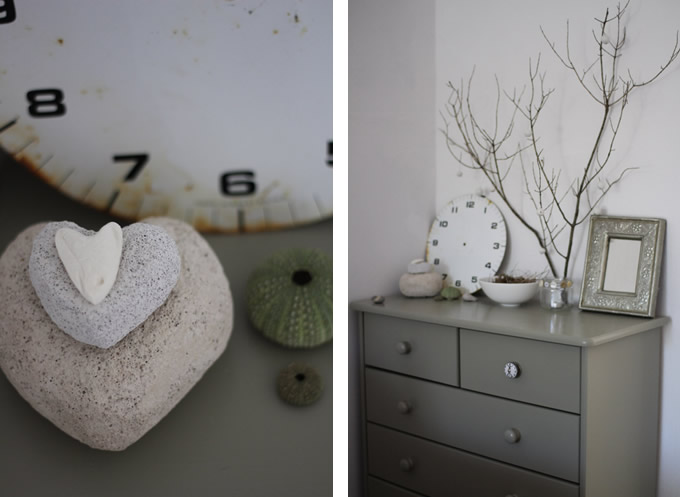
These heart-shaped stones are made from discarded porous building blocks that had washed to shore, shaped into hearts by my children and husband by rubbing them on the rocks. The small white one is a cuttle fish bone and fashioned in the same way. I painted this cheap, pine drawer unit the same green and added a handle that I had bought in Anthrolopolgie in London and brought over with me, along with one of my car boot sale purchases – an old clock face! The branch is from the garden and I made little beads from air-drying clay to hang from the branches.
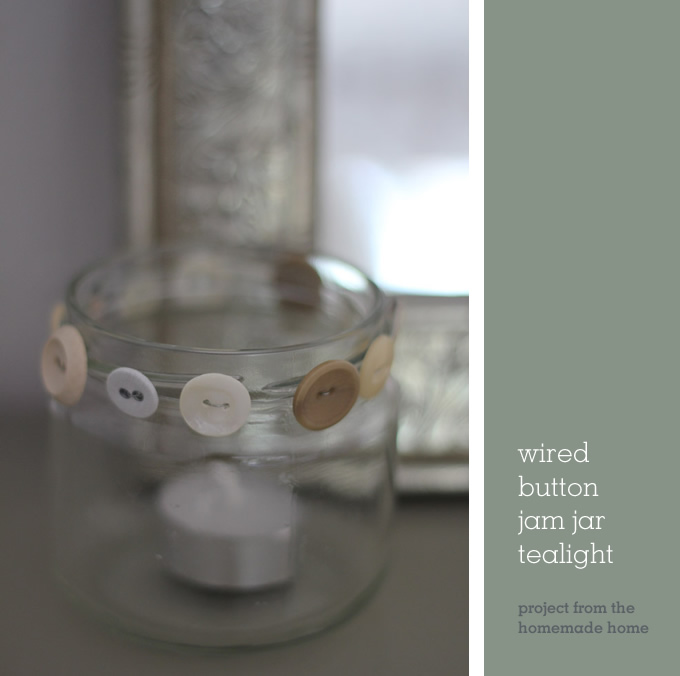
This is a variation of the wired button vases project from The Homemade Home that I made from an old jar whilst I was out there.
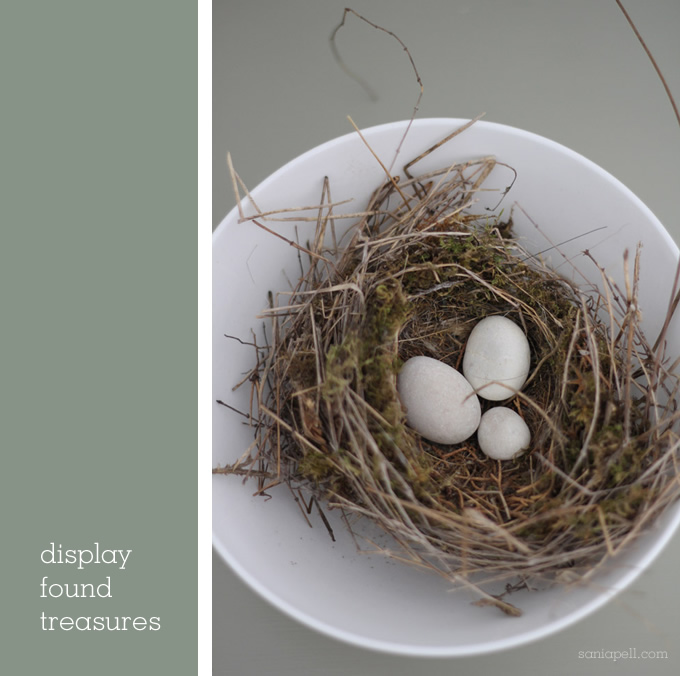
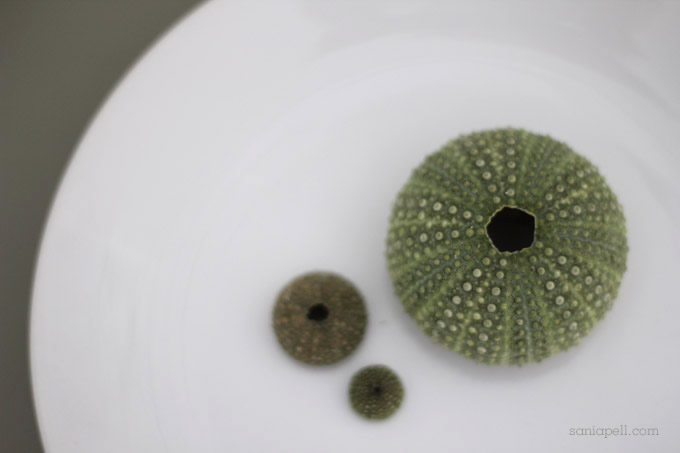
Above is a display that we love. My little boy found an old bird’s nest that had fallen out of a tree (no eggs or birds in sight). We put it in a bowl and he ran to the beach and found three little, smooth pebbles that look like eggs! The green objects below are sea urchin skeletons, so fragile and delicate in colour, that my family found whilst snorkelling.
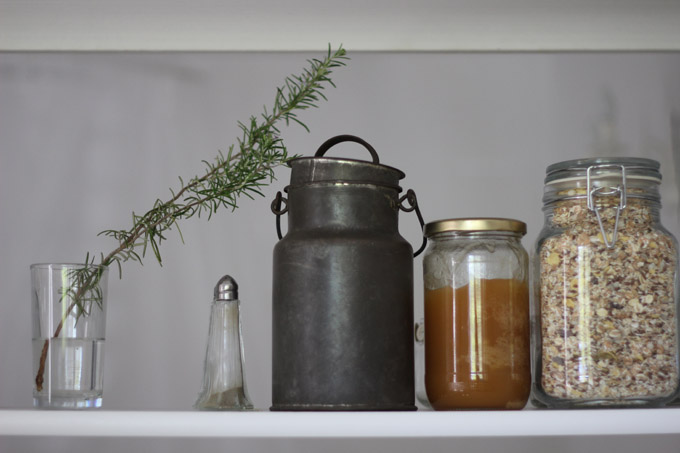
The kitchen area is old and minimal (we hope to replace it next year when a new Ikea opens in Zagreb) and there is a large shelving unit that we moved to divide it from the bedroom area in the main room. As our choice was limited and things were going to be on display I chose simple, classic, neutral items that would all sit together and blend with the overall room. Plain white china, clear glasses, kilner jars, stainless steel and natural wood utensils. We got them all on day trips to the mainland by just being selective from the local big supermarkets and home stores like Konzum, Pevec and Baumax. The vintage metal milk pail was my grandmother’s.
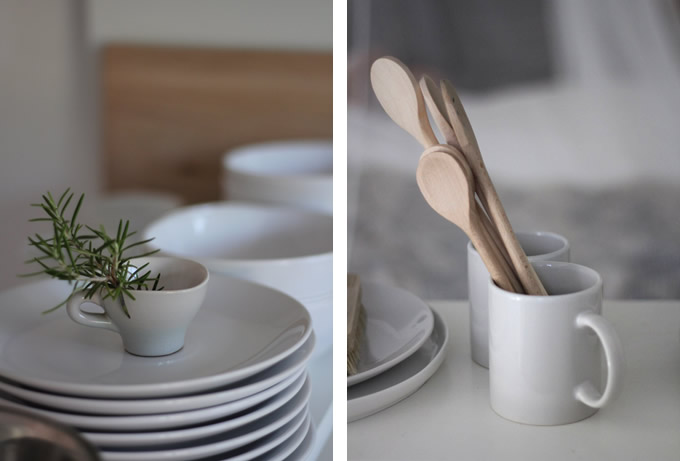
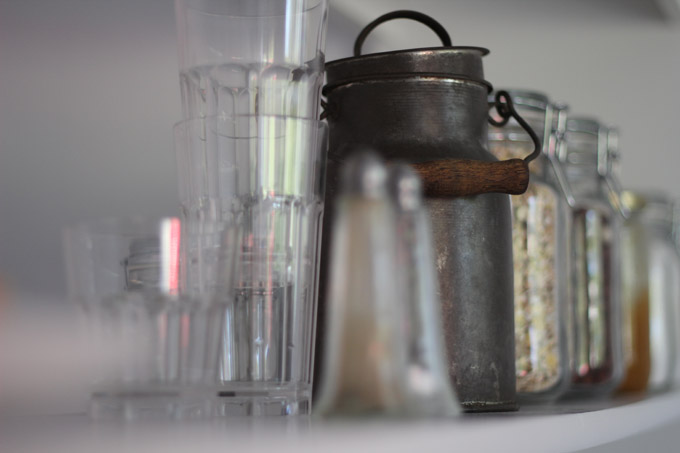
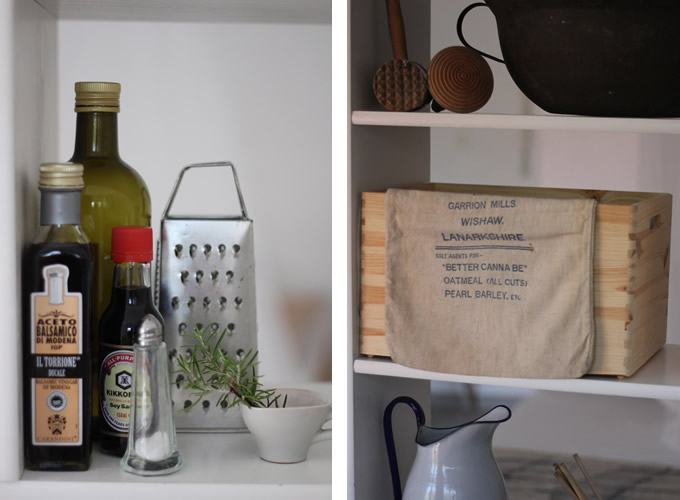
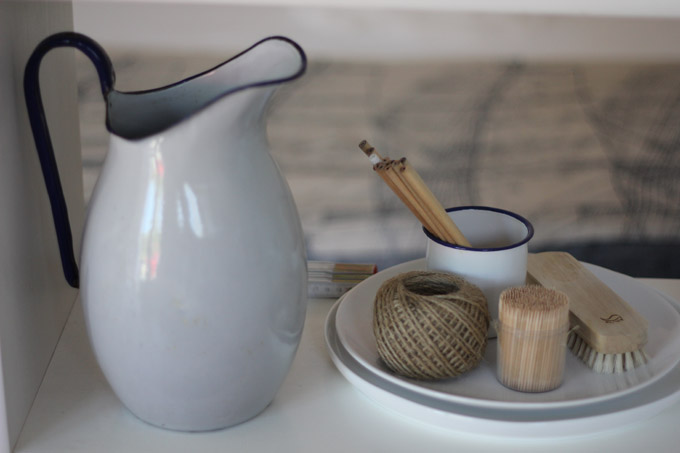
Making displays from simple everyday items means you know where things are. I chose nice bottles and packaging and we found simple pine wood boxes which are perfect for storing art materials and other things. The vintage enamel jug and mug are more finds from my grandmother.
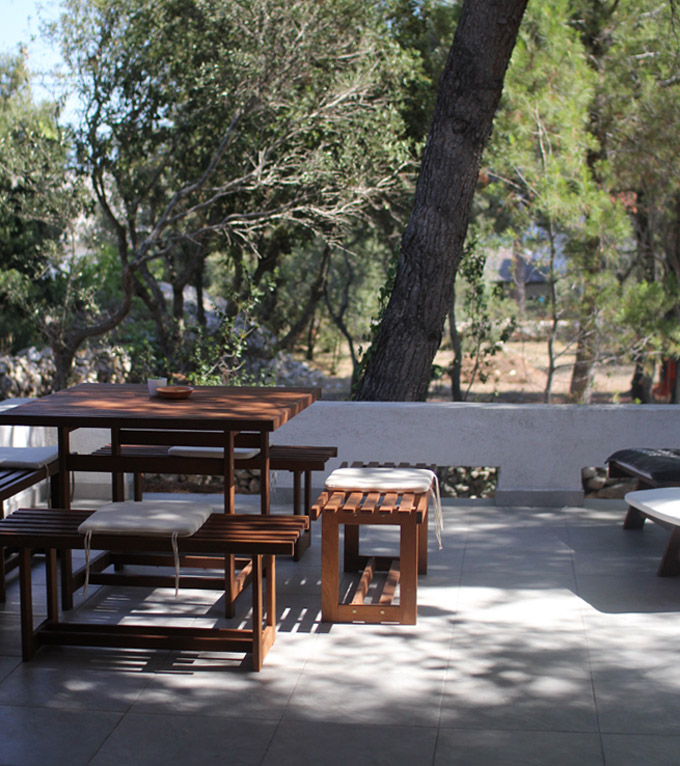
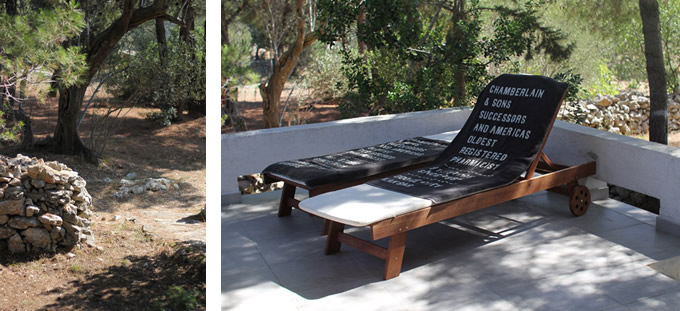
For the new terrace we managed to find some contemporary wooden furniture in a DIY store that we liked and that was really good value. I bought the vintage-look graphic towels from H&M Home and took them over. You can also see walls made by my grandfather from the hundreds of rocks that were cleared from the ground before it could be used. This is common here and the island is covered in these rock walls that help divide the plots of land.
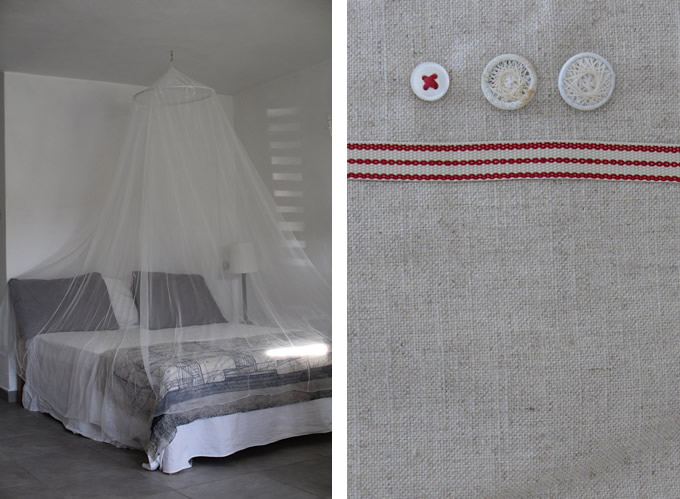
In the bedroom area the mosquito net works on a practical level, stopping the mozzies from nibbling us while we sleep, but also acts as a soft curtain around the bed helping divide it from the main living area. I found the linen throw, printed with an old drawing of a ship, in Anthropologie and couldn’t resist it.
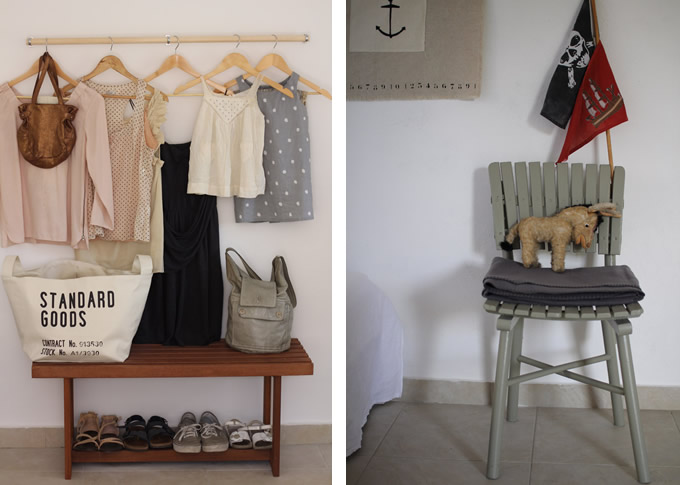
We have struggled to find wardrobes, so this year we simply put a broom handle on the wall to hang clothes. Two of my favourite handbags are in this shot, both by Ally Capellino that I bought at her fabulous sample sales. The Standard Goods bag is used for storage and was bought from H&M Home. The little vintage donkey was given to my daughter by a kind lady at a little bric-a-brac market in Zadar last year when she showed a penchant for it.
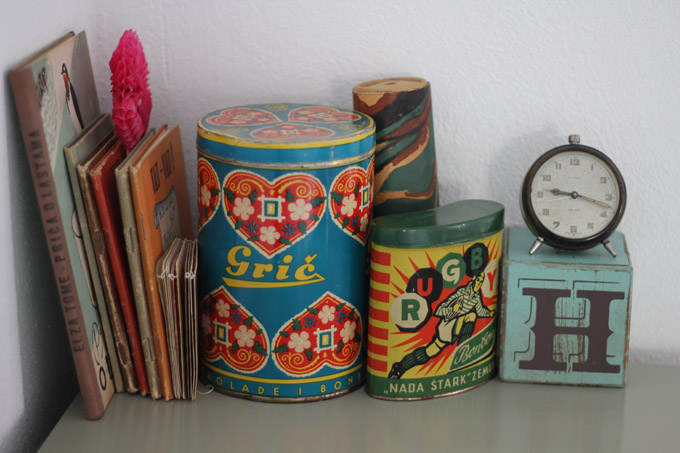
This collection of books and tins all came from my grandmother’s apartment in Zagreb, that my mother found when she was tidying up there. There were some very old sweets still in the tin! The tube at the back is my mother’s old kaleidoscope from when she was a child and the little clock is one that sat upon her desk when she was studying.
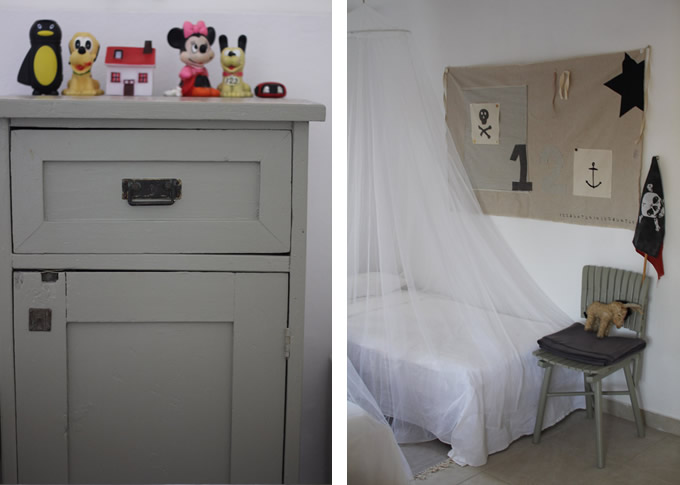
This old cabinet was found discarded on the side of the road, fixed up by husband and given a lick of paint in my favourite colour and decorated with plastic vintage characters and wind up children’s torches (the penguin and ladybird). I made the banner hanging on the wall to decorate the children’s room with a nautical theme. The base fabric is linen and the shapes had fusible web ironed on to the reverse of the fabric and were then cut out and ironed into place.
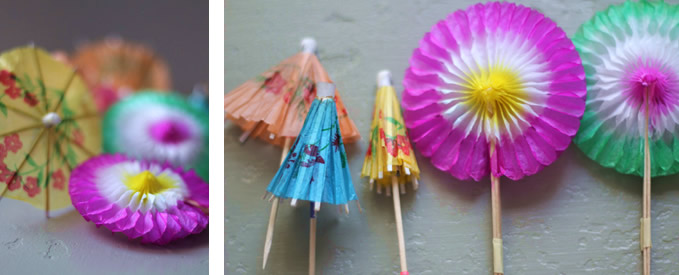
The evening activity usually involves a stroll around the town harbour eating ice creams from the best ice cream parlour in the world – well according to my children it is! They love to collect the paper umbrellas and flowers and display them in their bedroom.
The old garage is now a sweet little place to stay but it will take a few more years to make it our own, little by little each summer. But that is part of the fun and it is now enjoyed by three generations of my family. I think my grandfather would love what we have done and love that the place he created for his family to enjoy is loved and enjoyed by his great-grandchildren too. It’s a true homemade holiday home.
Comments: 25 Leave a comment

a party skirt for my daughter
August 4, 2011 in diy craft projects, homemade
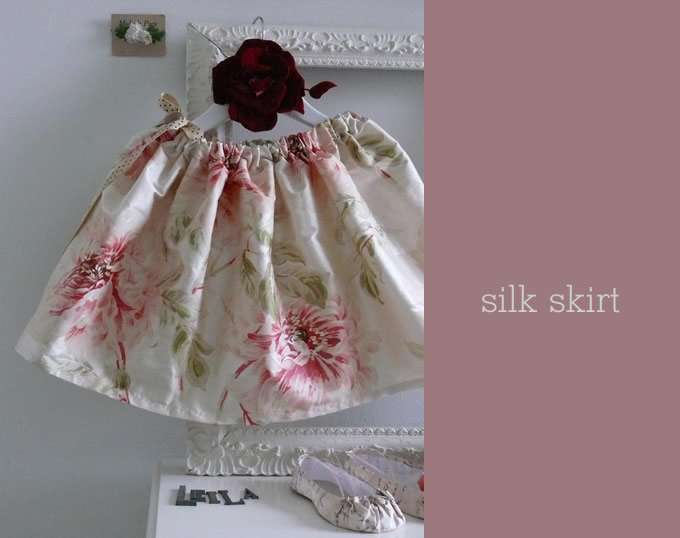
I made this little party skirt one Sunday as a gift for my four year old daughter from bits and bobs I had in my craft cupboards.
It is made from some beautiful oyster silk fabric by Bennison that I had left over from a photo shoot and had been wondering what to do with. As it’s silk it is really for special occasions only. She looks so sweet wearing it – it is VERY girly, which she naturally loves!
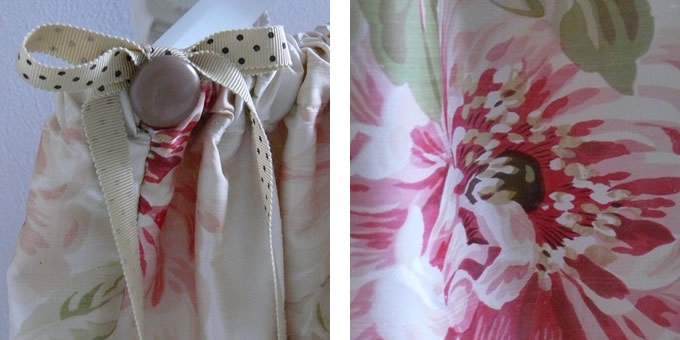
It is very simple to make and only took a couple of hours to complete. You can use any fashion or thin furnishing fabric for a skirt like this. I usually use a ribbon for the waistband, but for this skirt I used elastic and then added a ribbon bow and button as a detail. I already had both of these in my haberdashery stash.
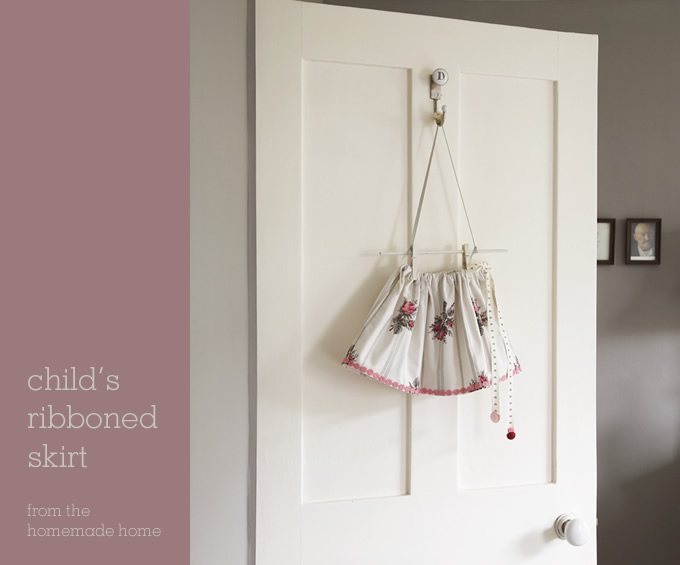
This skirt is a variation of the Child’s Ribboned Skirt project in The Homemade Home. There are illustrated step-by-step instructions in the book if it inspires you to have a go. The photo below is from the book and is by the talented Penny Wincer who shot all the lovely photos. (© Cico Books)
And when my daughter out grows it, we can hang it up and display it in her bedroom. Who knows, maybe she will keep it for the future and hand it down to another generation to enjoy.
Comments: 5 Leave a comment

make your gift wrap a gift in itself
July 29, 2011 in diy craft projects, homemade

This is a lovely way of wrapping up gifts which involves using very simple and accessible brown paper with string and ribbon. These are actually copies of my book that were sent as gifts when it was first published and I took time to personalise each one.
Add bits and bobs you have around the house to these staple ingredients and the result is unique. The wrapping turns a potentially simple gift-wrap into a very special one and once unwrapped, the tags and pictures can be kept by the recipient.
To begin, I wrap the parcel up as neatly as I can using double-sided tape to stick down the flaps either end and in the centre. I then tie the string, ribbon or sequins around the package and add the rest piece by piece.
The keys were left over from another project, where I had sprayed them with an off white matt-finish paint. These are old keys but they’re not vintage or antiques, just cheap everyday keys. A lick of paint makes all the difference.
The postage stamps were from a big bag of stamps I bought at a flea market and are always great to add interest to projects. I always keep little off-cuts of ribbon too, which are perfect for tying tags or little bows and knots with but add a splash of colour and interest. The sequins add some glamour and are a contrast to the utilitarian brown paper.
I embroidered the flowers on water colour paper with a sewing machine using the embroidery foot and stitched them freehand without a pattern. If you’re not confident with that you could pencil draw or trace a flower onto paper and follow it with the sewing machine. If you want to learn this technique there is an illustrated step-by-step project using it called ‘Stitched Portraits’ on page 110 of The Homemade Home.
Adding tags to write your gift message, writing a poem or scribbling some words makes it personal and fun!
Comments: 9 Leave a comment

homemade party necklace
July 8, 2011 in diy craft projects, homemade
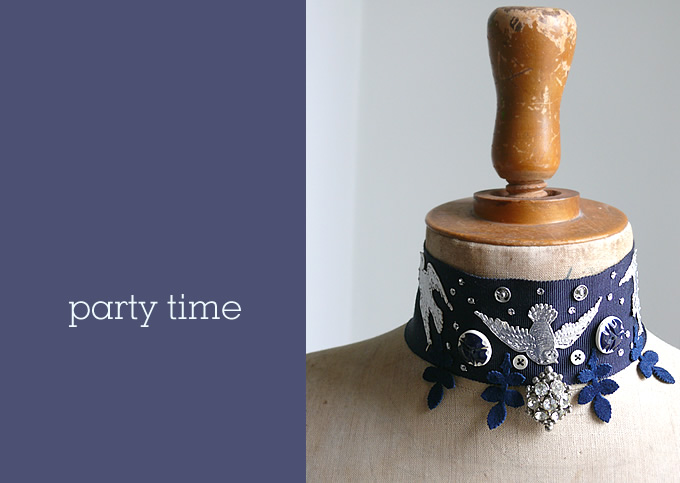
When you have a special occasion or big party to go to, making a new necklace or brooch is a great way to re-vamp or glam up a favourite outfit. I made this choker necklace to match a dark blue party dress of mine. I love the dress but wanted to give it a new look as I’ve worn it a lot.
This choker is a simple piece of grosgrain ribbon that I hemmed at the ends and added simple ties to the back to fasten it. It’s embellished with embossed birds made of silver foil card, old buttons, sequins and metal snap fasteners – all simply stitched on. I then finished it with an antique brooch I had picked up at a flea market. The blue suede leaves I bought from one of my long-time favourite haberdashery shops VV Rouleaux – probably the best ribbon shop in the world.
It didn’t take long to make and made my outfit feel brand new. Plus you get the added benefit of people asking where you got it from and you can say “I made it!”
Have a fun weekend everyone!
Comments: 1 Leave a comment


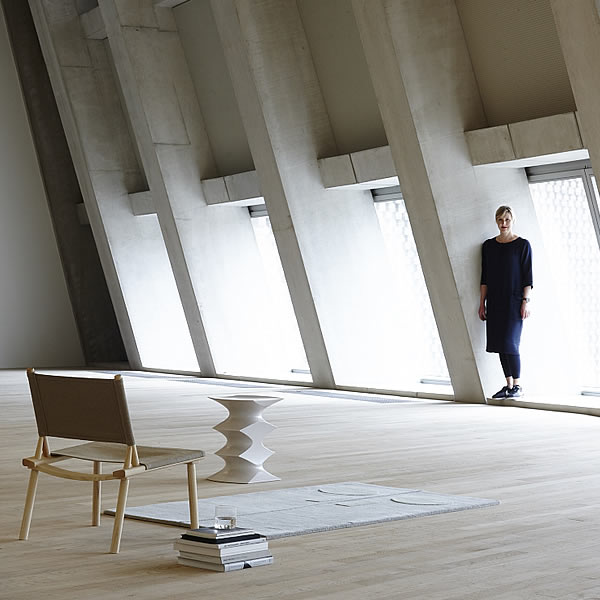


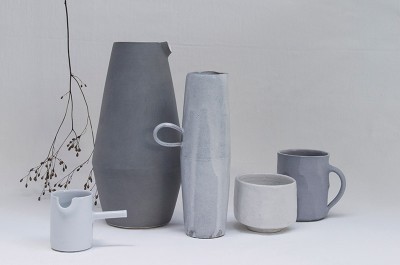 Line Up contemporary craft exhibition, curated by Sania Pell, at Flow Gallery, 1-5 Needham Road
London, W11 2RP.
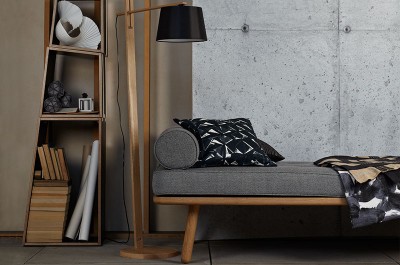 View Sania's interiors, food and table top and children's lifestyle photographic styling portfolio.
