June 10, 2011 in diy craft projects, news

I was delighted when I heard about this! The German publishing company Callwey have translated my book and LieblingsDeko: Schöner wohnen mit kreativen Ideen is now available and has had great reviews in Living At Home magazine and NZZ am Sonntag newspaper.
A copy winged its way over to me from Amazon.de and it looks great. Callwey have chosen a different image for the cover – the loverbird pillows, which is one of my favourite projects. I think it looks great. A big thank you to everyone at Callwey!
If you know anyone German who you think may like it, please pass on the link to them. You can buy the book here on Amazon.de


Who knows, maybe The Homemade Home will be translated into other languages too?
Comments: 4 Leave a comment
June 7, 2011 in handmade goodness, interior styling
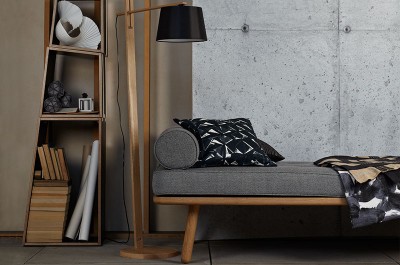
I think waking up and seeing some of your favourite things is the perfect way to start the day, especially if your bedroom window doesn’t have a great look out.
This is the shelf on the wall at the end of my bed. Some of my favourite prints and vases in soft, natural greys with a splash of warm yellow and a little bit of wrongness to make it right – a block of fluorescent yellow.

The framed print is one of my favourite possessions. It’s a signed print by the artist Craigie Aitchison that I bought about ten years ago as something I could really enjoy every day and that I could pass down to my children.
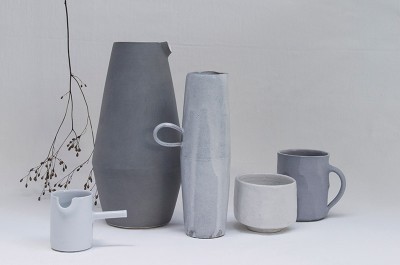
As well as homemade and vintage things, I really appreciate handmade work by artists and crafts people and love to support them when I can. The elegant tall dark grey vase and rounded mid-grey one are both by Sophie Cook who produces beautiful ceramics. The little white ceramic cube with the black line is by Niina Kuosmanen. I bought it from her at ‘One Year On’ at the New Designers show a couple of years back and love them as every cube is unique. The little white vase I bought at Origin a while back and I love its simplicity and shape. Unfortunately the stamp on the bottom is unclear ( ‘MO’ I think) and I can’t remember who made it! If you recognise it please let me know in the comments.
The bright yellow cube screen print is by Sophie Smallhorn who does really beautiful, graphic work. The vintage spectacles are a car boot sale purchase and the flower brooch is by my friend and very talented jeweller Grainne Morton. I bought it as a gift to myself when I finished writing The Homemade Home.

What view do you wake up to?
Comments: 10 Leave a comment
June 3, 2011 in vintage finds
The last car boot sale was fabulous. I was there at 7.30am on the dot – an early start for a Sunday! At this time people are still setting up but the regular sellers know that keen buyers start early so there is always lots to see. So the early bird found lots of interesting bits and bobs, some of which are useful(ish) and some not at all! I bought a few pieces for an up and coming project that I’ll tell you more about in due course.

These are just old balls! The white one is a well used polo ball, no longer round from all the knocks. I think the wooden ones are just from vintage games like skittles but I just loved the simplicity of the shape with the natural materials and tones. The three placed together work really well and no longer look like sports/game balls but take on a kind of 1950s’ sculptural feel.

This game of “Muggings” was £1.00, I’m sure I’ll use the numbers it in a project somewhere.

The little night light holder on the right is from around 1890 and very sweet and the old box of matches have a lovely graphic quality. They’re sitting on an old note book with beautiful writing, someone’s little diary dated July 1939. These pages are from a little holiday they took “…a perfect blue sky, not a sign of a cloud!”

I bought this immaculate and beautiful vintage box of starched collars too. I’m not sure what I will use them for yet, but they are just great to have.

A vintage pair of scissors, I love their sculptural shape and sharpened they could be practical too, and another old fabric tape measures. And yes… more keys! I admit I may have a key problem, I just can’t stop buying them. I think it’s the fact they had a purpose once and now you don’t know what lost treasures they could unlock.

I just loved this old disco dance champion medal, who could resist? Now where did I put my dancing shoes…
Comments: 6 Leave a comment
June 1, 2011 in diy craft projects, homemade

I made these little fabric brooches last year for the launch party of my book. They were little gifts for my guests to wear at the party and to take away with them as keepsakes. Each one was unique and my guests could take their pick and choose the one they liked most. You could use this idea for weddings too (make a batch as wedding favours for your guests) and they are a great conversation starter or ice breaker when people don’t know each other. They also work well as decorative additions to liven up plain cushions and other furnishings.
These were all made from scraps of fabric and ribbons that I already had in my haberdashery stash and are an adaptation of the ‘covered buttons’ project on page 176 of my book The Homemade Home.

You can use either a metal badge making kit (I use my children’s Bandai badge maker) which come with pins for attaching, or you can buy diy button kits from a haberdashery which have a front part and a back part that simply snap together, sandwiching the fabric and holding it firm. I have explained the haberdashery button covering method below, as it is more accessible.
Covering buttons in an unexpected fabric adds quirkiness and individuality to an outfit or cushion, and they work well grouped together. Each button requires only a scrap of fabric, so you can go to town with your combinations of colours and patterns, or opt for a more coordinated theme. Here I have used different types and colours of fabric – Liberty prints, plain linen, geometric patterns and vintage fabric too, along with various ribbons in different widths and materials in neutral colours, spots and of course my regulars – neon pinks and oranges.
 Covered-button kits are available from most haberdashers, they have little hooks to grip the fabric and a snap-on back to finish it off and keep it neat. They have a loop (shank) on the back for attaching.
materials and equipment:
• Button covering kit (buttons can be bought in various sizes and are not too expensive)
• Needle and thread
• Scissors
• Scraps of fabric
• Ribbon
• Safety pins
the steps:
1. Cut out a circle of fabric with a diameter slightly less than twice the diameter of the button.
2. Using a needle and thread, sew running stitch around the edge of the circle and place the button upside down in the center of the circle and pull the threads together to gather the fabric around the button and knot.
3. Place your ribbon on top of the gathered fabric (still on the back), in the position you are happy with. Check the position of the shank if you want your ribbon to hang straight down. Snap the back on so it clamps the ribbon in place as well as finishing the button. If your fabric is thick it can be quite difficult to push the back on. A cotton or fine linen works well.
4. If the shank sticks out too far you can push it in so it is flatter to the back.
5. Attach a small safety pin so you can fix it to clothes or furnishings or you could sew it on to be more permanent.
Have fun making!
If you try this I’d love to see how you get on and you can post your photos on my Facebook page here.
This project of mine was originally featured on makeitandmendit.com
Comments: 11 Leave a comment
A place to share my work and the things I love: interior styling and great design; fine art and contemporary craft; exciting new products and flea market finds; handmade and homemade; celebrating the old and embracing the new; creativity, family and fun. The things that I believe make your house a home.

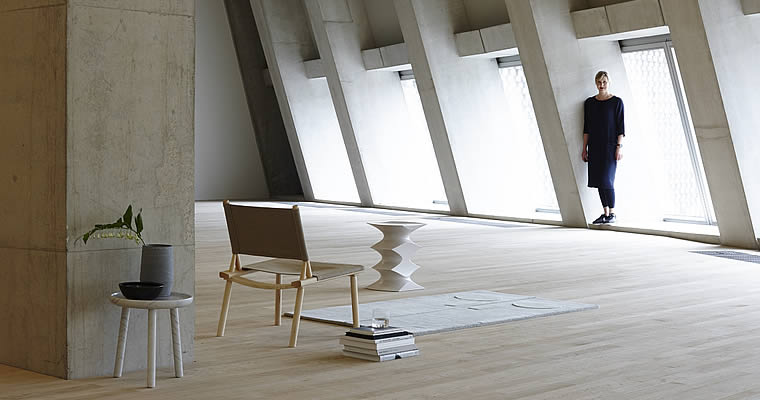
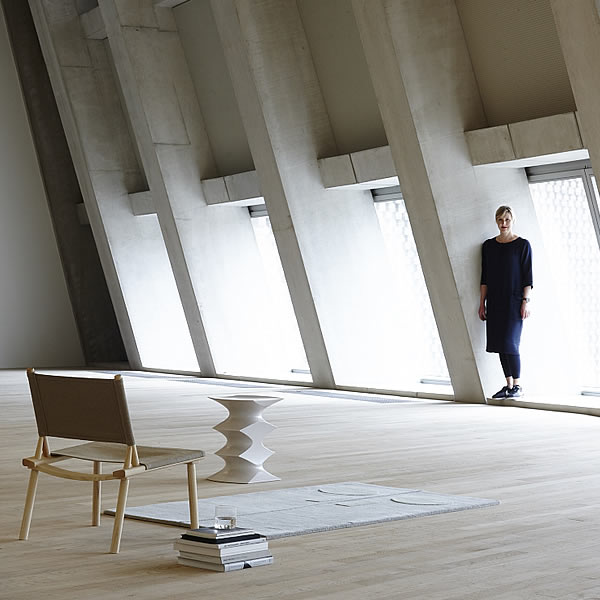
 Line Up contemporary craft exhibition, curated by Sania Pell, at Flow Gallery, 1-5 Needham Road
London, W11 2RP.
Line Up contemporary craft exhibition, curated by Sania Pell, at Flow Gallery, 1-5 Needham Road
London, W11 2RP.
 View Sania's interiors, food and table top and children's lifestyle photographic styling portfolio.